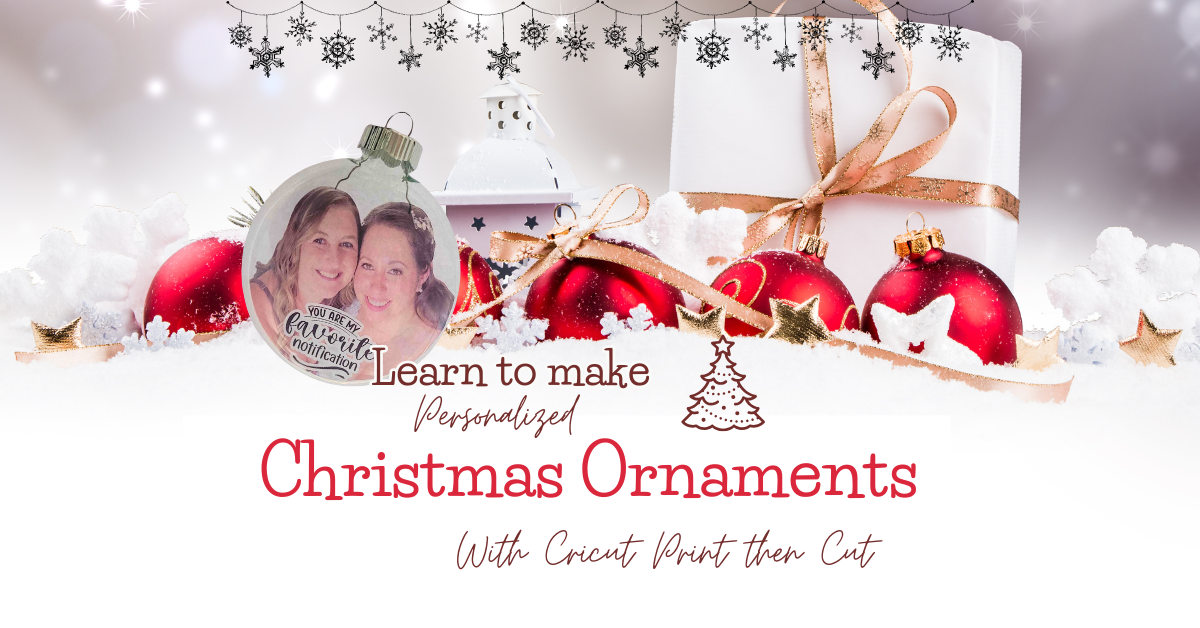
Learn how to make Personalized Ornaments with Custom Photo Designs Today!
Looking for a unique and personalized holiday gift idea this holiday season? Crafting personalized ornaments using Cricut Print Then Cut might be the perfect solution to bring joy for your whole family, year after year.
Not only do these floating personalized Christmas ornaments make for special Christmas keepsakes, but they can also be customized for birthdays, weddings, birth announcements for your baby, or as memorial gifts, offering a personal touch to any celebration.
Nothing is more satisfying than having some custom family ornaments hanging on your Christmas Tree! Let’s get started!
Table of Contents
- Introduction to Floating Ornaments
- Materials Needed for Your Ornaments
- Designing in Cricut Design Space
- Creating a Birth Stat Ornament
- Making a Pet Memorial Ornament
- Using Canva for Background Removal
- Printing and Cutting Your Designs
- Final Assembly of Your Floating Ornaments
- Tips for Success
- Conclusion and Next Steps
- FAQs about Personalized Ornaments
Why Personalized Ornaments Make Great Christmas Gifts
Floating personalized ornaments are an easy way to make wonderful festive stocking stuffers that are sure to impress. They allow for a unique way to showcase memories, celebrate milestones, or create personalized gifts for loved ones.
By using Cricut Print then Cut, you can easily design and craft these stunning decorations complete with a personalized photo. Cut Hallmark out of the picture and be proud of your creative abilities with these custom ornaments.
Whether you’re looking to create memorial ornaments for cherished pets or birth stat ornaments for newborns, custom photo ornaments can be customized to suit any occasion.
Why Choose Personalized Ornaments?
- Versatility: Perfect for various occasions such as baby’s first Christmas, weddings, births, or memorials.
- Personalization: Custom Christmas ornaments can be tailored to your friend’s personality or a special memory you share with them.
- Beautiful Design: The floating effect creates an elegant display that gives your personalized family ornaments that extra special touch.
Materials Needed for Your Personalized Photo Ornaments
Before you start crafting your personalized ornaments, you need to get the necessary materials. Here’s a list to make sure you have everything you need:
- Ornaments: 100 mm glass disc ornaments are a great choice. You can find them at Michaels.
- Inkjet Transparency Paper: This is essential for printing your designs. Options include Octago and Apollo brands, available on Amazon.
- Cricut Machine: Make sure you have a compatible Cricut machine, such as the Cricut Maker or Cricut Explore series.
- Standard Grip Mat: This Cricut Mat is used to hold your material in place while cutting.
- Inkjet Printer: Required for printing your designs onto the transparency paper.
- Ribbon or Ornament Hooks: For hanging your finished ornaments.
- Ornament Template Files: Check out my Etsy Shop for the template files I used.
Designing Your Personalized Keepsake Ornaments in Cricut Design Space
Now that you have your materials ready, it’s time to dive into Cricut Design Space. This software allows you to create and customize your ornament designs.
Step-by-Step Guide to Designing Your Personalized Ornaments
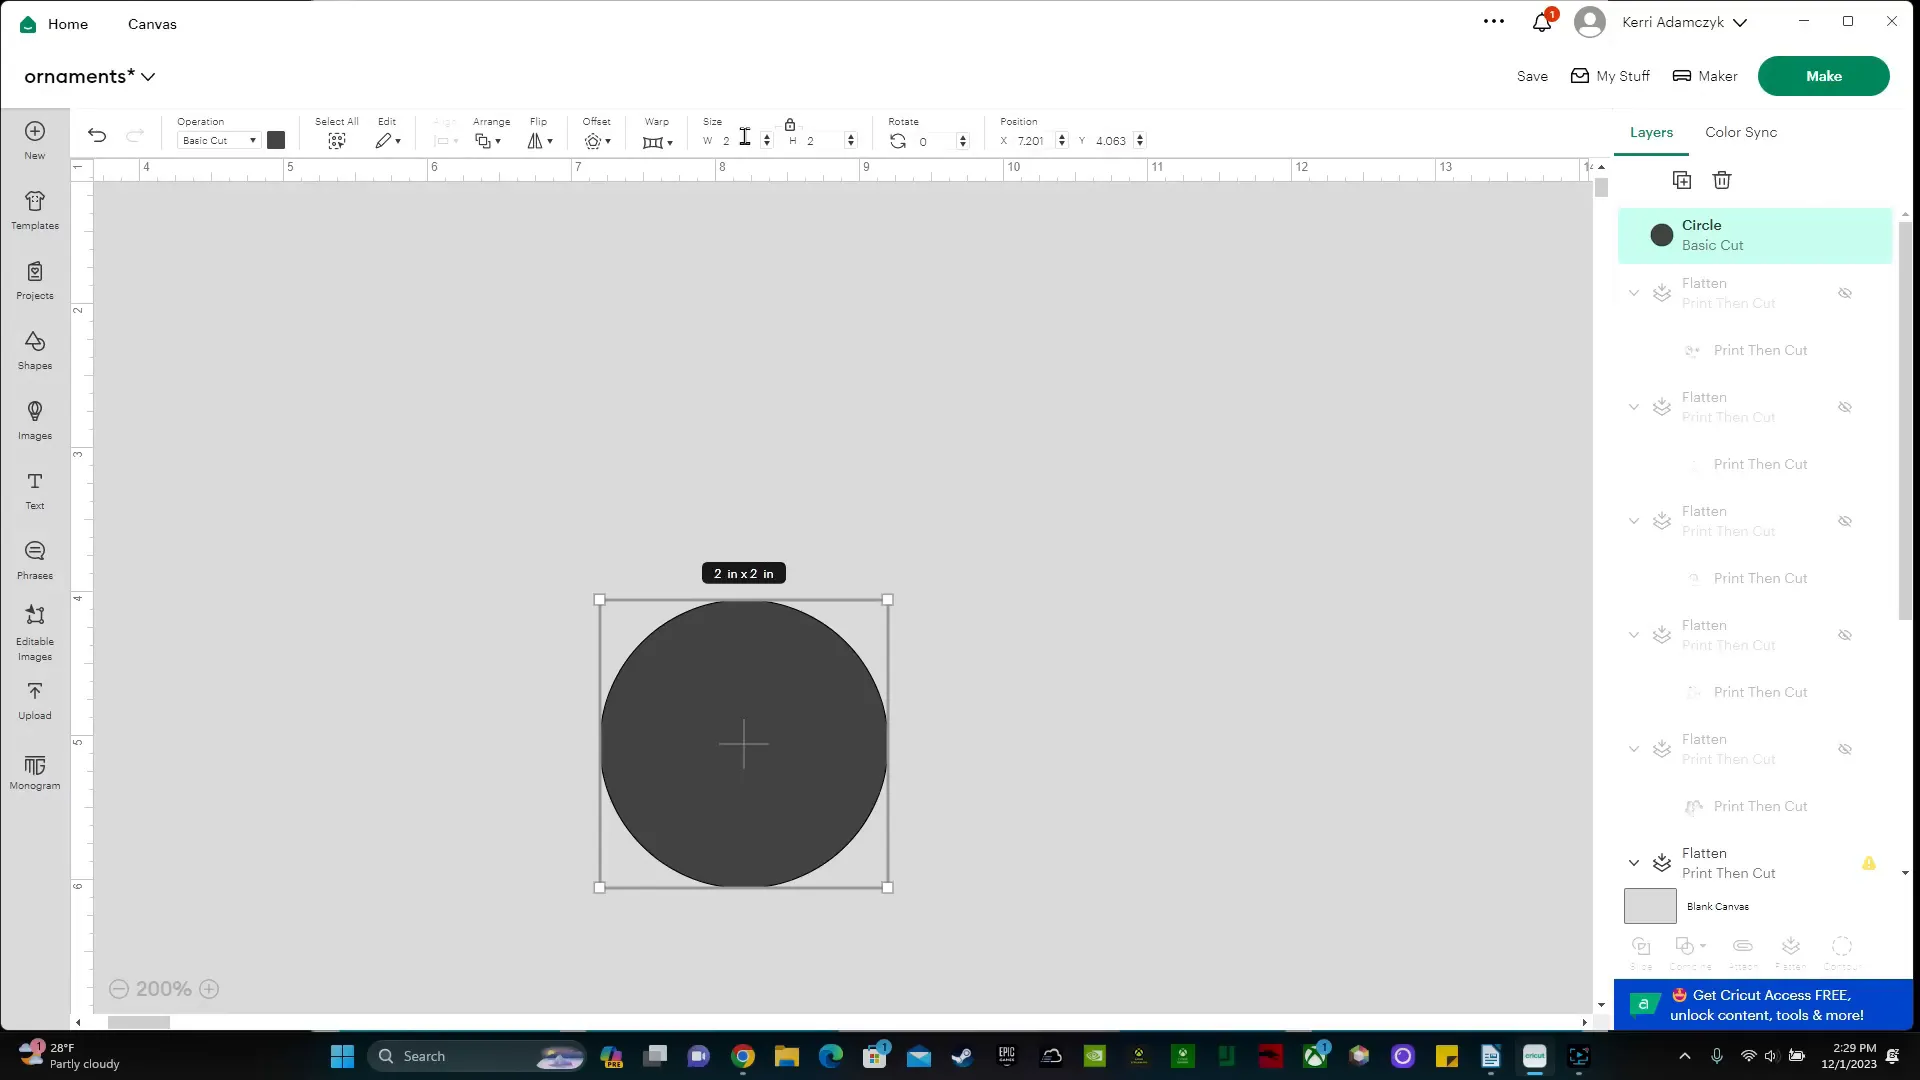
- Upload Your Images: Start by uploading the PNG files you want to use. If you’re using a template from my selection of ornaments, unzip the file on your computer, then in Cricut Design Space go to ‘Upload’, then ‘Upload Image’, and browse to select your file.
- Edit Your Design: After uploading, you can remove backgrounds or make adjustments as needed. Select ‘Complex’ and then proceed to delete any unwanted elements.a
- Add Text: Click on the text tool to add names, dates, or quotes. Choose fonts that match your design theme. If you need specific fonts, consider checking out Creative Fabrica.
- Arrange Elements: Position your text and images to fit nicely within the ornament’s shape. Use the ‘Align’ and ‘Distribute’ tools for a polished look.
- Flatten Your Design: Once satisfied, highlight all elements and click ‘Flatten’ to prepare for printing.
Creating a Birth Stat Ornament
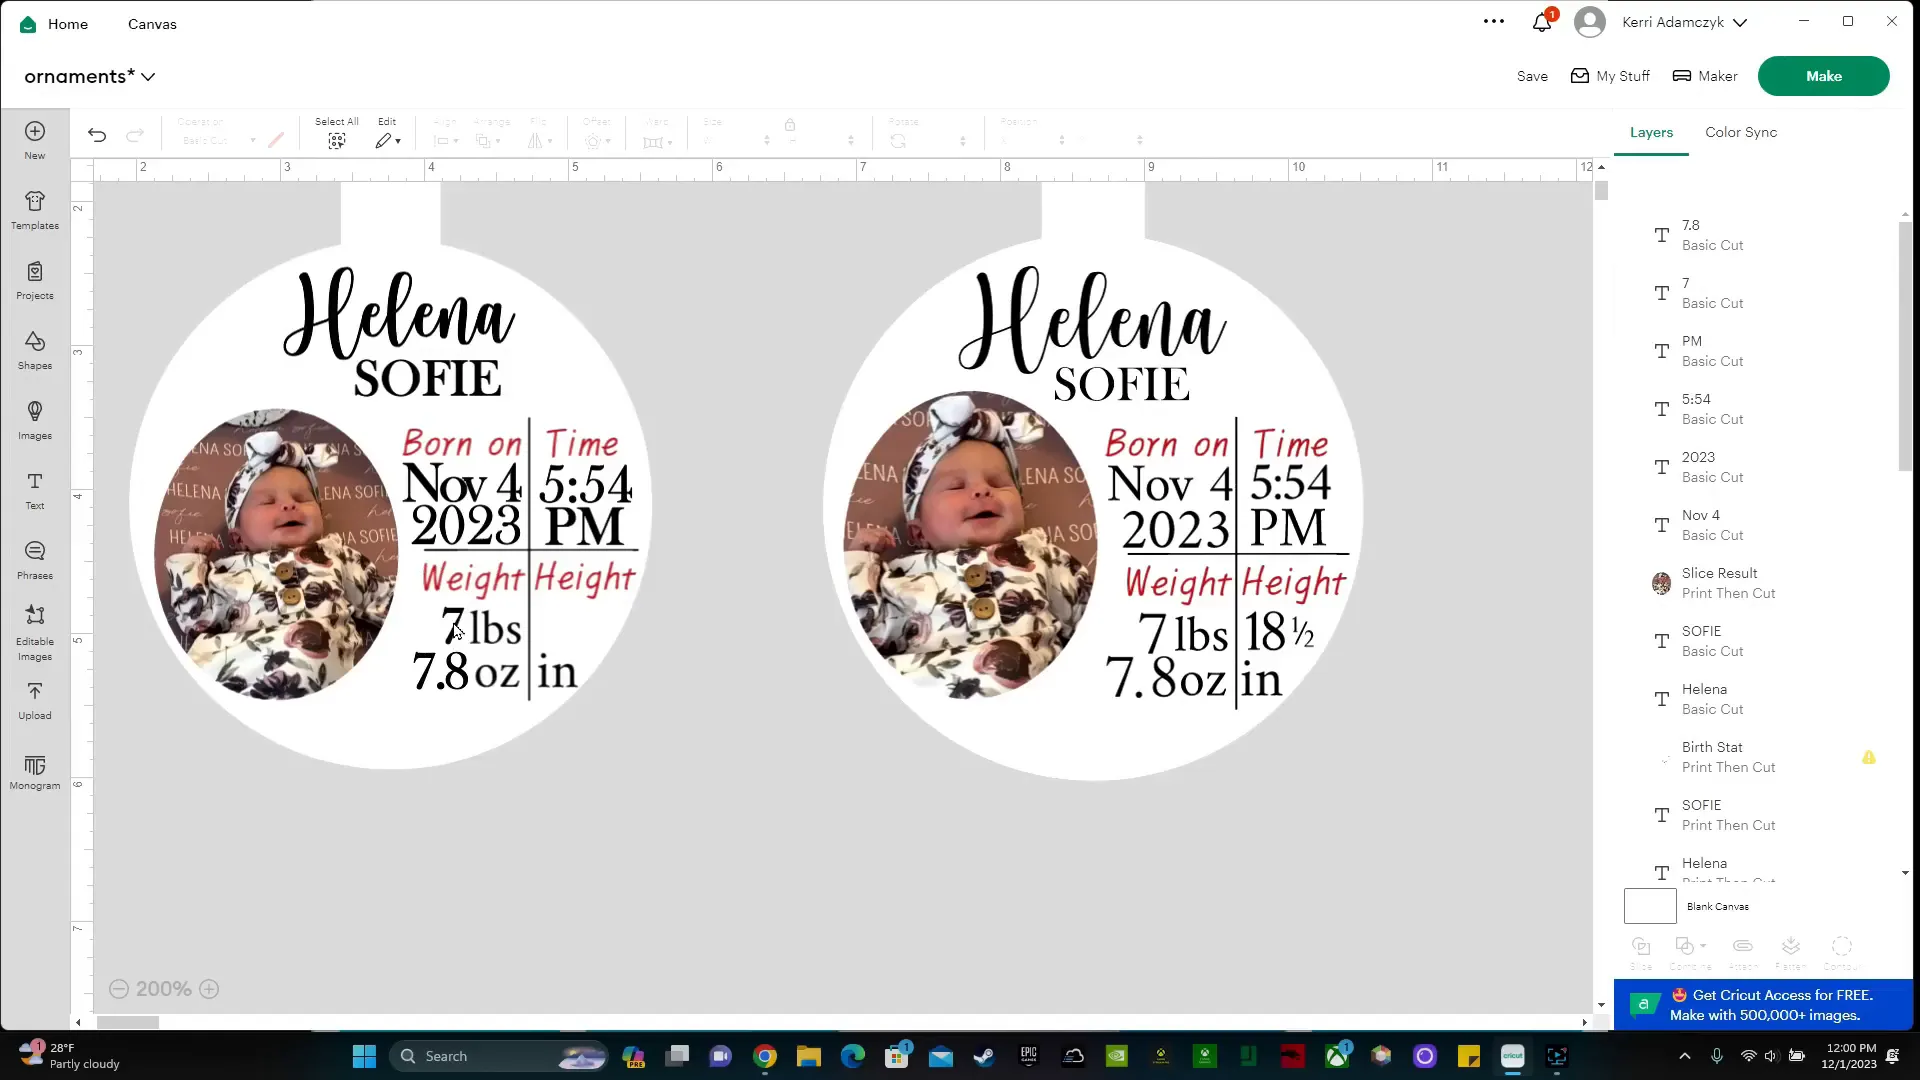
Birth stat ornaments are a wonderful way to celebrate a new arrival. They’re included in my Personalized Ornament Bundle, featuring 15 different designs! Here’s how to create one:
Steps to Make a Birth Stat Ornament
- Select a Template: Choose a birth stat template from my etsy files.
- Customize the Details: Add the baby’s name, birth date, weight, and time of birth using the text tool. Adjust the font and size to fit the ornament.
- Add a Photo: Upload a photo of the newborn. Resize and position it accordingly. Use shapes to crop the image to fit the ornament.
- Final Touches: Make sure all elements are aligned and properly sized. Once satisfied, flatten the design for printing.
Making a Pet Memorial Ornament
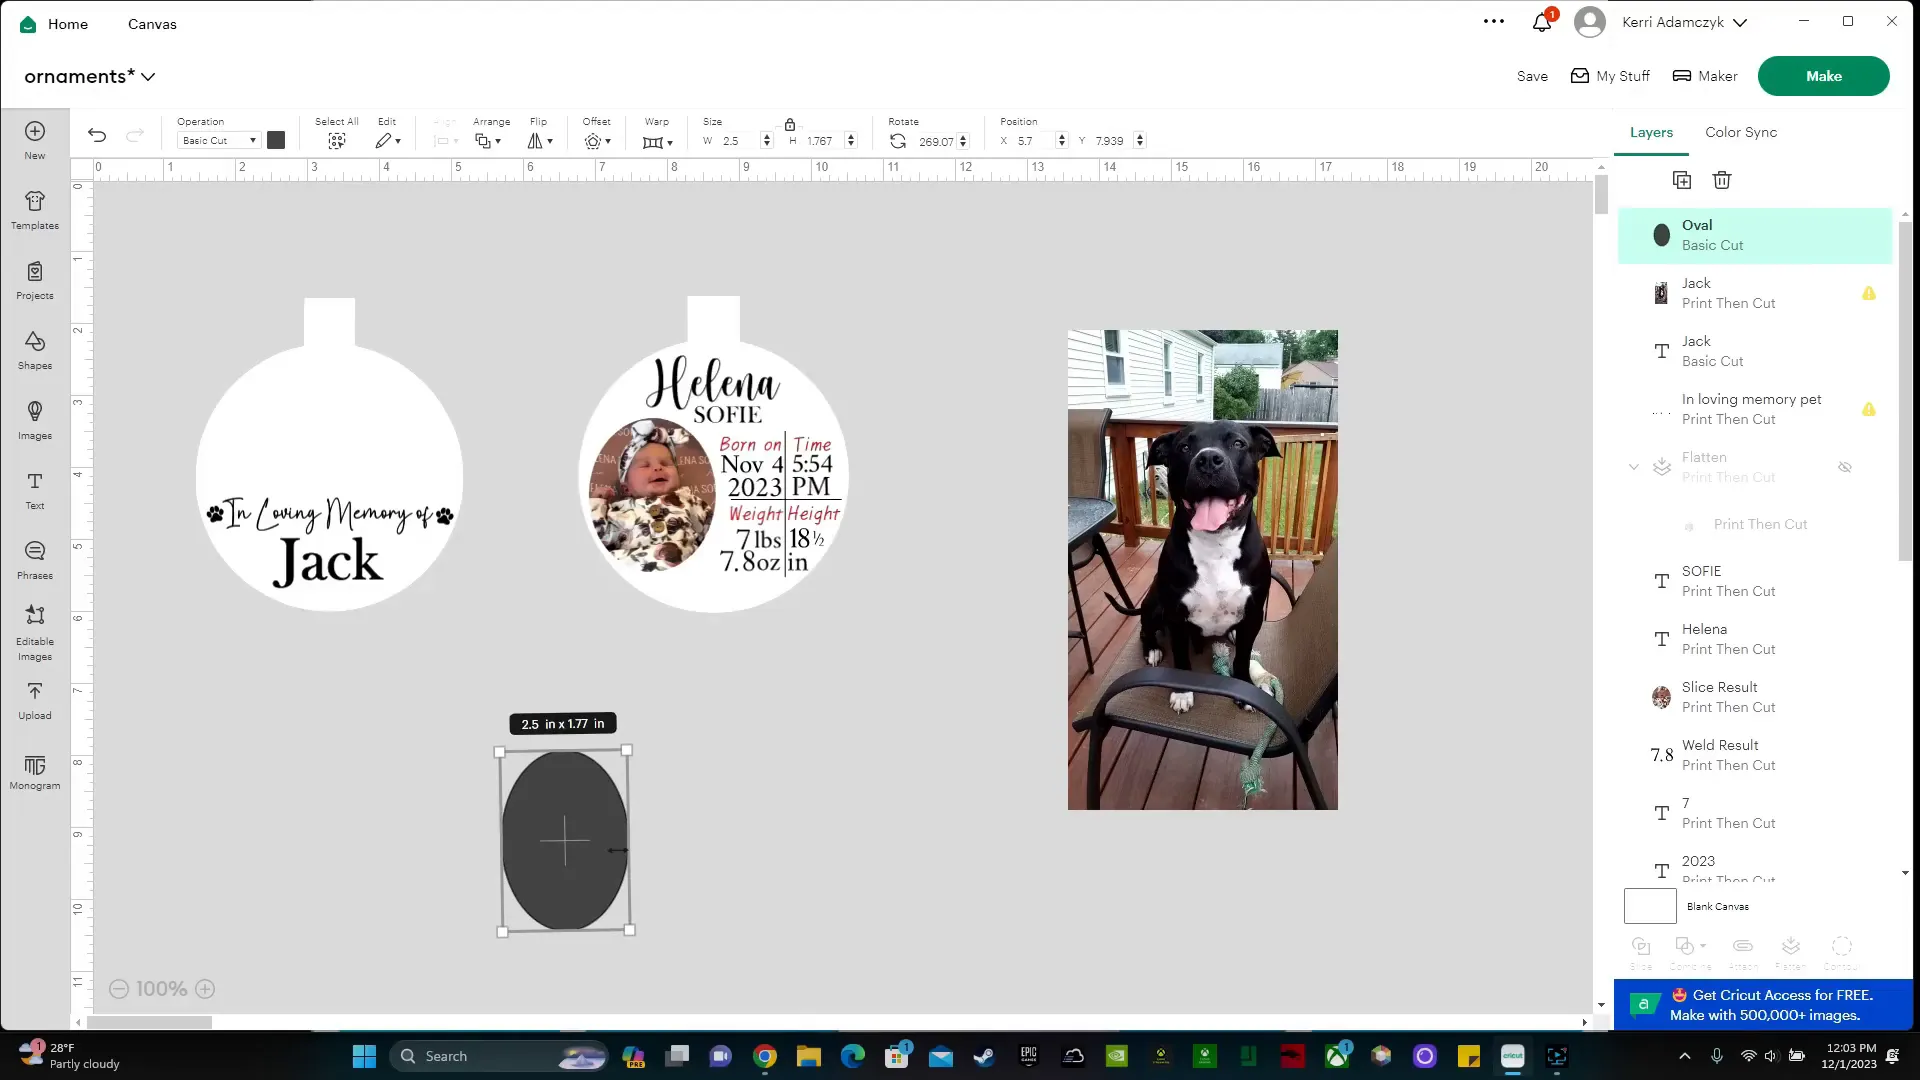
Creating a pet memorial ornament is a heartfelt way to honor a beloved pet. I have a separate Etsy listing featuring ways to honor your pet’s memories. Follow these steps to craft a touching tribute.
Steps to Create a Pet Memorial Ornament
- Upload the Memorial Template: For this tutorial, I’m using a template that reads “In Loving Memory Of” and add your pet’s name.
- Add a Photo: Upload a cherished photo of your pet. Resize and adjust using the slice tool to create a fitting shape.
- Customize the Design: You can add dates or special messages to personalize the ornament further.
- Flatten for Printing: Once you’re happy with the design, flatten it to prepare for printing.
Using Canva for Background Removal
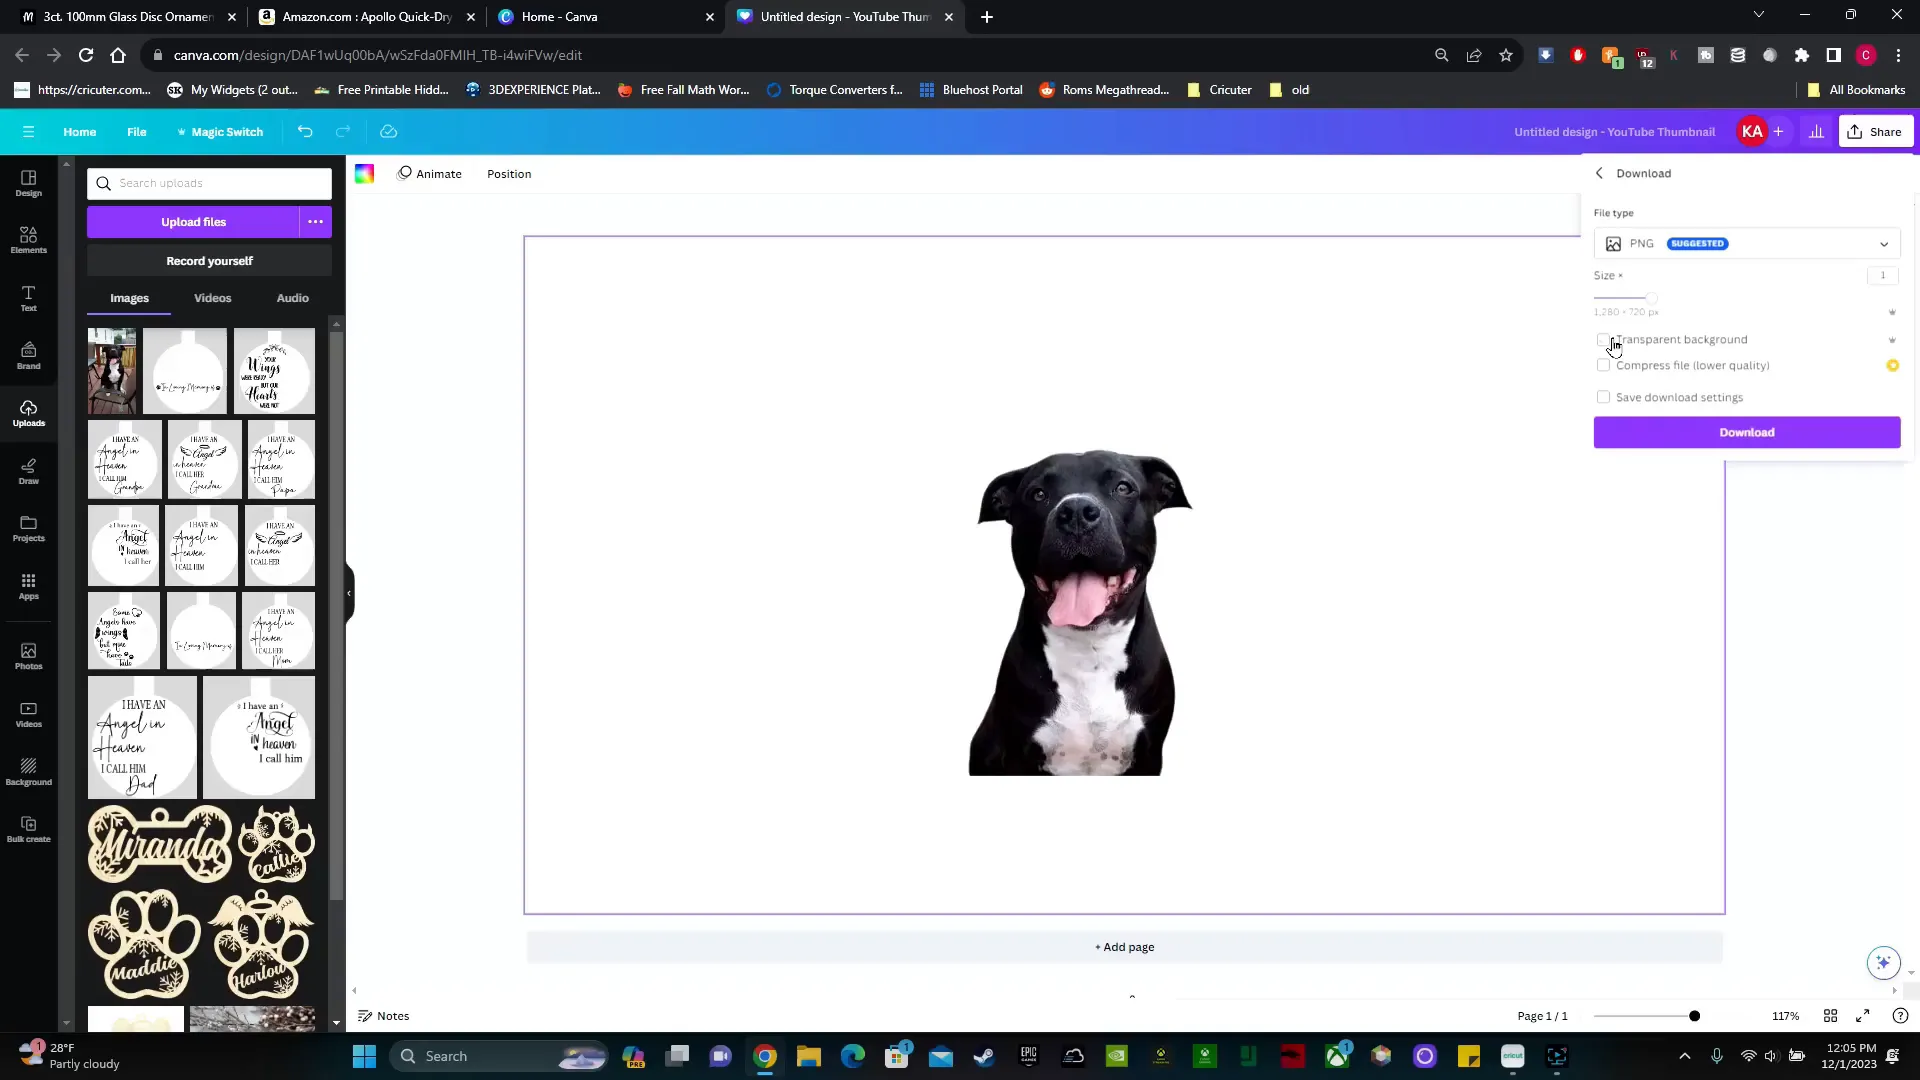
Canva is a fantastic tool for removing backgrounds from images, making your designs cleaner and more professional. Here’s how to utilize it:
Steps to Remove Backgrounds in Canva
- Create a New Design: Open Canva and select a custom size for your design.
- Upload Your Image: Add the photo you want to edit.
- Utilize Background Remover: Select the image, click on ‘Edit Image’, and then choose ‘Background Remover’. This feature will automatically eliminate the background.
- Download Your Image: Once satisfied, download the image as a PNG with a transparent background.
- Upload to Cricut: Go back to Cricut Design Space and upload your new image for use in your ornament design.
Printing and Cutting Your Designs
Now that your designs are ready in Cricut Design Space, it’s time to print and cut them. This step is crucial for creating beautiful personalized ornaments that stand out.
Step-by-Step Guide to Printing
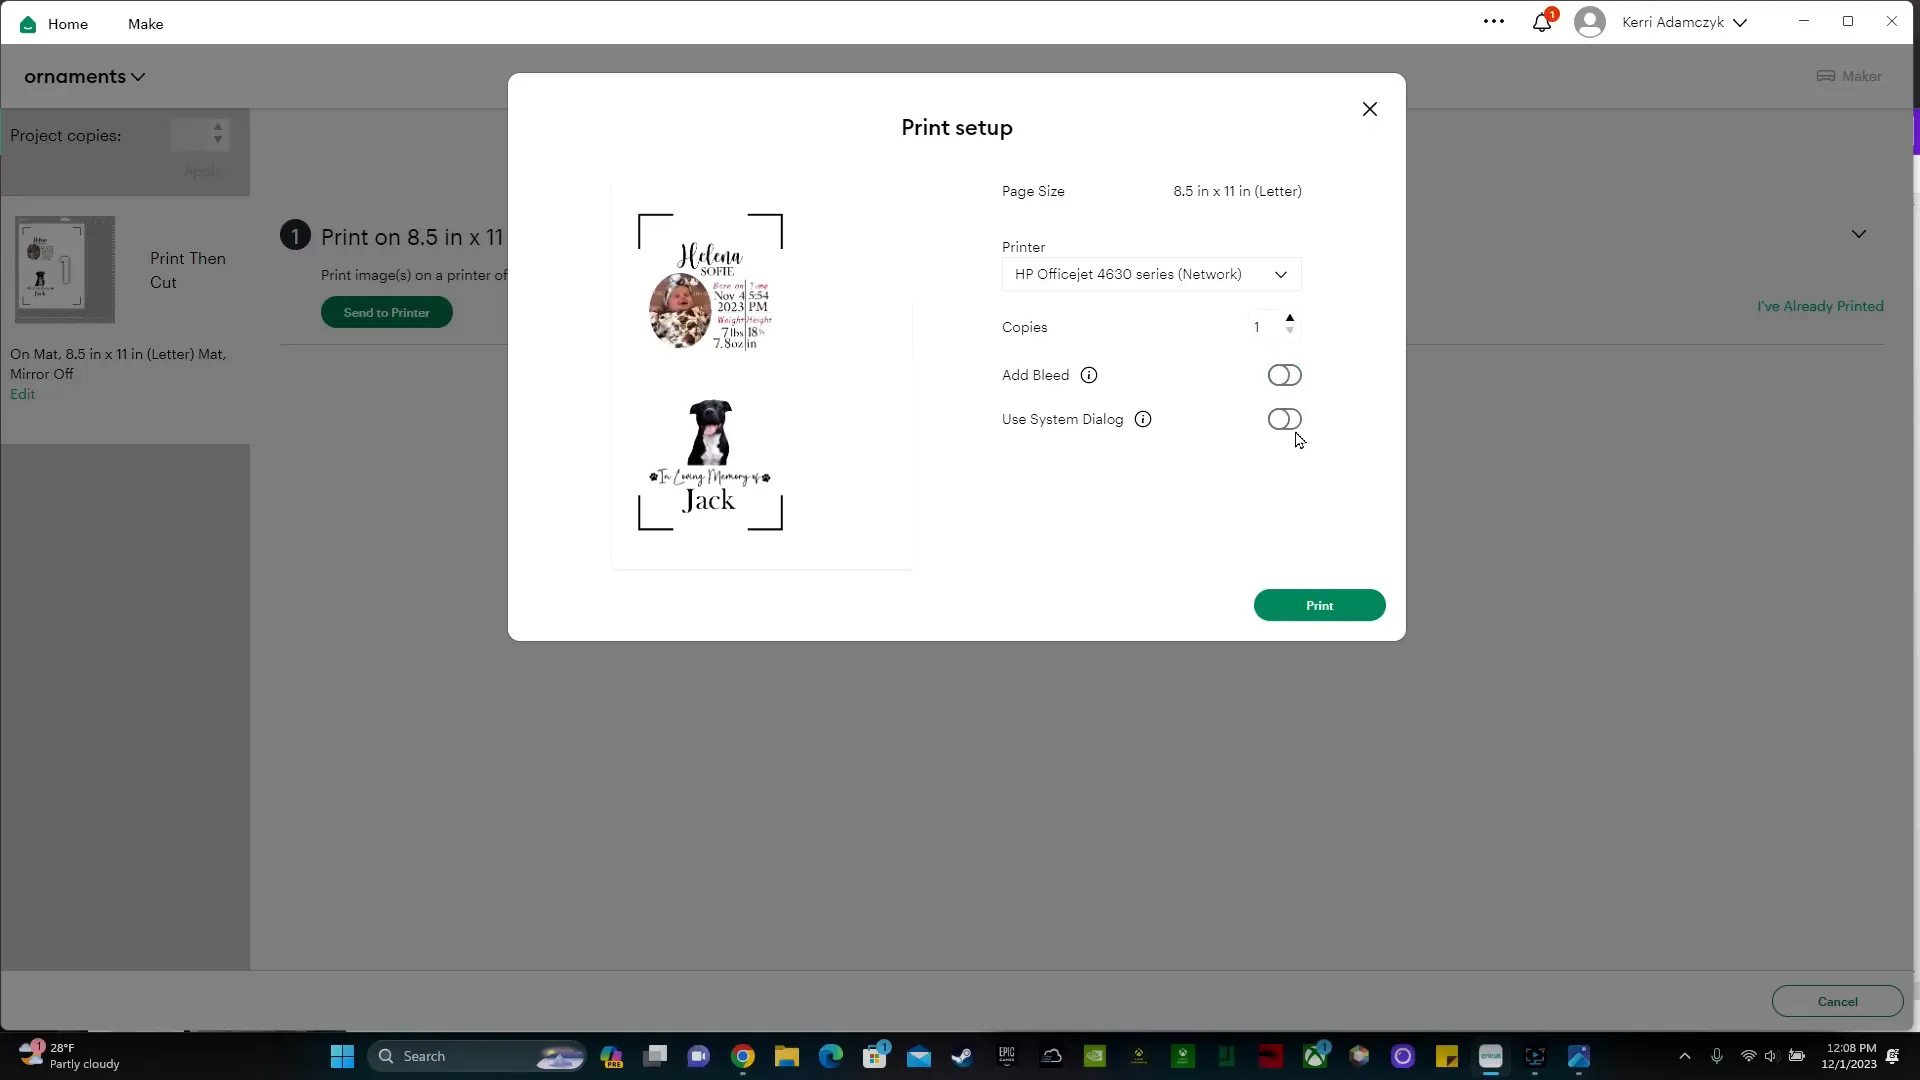
- Select Your Printer: Go to ‘Make It’ in Cricut Design Space. Choose the printer you want to use. Ensure your printer settings are optimized for high-quality prints.
- Adjust Print Settings: Turn off the ‘bleed’ option in the print settings. This helps avoid any unwanted ink spread around your design.
- Paper Type: Change your printer preferences from ‘plain paper’ to ‘photo paper’. This is vital for achieving a clear and vibrant print. Using photo paper enhances the quality significantly.
- Load Transparency Paper: Make sure to load your inkjet transparency paper correctly into the printer. The printable side should face the correct direction as indicated on the packaging.
Cutting Your Designs
Once printed, it’s time to cut your designs using your Cricut machine.
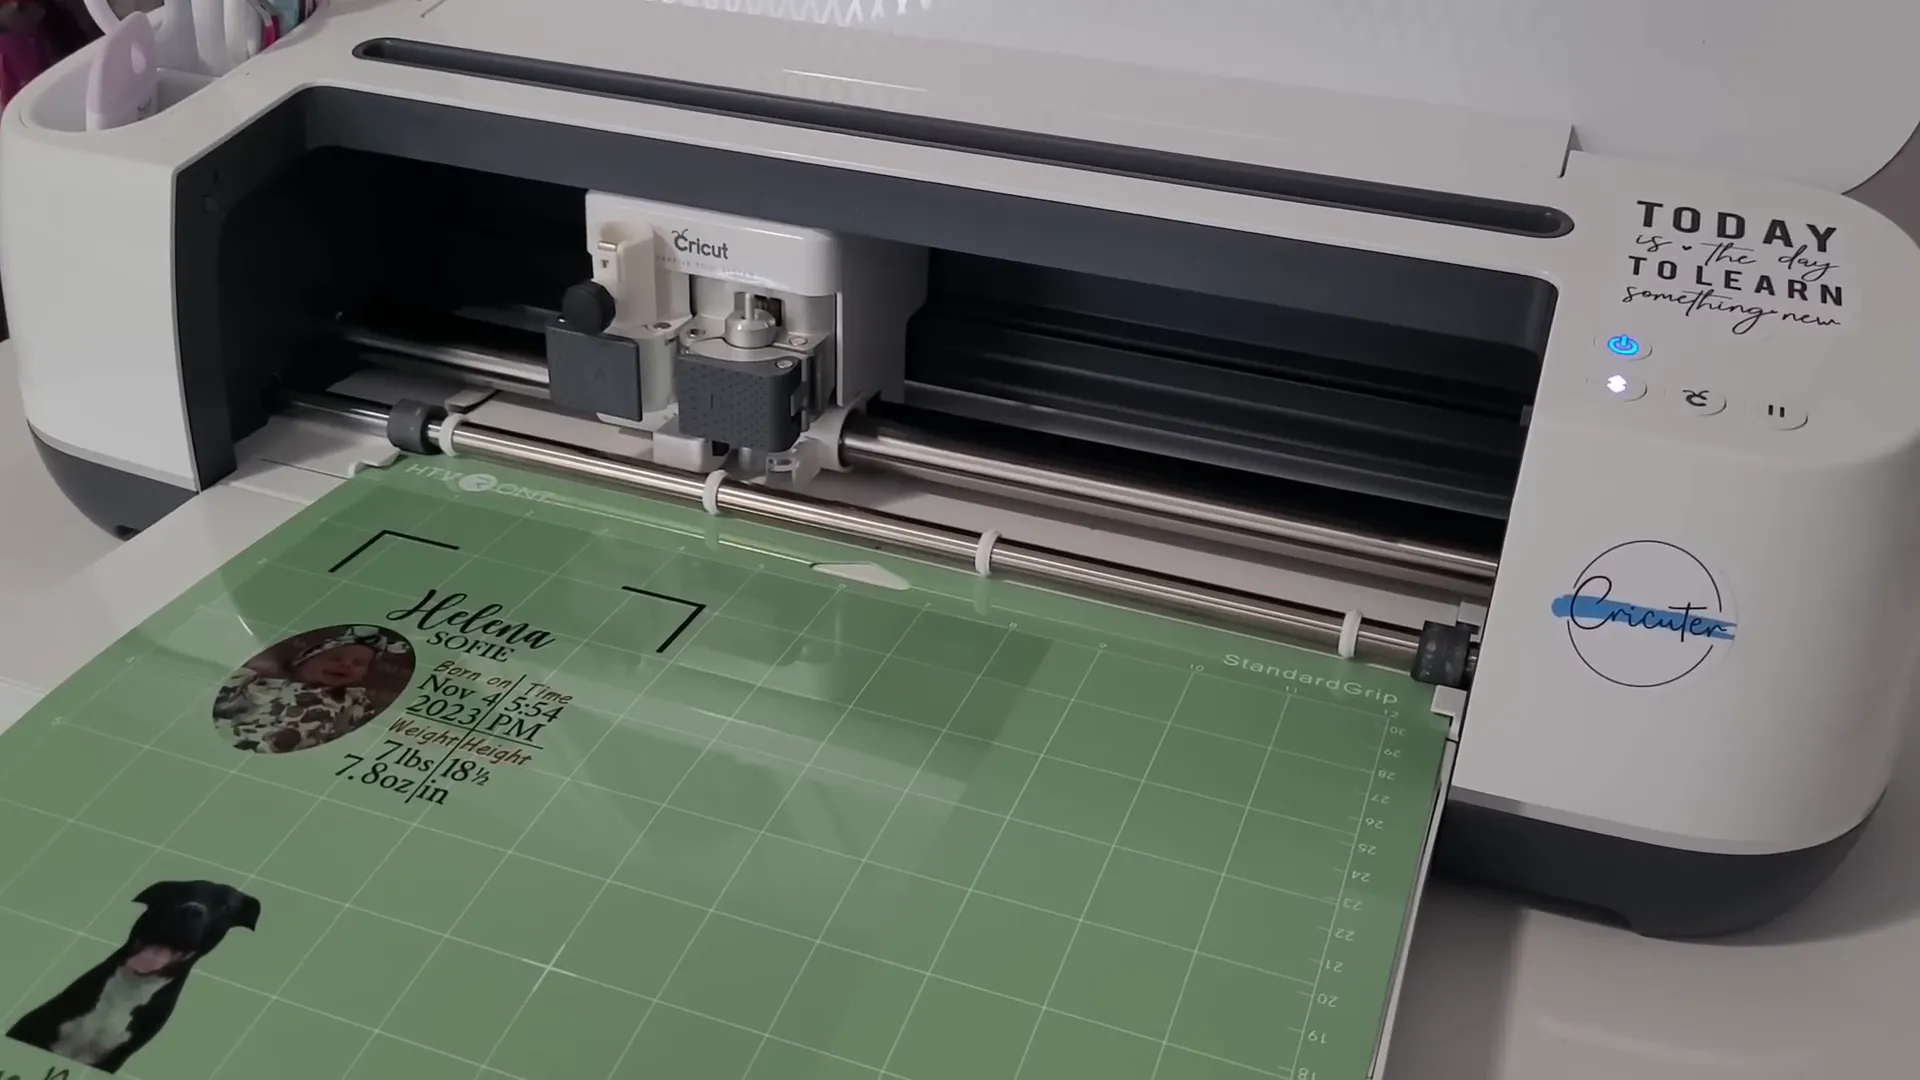
- Load the Mat: Place your printed transparency paper on the standard grip mat and ensure it is secured properly.
- Choose Material Settings: In Design Space, search for ‘transparency’ and select the appropriate settings. Adjust the pressure to ‘more’ for a clean cut.
- Begin Cutting: Load the mat into your Cricut machine by pressing the blinking double arrow, then press the Cricut button to start cutting.
Final Assembly of Your Floating Ornaments
With your designs printed and cut, it’s time to assemble your floating ornaments. This is where your personalized ornaments truly come to life!
Steps to Assemble Your Ornaments
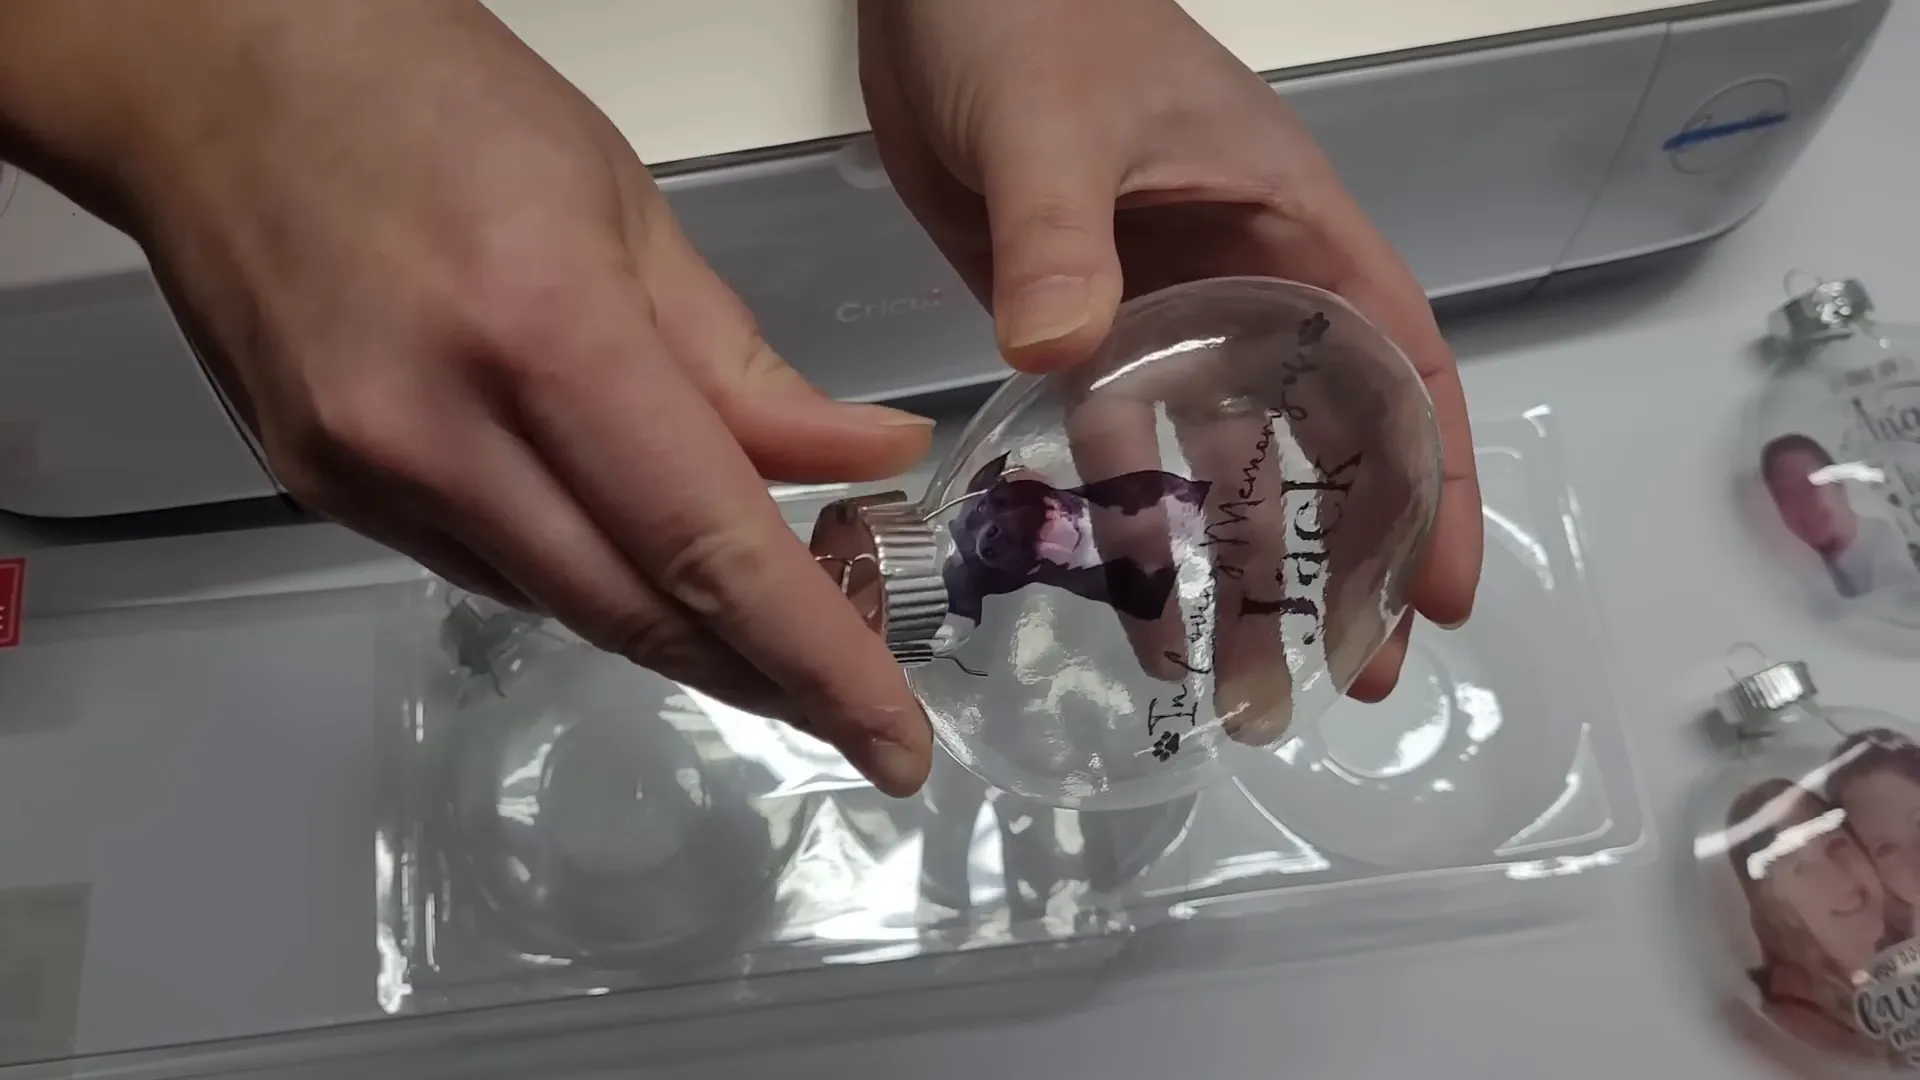
- Prepare Your Ornament: Gently pop off the top of your glass ornament.
- Insert the Design: Carefully roll up your printed design and slide it into the ornament. It should spring into place inside.
- Secure the Top: Once the design is inside, reattach the top of the ornament. You can pinch it to secure it better.
- Add Ribbon or Hooks: Finally, thread a ribbon or use ornament hooks to hang your new personalized ornaments.
Tips for Success
Creating personalized ornaments should be a fun and rewarding experience. Here are some tips to ensure your project goes smoothly:
- Be Patient: Allow your printed designs to dry completely before handling. This helps prevent smudging.
- Test Print: If you’re unsure about the colors or quality, do a test print on regular paper before using transparency paper.
- Keep Your Workspace Organized: A tidy workspace helps avoid mistakes and makes the crafting process more enjoyable.
- Experiment with Designs: Don’t hesitate to try different designs and layouts. The more you practice, the better your ornaments will become!
Final Thoughts and Next Steps
Congratulations! You’ve successfully created personalized ornaments that can be cherished for years to come. Whether for Christmas, weddings, or memorials, these floating ornaments are a beautiful way to celebrate special moments.
As you continue your crafting journey, consider exploring other Cricut projects or experimenting with different materials. The possibilities are endless when it comes to DIY ornaments! These personalized keepsakes are a hit with everyone, and should be easy to sell and make some extra money this holiday season!
FAQs about Personalized Ornaments
1. Can I use other types of ornaments?
Absolutely! While glass ornaments provide an elegant look, plastic ornaments can also be used for a more durable option, especially if they will be handled frequently.
2. What if I don’t have a Cricut machine?
If you don’t have a Cricut machine, you can still create personalized ornaments by hand. Use printable stickers or other craft supplies to customize your designs.
3. How do I ensure my designs are high quality?
Always use high-resolution images for your designs. This ensures that your prints turn out clear and vibrant, making your personalized ornaments truly stand out.
4. Can I make these ornaments for occasions other than Christmas?
Definitely! These personalized ornaments are perfect for any occasion, including weddings, birthdays, and memorials. Customize them to fit the theme of your event.
5. What are some other ideas for personalized ornaments?
You can create ornaments featuring favorite quotes, family photos, or even handprints from children. The sky’s the limit when it comes to creativity!
Cricuter’s Recommended Deals
Connect with Cricuter
Some of the links provided are affiliate links. Cricuter is a participant in the Amazon Services LLC Associates Program, an affiliate advertising program. As an Amazon Associate, I earn a commission on products purchased through these links at no additional cost to you.
