Beginner Cricut Wood Sign Hack You’ll Love Trying
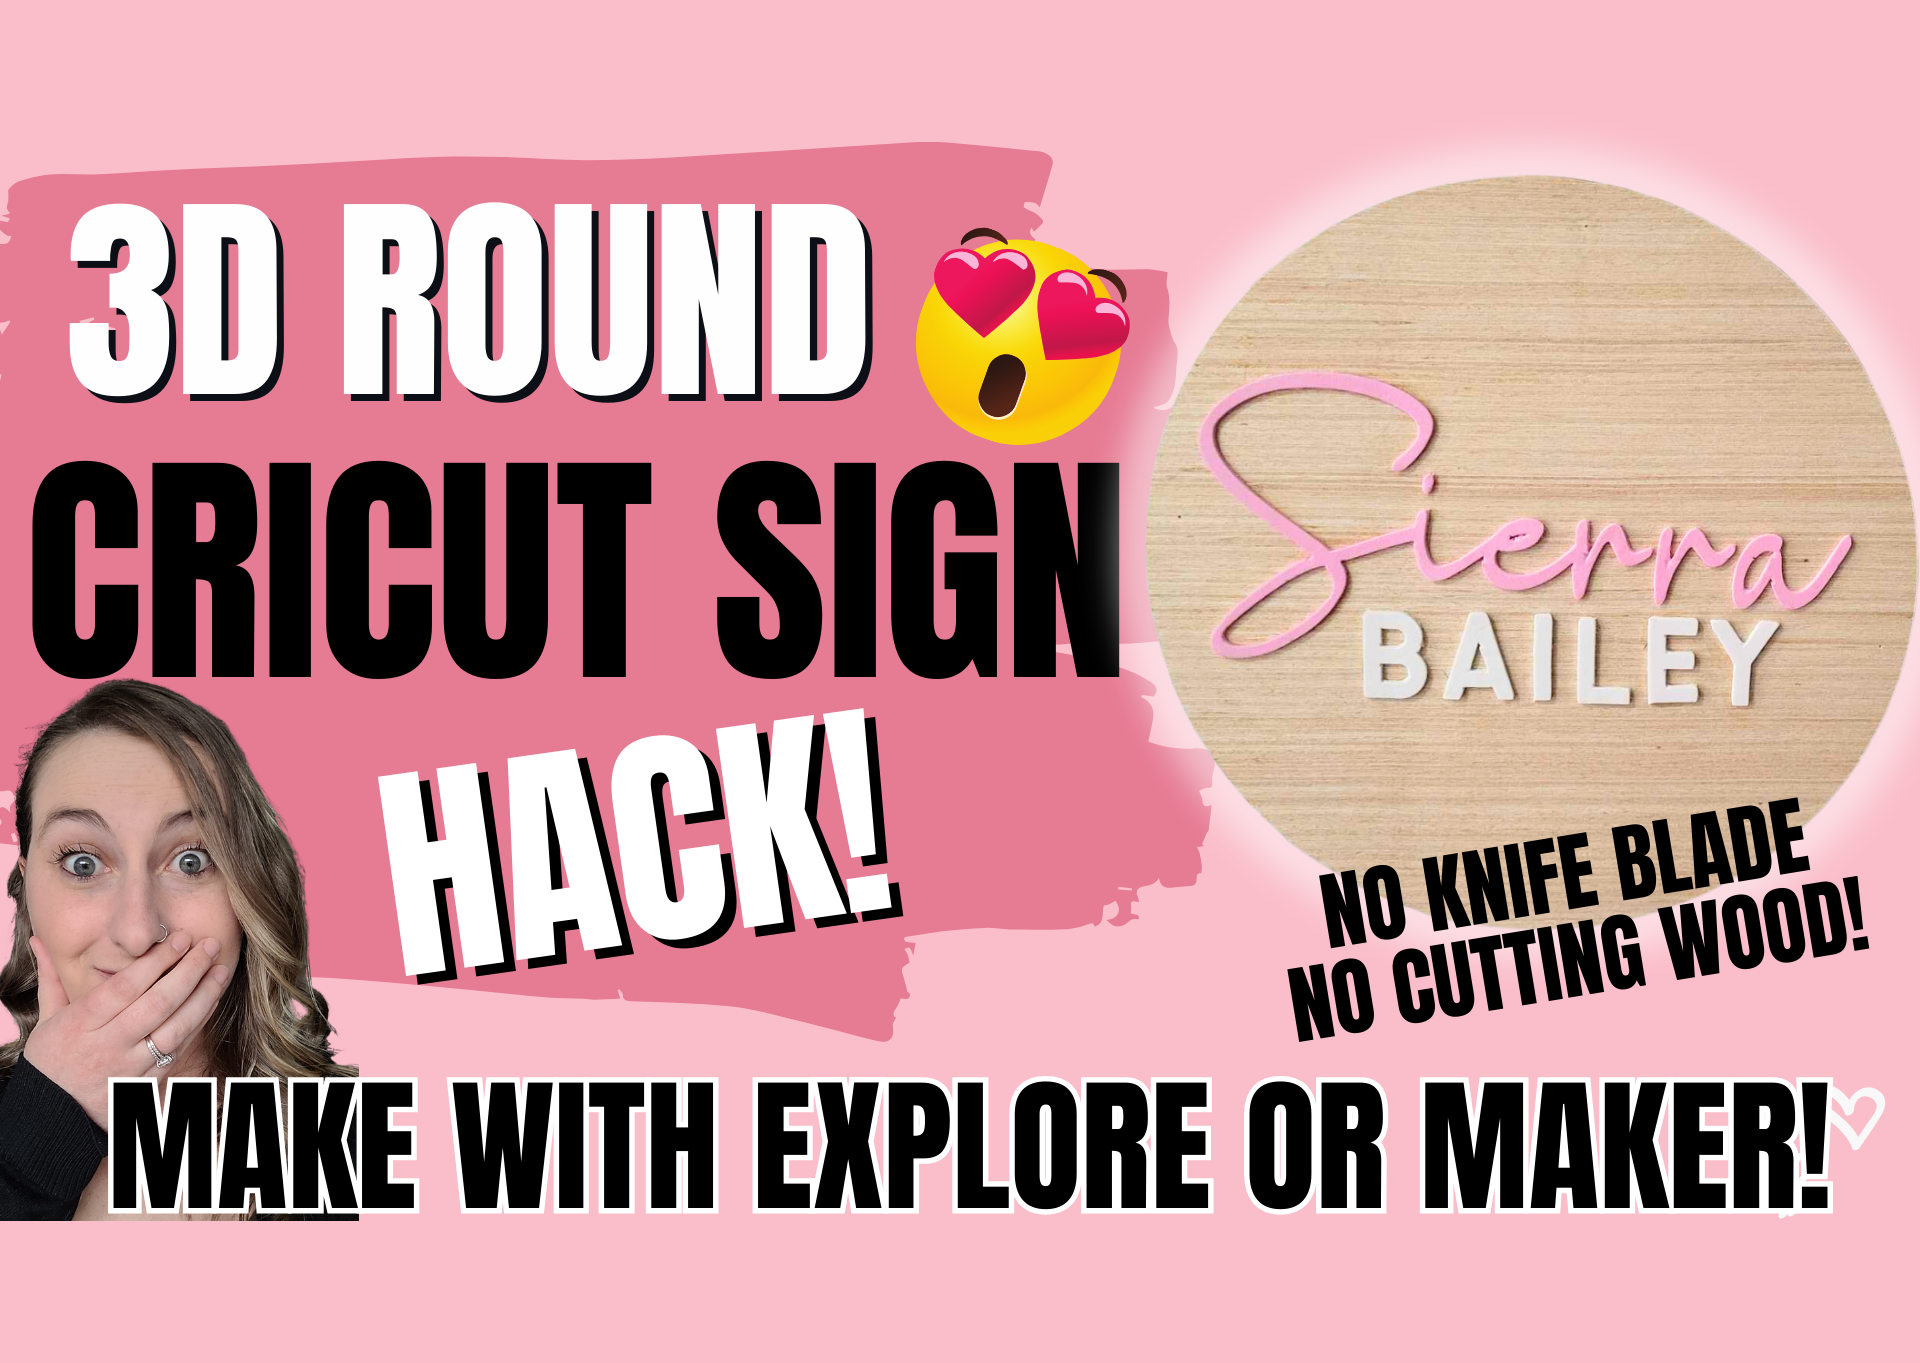
Welcome back Cricuters! Today, I’m thrilled to share a game-changing DIY 3D Wood Sign hack that will bring your crafting game to a new level.
Imagine creating stunning 3D signs that mimic the look of laser-cut wood without the need for expensive laser cutting equipment.
With this innovative technique using a deep point blade, you can achieve that intricate laser cut wood-like finish on wood signs with any Cricut machine from the Explore or Maker series.
Not only does this method save you money on specialty knife blades and laser cutting machines, but I’ll also guide you on where to find affordable high-quality round wooden pieces for your projects.
You can watch how I did mine in the video below!
What you need to make a wood sign with your Cricut
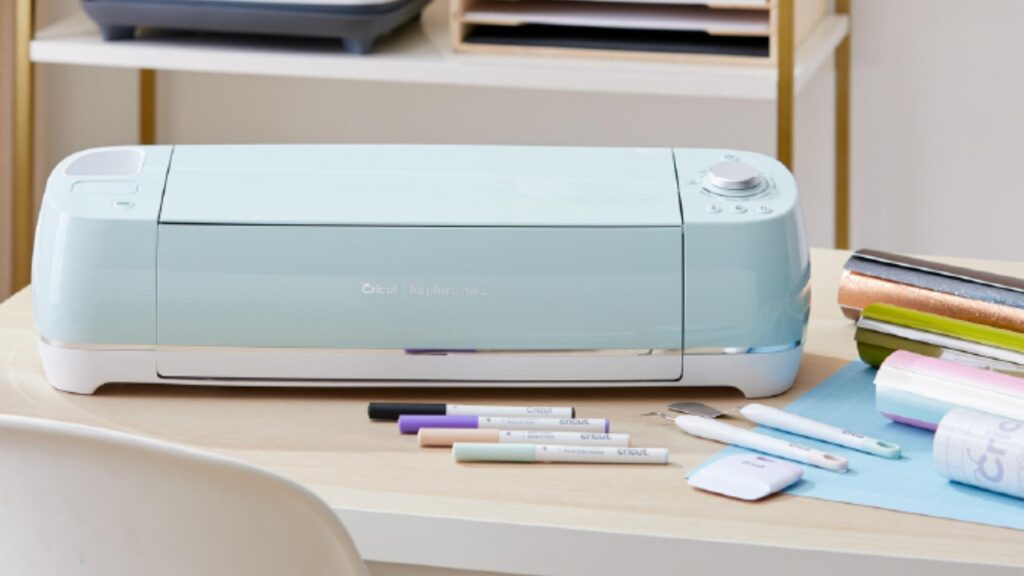
Before we dive into the step-by-step process, let’s gather the essential materials for this project. I included some links to where you can find some of these things. By clicking this link, I will earn a small commission if you buy that item.
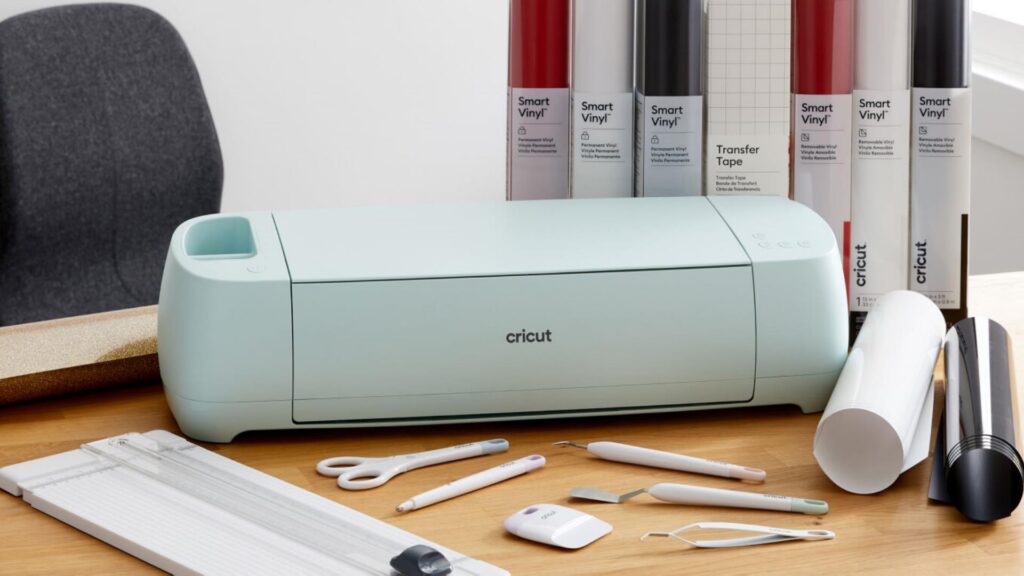
- Cricut machine (Explore Air 2, Explore 3, Maker, or Maker 3)
- Deep point blade and housing
- Round wood sign (recommended from Target for a professional finish)
- Craft foam sheets in various colors
- Mod Podge
- Craft glue
- Paint brushes or makeup sponges (recommended) to apply a thin layer of glue to the foam.
- Strong grip mat (purple)
- Basic weeding tools
- Optional: Paint, stain, ribbon or bows for additional customization
Finding the Perfect Round Wood Sign
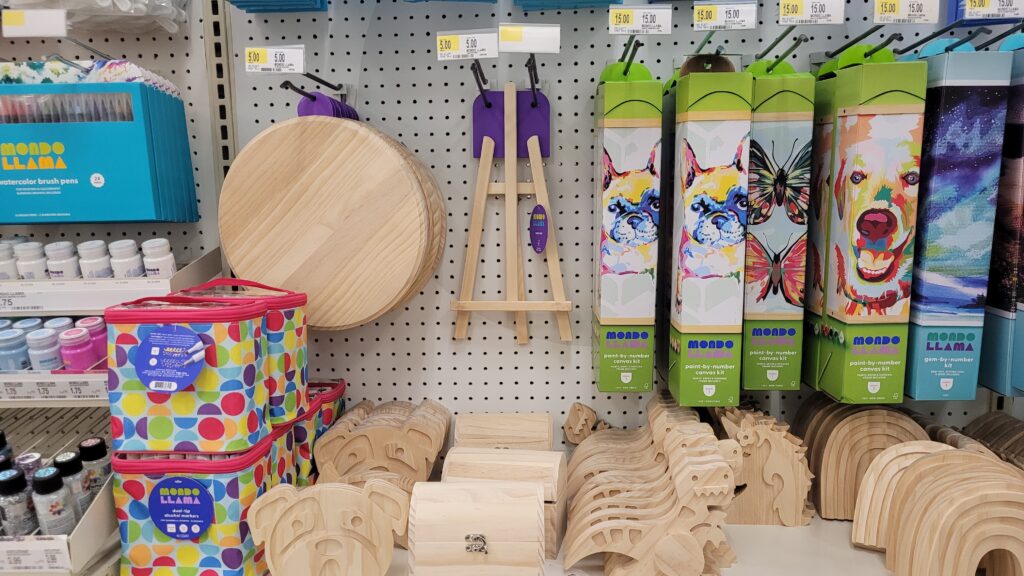
You can purchase round wood pieces from most home improvement stores like Home Depot or Lowes. However, I found some round wood signs from Target that work perfect for this project, available at a fraction of the cost and with a finished edge for a polished look. These can be found near school supplies and crafts and for only $5! I’ve also purchased some inexpensive wood round pieces from Five Below, another one of my favorite stores to find Cricut blanks at.
Crafting Process
- Choosing Fonts: Select a script font (e.g., Ashley Southine) and a sans-serif font (e.g., Avocado) for a dynamic design. Ensure both fonts are bold and thick to facilitate cutting through the foam.
- Cricut Design Space Setup:
- Type out your desired names using the chosen fonts.
- Weld your script fonts together to ensure one continuous cut. Failing to weld script fonts together will cause your Cricut machine to make cut marks in between each letter.
- Adjust the thickness of script fonts by using the bold key. If the font doesn’t have the bold option, you can duplicate the name and offset it slightly, then weld the two names together.
- Resize names according to the dimensions of your round wood sign.
- Select Make It in the upper left corner of Cricut Design Space.
- Select EVA foam as the material in Design Space. Change the pressure to more.
- Conduct a test cut to ensure proper foam cutting. I use a 0.5 inch star shape for test cuts.
- Preparing Foam Sheets to Cut on Cricut Machine:
- Slide the the white mat guiding wheels on the Cricut machine to the sides to prevent them from squishing the foam.
- Replace the fine point blade with the deep point blade and housing. You cannot put a deep point blade into a fine point blade housing.
- Place foam sheet in the upper left hand corner of the purple strong grip mat, ensuring they extend just past the 1-inch mark to prevent marks from the wheels. Don’t forget to move your design over one inch to the right in Design Space before cutting.
- Slide your mat under the two tabs and click the blinking double arrow to load your mat into your machine. Then press the blinking Cricut button to begin the cut.
- Gluing Foam Letters:
- Carefully weed the excess foam from around the names and discard. Use your spatula tool to lift the foam up from the mat and flip the name upside down.
- Apply a thin layer of glue to the back of the foam letters. A makeup sponge works great for applying glue.
- Press the letters onto the round wood sign, allowing for a few minutes of drying time. Temporarily tape a ruler to your wood sign to help keep your letters straight and level.
- Mod Podge Finish:
- Paint a thin layer of Mod Podge over the foam letters for a solid wood-looking appearance.
- Optional Customization:
- Consider adding ribbons, bows, or other embellishments to enhance the sign’s visual appeal.
Conclusion
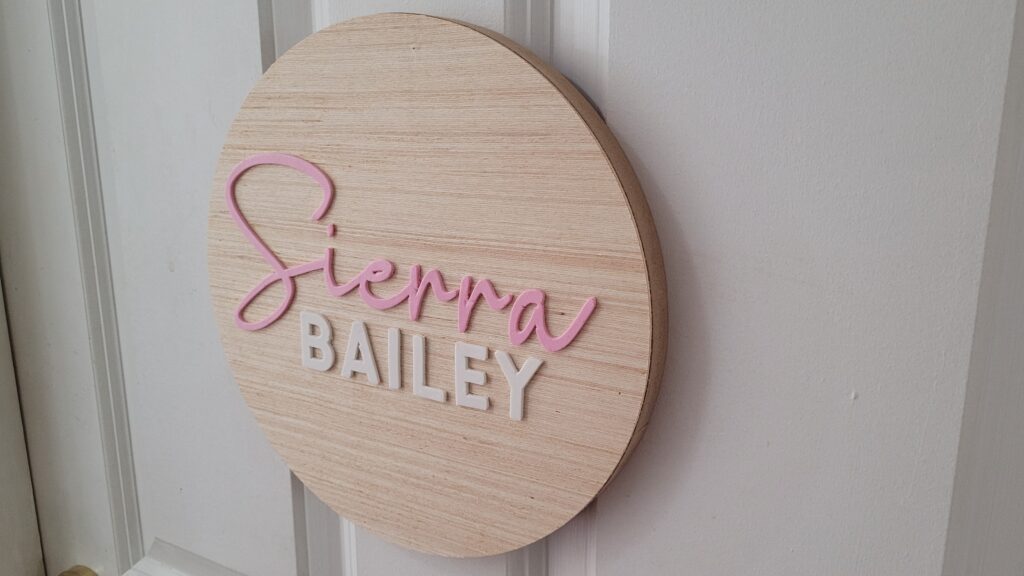
Congratulations! You’ve just mastered the art of creating stunning 3D wood-like signs with your Cricut machine.
Whether you’re looking to personalize your home decor or create unique gifts, this DIY 3D Wood Signs project is a fantastic way to add a touch of elegance to any space.
Feel free to unleash your creativity and explore various design ideas, and don’t forget to share your masterpieces with us. Happy crafting!
Looking for something to read next? Learn what else your Cricut machine can do. Before you become a Cricut expert, learn what not to do in my 10 Biggest Mistakes New Cricut Owners Make article. Or if you’ve already made something beautiful you want to sell, check out How To Get Better Pictures Of Your Cricut Projects Using Product Mockups
Cricuter’s Recommended Deals
- Sign up for Creative Fabrica’s FREE trial
- Sign up for Creative Fabrica’s discounted yearly subscription
- Shop the best deals on Cricut machines
- Accept credit card payments with your FREE Square Card Reader
- Check out my Linktree
Connect with Cricuter
Some of the links provided are affiliate links. Cricuter is a participant in the Amazon Services LLC Associates Program, an affiliate advertising program. As an Amazon Associate,
