How to Make Personalized Easter Baskets
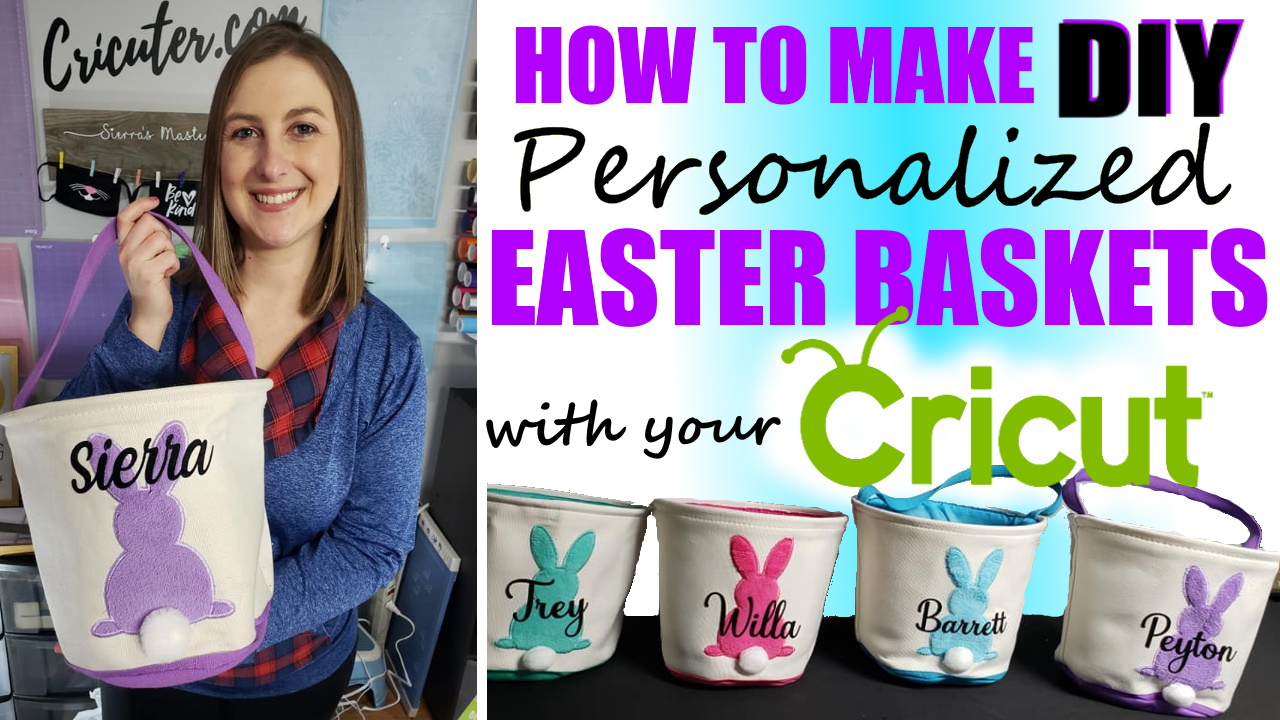
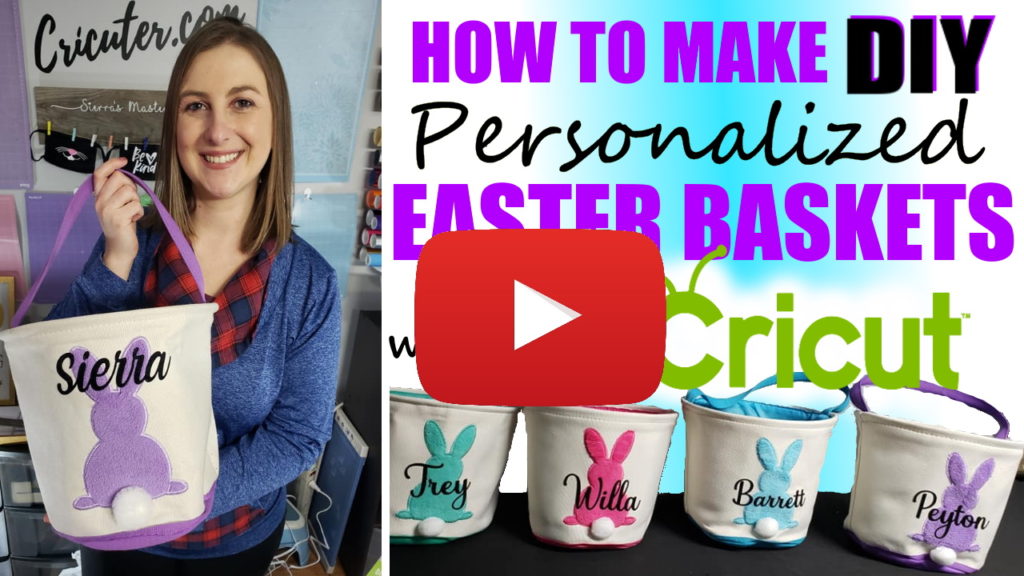
Hi Cricuters! Check out our new video all about how to make beautiful, custom Easter baskets. I found these adorable baskets at Five Below and thought that they were perfect for personalizing! Watch our YouTube tutorial here and please subscribe to our channel!
Step 1: Upload or make your design in Design Space
I started by typing out the names I wanted to put on the basket in Cricut Design Space. Next, I chose the font Baby Giovani Script from Creative Fabrica. Then, I reduced the spacing between the letters to connect the cursive letters together. This is done by selecting “Ungroup” and moving the letters until they touch. Finally, you click and drag over the name to select it, then click “weld” to permanently connect all the letters.
Step 2: Measure project and resize in Design Space
Measure your basket to see what size you need to make the names. I kept my names around 5 inches long. Resize your image and remember to mirror your design before cutting.
Step 3: Cut Vinyl
Measure out the amount of vinyl you need and cut it off. I use this Cricut trimmer to cut my vinyl. After you cut it, stick it shiny side down in the upper left hand corner of your standard grip (green) or strong grip (purple) mat. I used black flocked vinyl for this project. If you’ve never heard of flocked vinyl before, it is thick and fuzzy feeling. I love using it on blankets, pillows, clothing, and these Easter baskets. I have made these Easter baskets in the past with Siser Easyweed HTV and I was really unhappy with the finished product. The flocked vinyl makes all the difference!
Step 4: Cut on Cricut
Put the vinyl on your mat with the shiny side facing down in the upper left hand corner. Load it into your machine and select the flocked vinyl setting. Begin cutting your project!
Step 5: Weed Project
Unload your mat from the machine and start weeding the unneeded bits of vinyl out.
Step 6: Iron on
Here comes the tricky part! I used a hand iron to heat transfer the flocked vinyl names on to my baskets. A Cricut Easy Press Mini or Cricut Easy Press would probably work also. I would not recommend using a heat press for this project. It’s easy to ruin these baskets with too much heat and pressure. You want to press the name on while keeping the basket rounded rather than smooshed flat. This is my technique: I put an oven mitt on my left hand, and put my hand inside the basket. Put the name on the basket, cover it with a teflon sheet, and press it with the iron that you’re holding in your right hand. I pressed it for about 30 seconds total, but rotated my iron around the decal about every 5 seconds. I found that if you heat in one spot for too long the canvas will start to get iron imprints and warped. Moving the iron around while heating it helped prevent that from happening. Let your flocked vinyl cool, then peel off the cover sheet.
