Cricut Crafting 101: Must-Know Cricut Tips and Tricks for Beginners
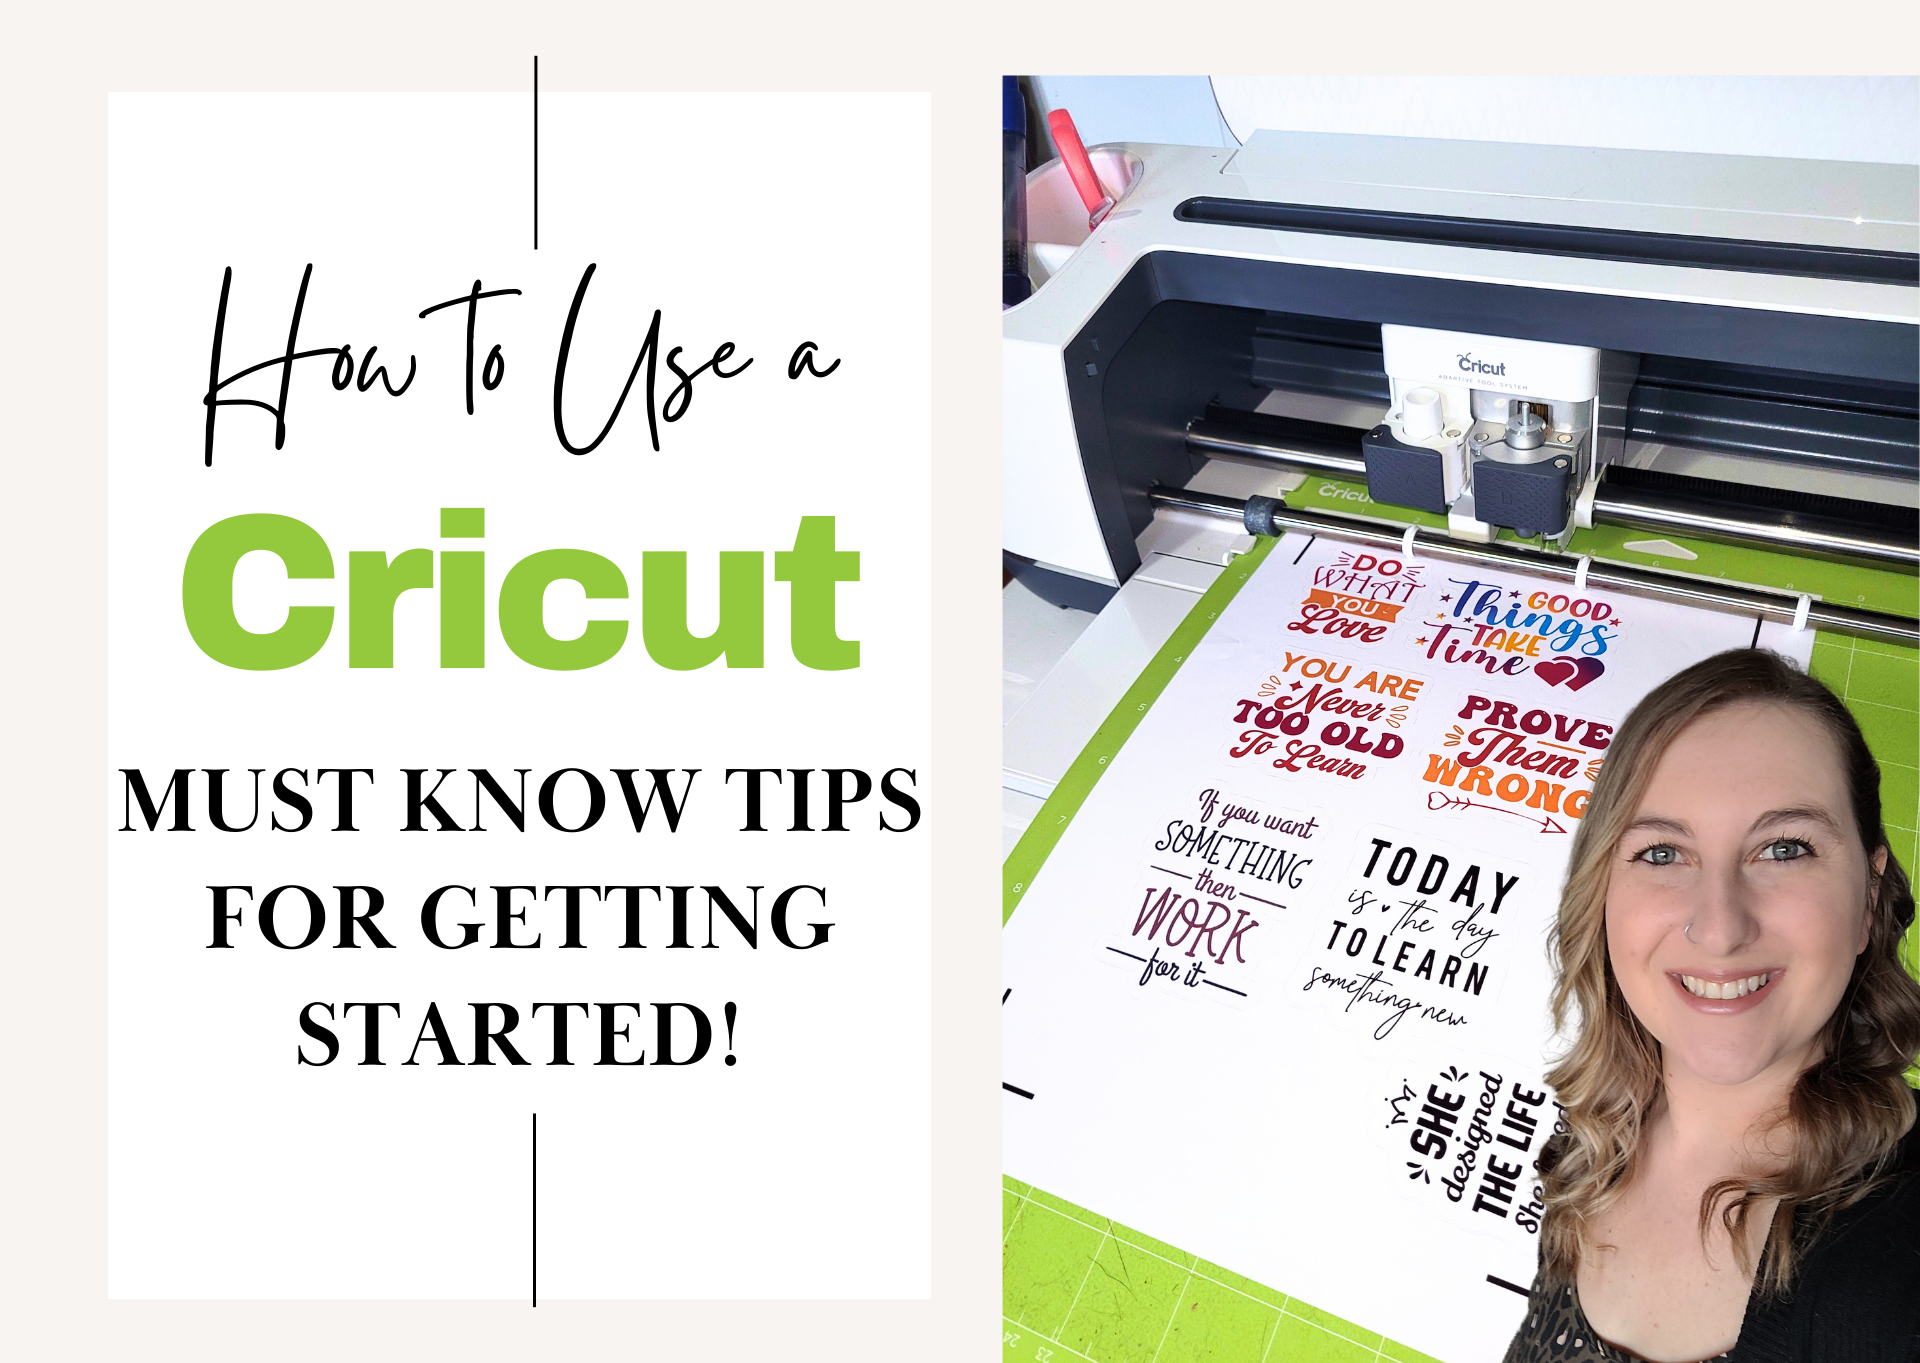
Welcome, Cricuters! In today’s post, we’re diving deep into the amazing world of Cricut machines. Whether you’re a curious beginner, contemplating your first Cricut purchase, or just looking to enhance your skills, this beginner’s guide is filled with Cricut tips just for you. Let’s embark on this exciting journey together! Keep reading or watch my video to learn more!
Tip 1: Understanding Your Cricut Machine
The first of many Cricut tips is to take the time to acquaint yourself with your machine. Cricut frequently releases new models with enhanced features. This year Cricut released the new Cricut Venture and Cricut Joy Xtra. Read your machine’s user manual thoroughly to grasp its basic functions and features. Models like the Cricut Venture and Cricut Maker 3 offer more offer various capabilities with the Adaptive Tool System. Need help choosing the right model? Check out this article to help you decide which Cricut machine you should buy in 2023.
Tip 2: Maintenance for Optimal Performance
Keep your Cricut machine in top shape by maintaining its cleanliness. Regularly wipe it down, and invest in quality cleaning tools like compressed air. Pay attention to the cutting blade; a sharp blade is essential for precise cuts. Explore this video for insights into affordable and effective blade replacements.
Tip 3: Cricut Design Space Software
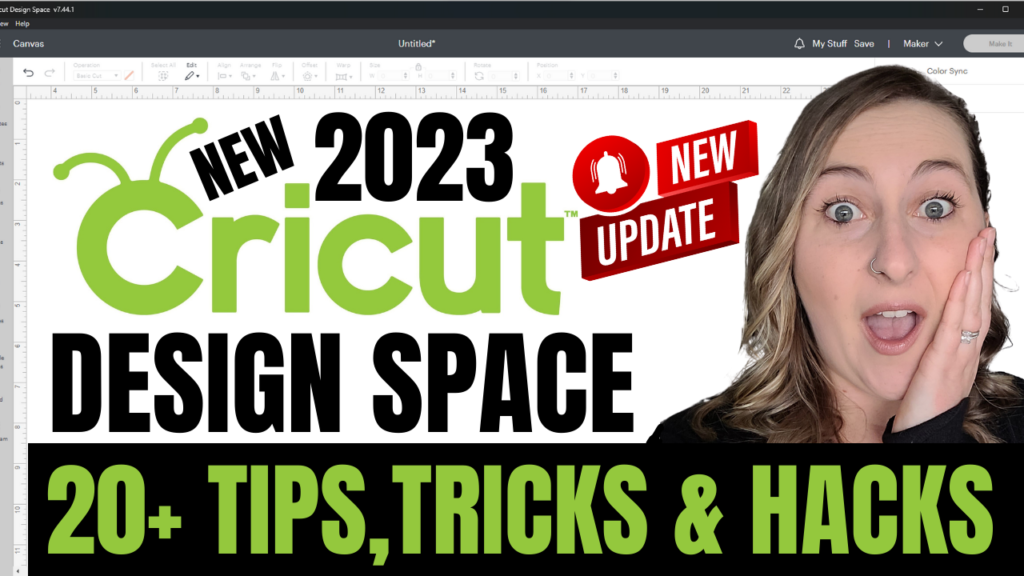
Cricut Design Space is where the magic unfolds. This software is your creative playground for crafting unique projects. If you’re unsure how to navigate it, fear not! Numerous tutorials, including mine, can guide you through every step. You can even start experimenting without a Cricut machine by downloading the software for free here.
Tip 4: Start with Simple Projects
Begin your Cricut journey with simplicity. Resist the temptation to dive into intricate designs right away.
Start with basic materials like vinyl or cardstock and simple shapes such as hearts and squares. Gradually progress to more complex projects as your confidence grows. Learn from my mistake – attempting intricate designs too soon can lead to frustration.
Tip 5: Invest Wisely in Crafting Materials
When it comes to your Cricut projects, the quality of your materials matters. Resist the temptation of cheaper vinyl and transfer tapes, as they can significantly impact your crafting experience. Opting for high-quality materials ensures smoother weeding processes and better adhesion. Check out some of my favorite Cricut tools, blanks and accessories here. Remember, in the world of crafting, you truly get what you pay for.
Tip 6: Know Your Materials and Blades
Different Cricut machines accommodate various materials. Understand the materials compatible with your model and the corresponding blades and settings. Check the Cricut material guide for accurate project setup in Cricut Design Space.
Tip 7: Weeding and Transfer Tape Techniques
Weeding and using transfer tape may seem daunting initially, but with practice, you’ll master these essential skills. Take your time during weeding to preserve intricate details. Invest in quality transfer tape like this for seamless vinyl transfers. Learn various weeding techniques, such as reverse weeding, for different projects.
Tip 8: Mat and Material Placement
Securely place your material on the mat, aligning it in the upper left-hand corner. Use the appropriate mat type for your material to avoid mishaps. Unsure of what mat you should be using? Check out this video where I explain the differences between all of the Cricut mats and teach you which mat you should choose for various materials. Double-check that the mat is loaded correctly into the machine to ensure accurate cutting.
Tip 9: Calibration and Testing
Periodically calibrate your machine to maintain cutting accuracy, especially for features like print and cut. Always perform a test cut when using new materials to confirm your settings before committing to a full project.
How To Calibrate Your Cricut Machine
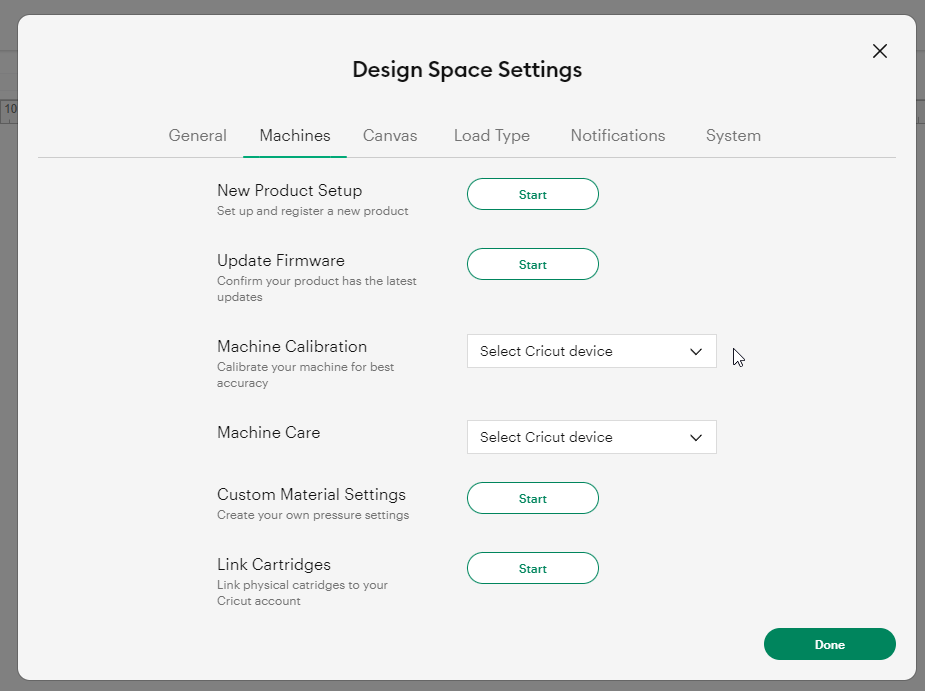
To calibrate your Cricut machine, click on your name in the upper right corner of Cricut Design Space. Then select Settings > Machines > Machine Calibration. Select your model and click done. Place a sheet of copy paper to the upper left hand corner of your blue light grip mat. Follow the prompts in Design Space to calibrate the machine.
Tip 10: Join the Cricut Community
Connect with fellow Cricuters in the Cricut community by joining Facebook groups like mine. You can make new friends, ask questions, learn and share. Join online forums, Facebook groups, and follow Cricut enthusiasts on social media. The exchange of ideas, project inspirations, and problem-solving within the community is invaluable.
Embrace Mistakes and Enjoy the Journey
Finally, don’t fear mistakes; they’re part of the creative process. Experiment, try new things, and relish the learning experience. Remember, practice, patience, and a dash of creativity go a long way in the world of Cricut. I hope these Cricut tips help you become a better Cricuter!
Happy crafting, and may your Cricut journey be filled with endless inspiration! If you found this guide helpful, please give it a thumbs up, subscribe for more tutorials, and share your tips in the comments below. Thanks for watching!
Looking for something to read next? Learn what else your Cricut machine can do. Before you become a Cricut expert, learn what not to do in my 10 Biggest Mistakes New Cricut Owners Make article. Or if you’ve already made something beautiful you want to sell, check out How To Get Better Pictures Of Your Cricut Projects Using Product Mockups
Cricuter’s Recommended Deals
- Sign up for Creative Fabrica’s FREE trial
- Sign up for Creative Fabrica’s discounted yearly subscription
- Shop the best deals on Cricut machines
- Accept credit card payments with your FREE Square Card Reader
- Check out my Linktree
Connect with Cricuter
Some of the links provided are affiliate links. Cricuter is a participant in the Amazon Services LLC Associates Program, an affiliate advertising program. As an Amazon Associate, we earn from qualifying purchases. This means, at no additional cost to you, we will earn a commission if you click through and make a purchase.
