Unboxing and Testing the WeCreat Vision 40W Laser Engraver
Join me as I unbox the powerful WeCreat Vision 40W Laser Engraver, a significant upgrade from its predecessor. Discover its features, setup process, and performance as we put this machine to the test on various projects.
Table of Contents
- Introduction to the WeCreat Vision 40W Laser Engraver
- Unboxing the Machine
- Understanding the Components
- Connecting the Exhaust Hose
- Setting Up the Air Assist and Antenna
- Powering Up the Laser Engraver
- Camera Calibration Process
- Performing the First Test Engraving
- Comparing the 20W and 40W Models
- Pricing and Purchasing Options
Introduction to the WeCreat Vision 40W Laser Engraver
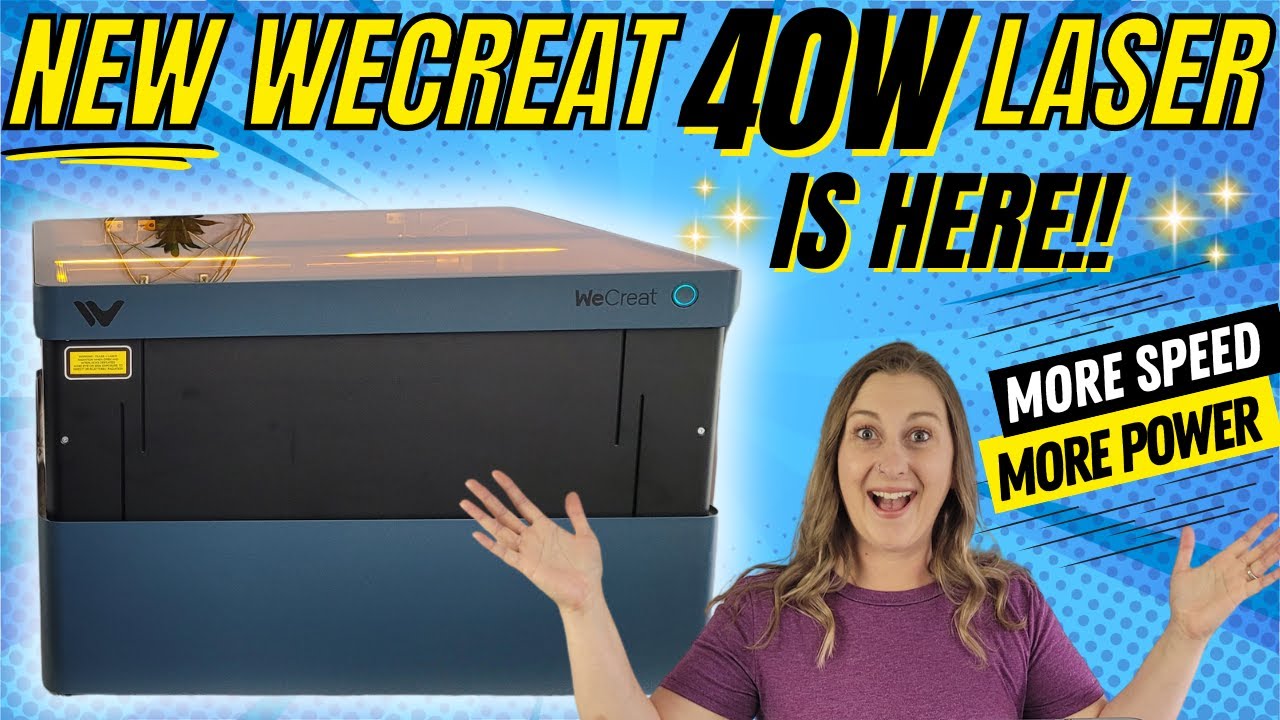
The WeCreat Vision 40W Laser Engraver is a game-changer for hobbyists and professionals alike. With its powerful 40W laser, this machine offers faster engraving and cutting times compared to its 20W predecessor.
Its enhanced capabilities allow users to work with a wider range of materials. This means you can tackle a wider variety of projects with ease and precision.
Key Features
The WeCreat Vision 40W comes packed with a multitude of innovative features that are specifically designed to significantly improve and enrich your engraving experience. By incorporating cutting-edge technology and user-friendly design elements, this engraving machine not only enhances productivity but also offers versatility and ease of use. Here are some highlights of the WeCreat Vision 40W that make it a standout choice for both hobbyists and professionals alike:
- 40W Laser Power: The powerful 40W laser ensures precision and efficiency, allowing for intricate designs and detailed engravings on a variety of surfaces.
- Faster Engraving Speeds: With increased engraving speeds, projects can be completed more quickly without sacrificing quality, making it an ideal choice for those who need to meet tight deadlines.
- Compatible with New Accessories: This machine is designed to be compatible with a range of new accessories, giving users the flexibility to expand their capabilities and explore new creative possibilities.
- Enhanced Range of Materials: The enhanced capability to work with a diverse range of materials—including wood, acrylic, leather, and more—allows for endless creative opportunities, catering to various project requirements and preferences.
Unboxing the Machine
Unboxing the WeCreat Vision 40W Laser Engraver is an exciting experience. The packaging is secure, and every component is carefully organized for easy access.
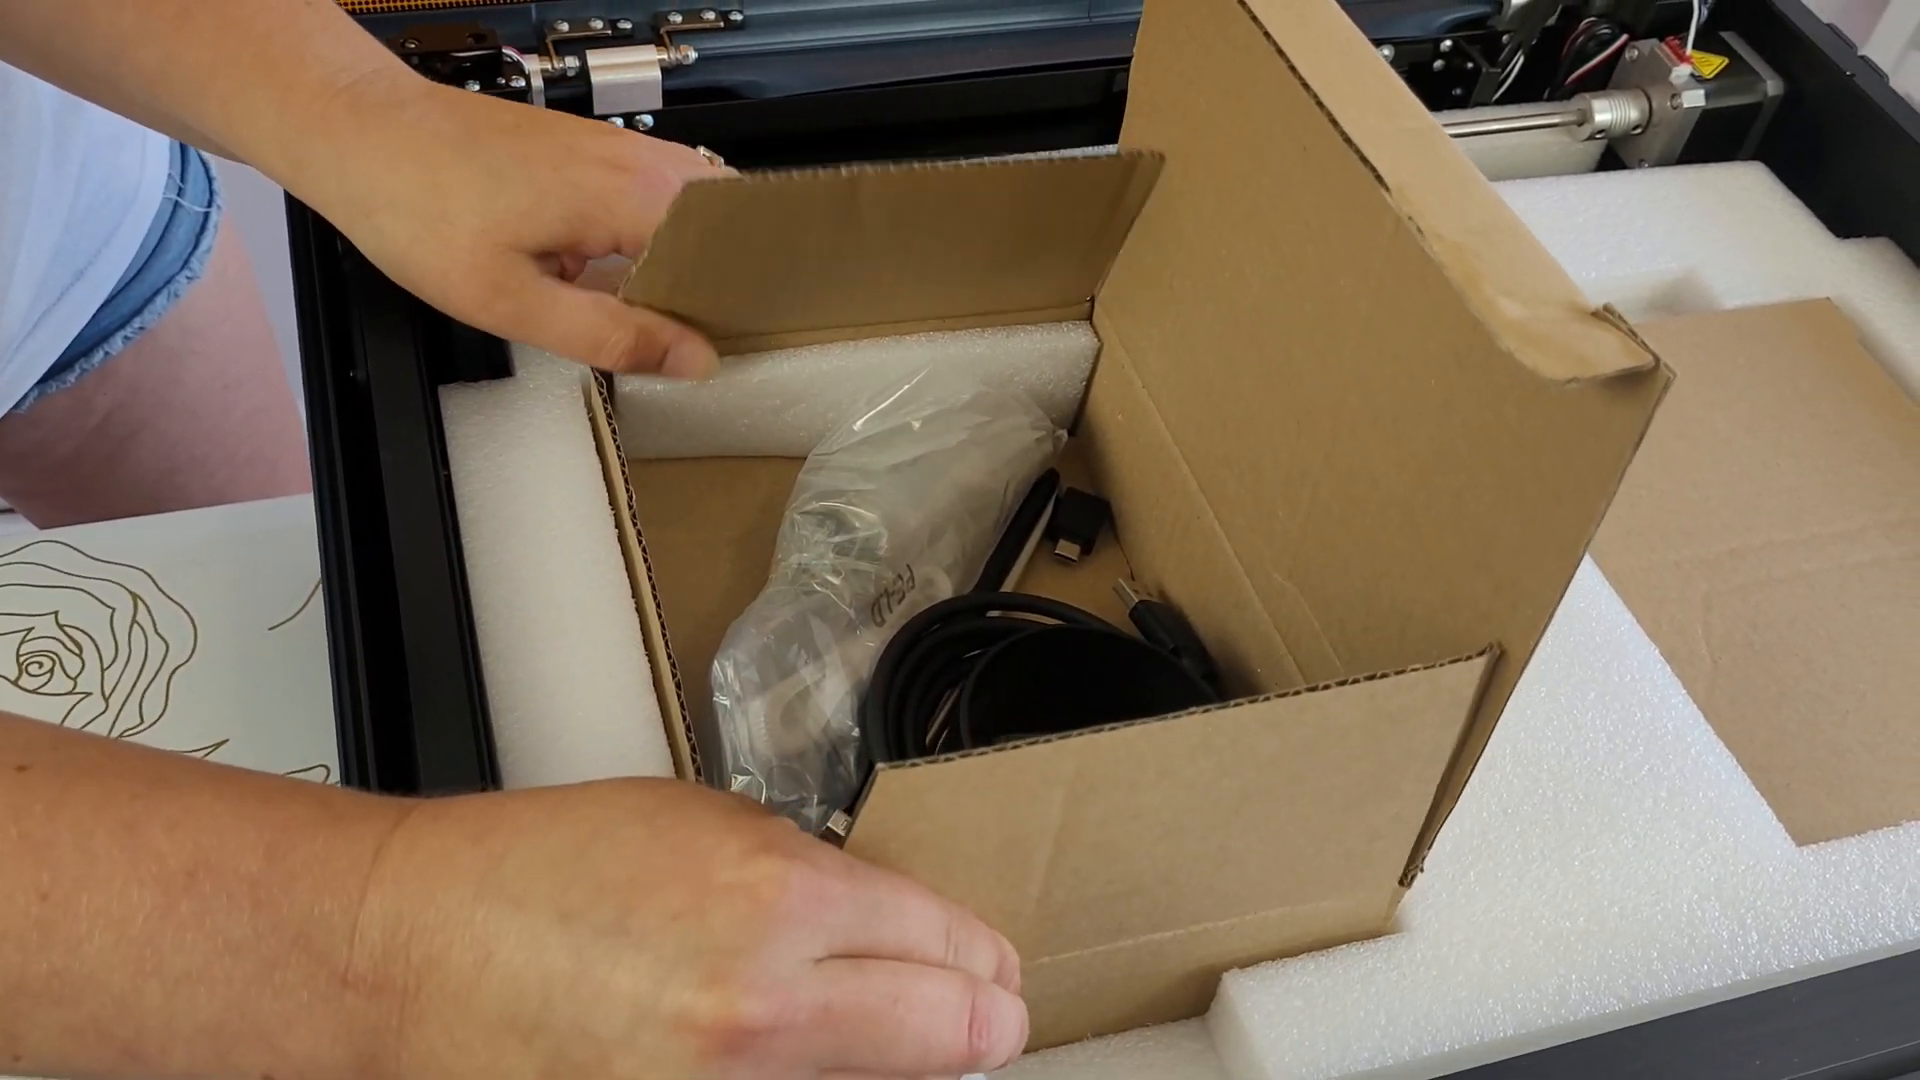
What’s Inside the Box
When you open the box, you’ll find various components necessary for setup and use. Here’s what to expect:
- Laser engraver unit
- Laser Bed
- Crumb tray
- Instruction manual
- USB cable
- Power cable
- Air assist system
- Rotary attachment
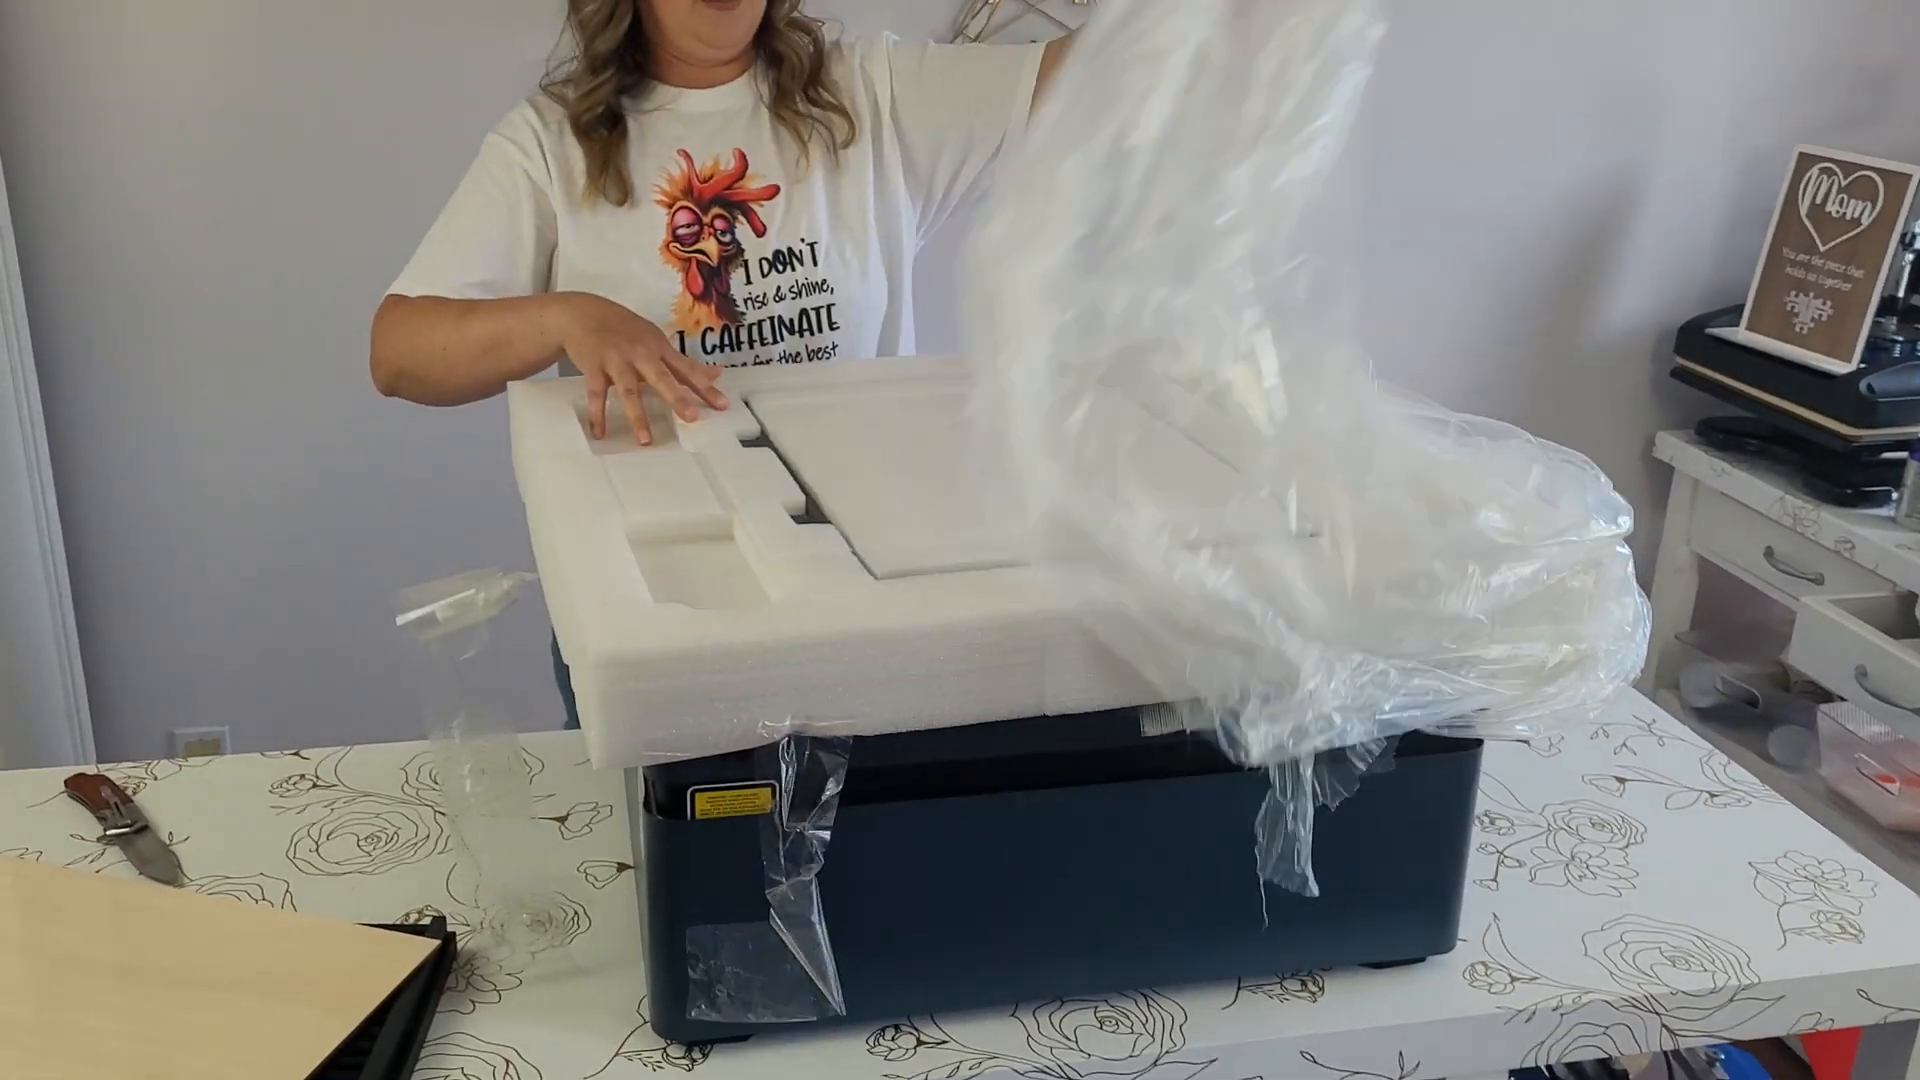
Initial Impressions
When you take the machine out of its packaging, you’ll be greeted by its sleek and modern design, along with a sleek new color that truly makes it stand out from the crowd! The laser beds not only look fantastic but are also impressively clean and ready to go, showcasing the excellent quality control that went into making this product.
As you dive into the box and explore what’s inside, don’t forget to check out the fantastic assortment of tools included for assembly! Everything is neatly packaged, letting you focus on having fun with your new machine instead of wrestling with tricky assembly instructions or worrying about missing parts.
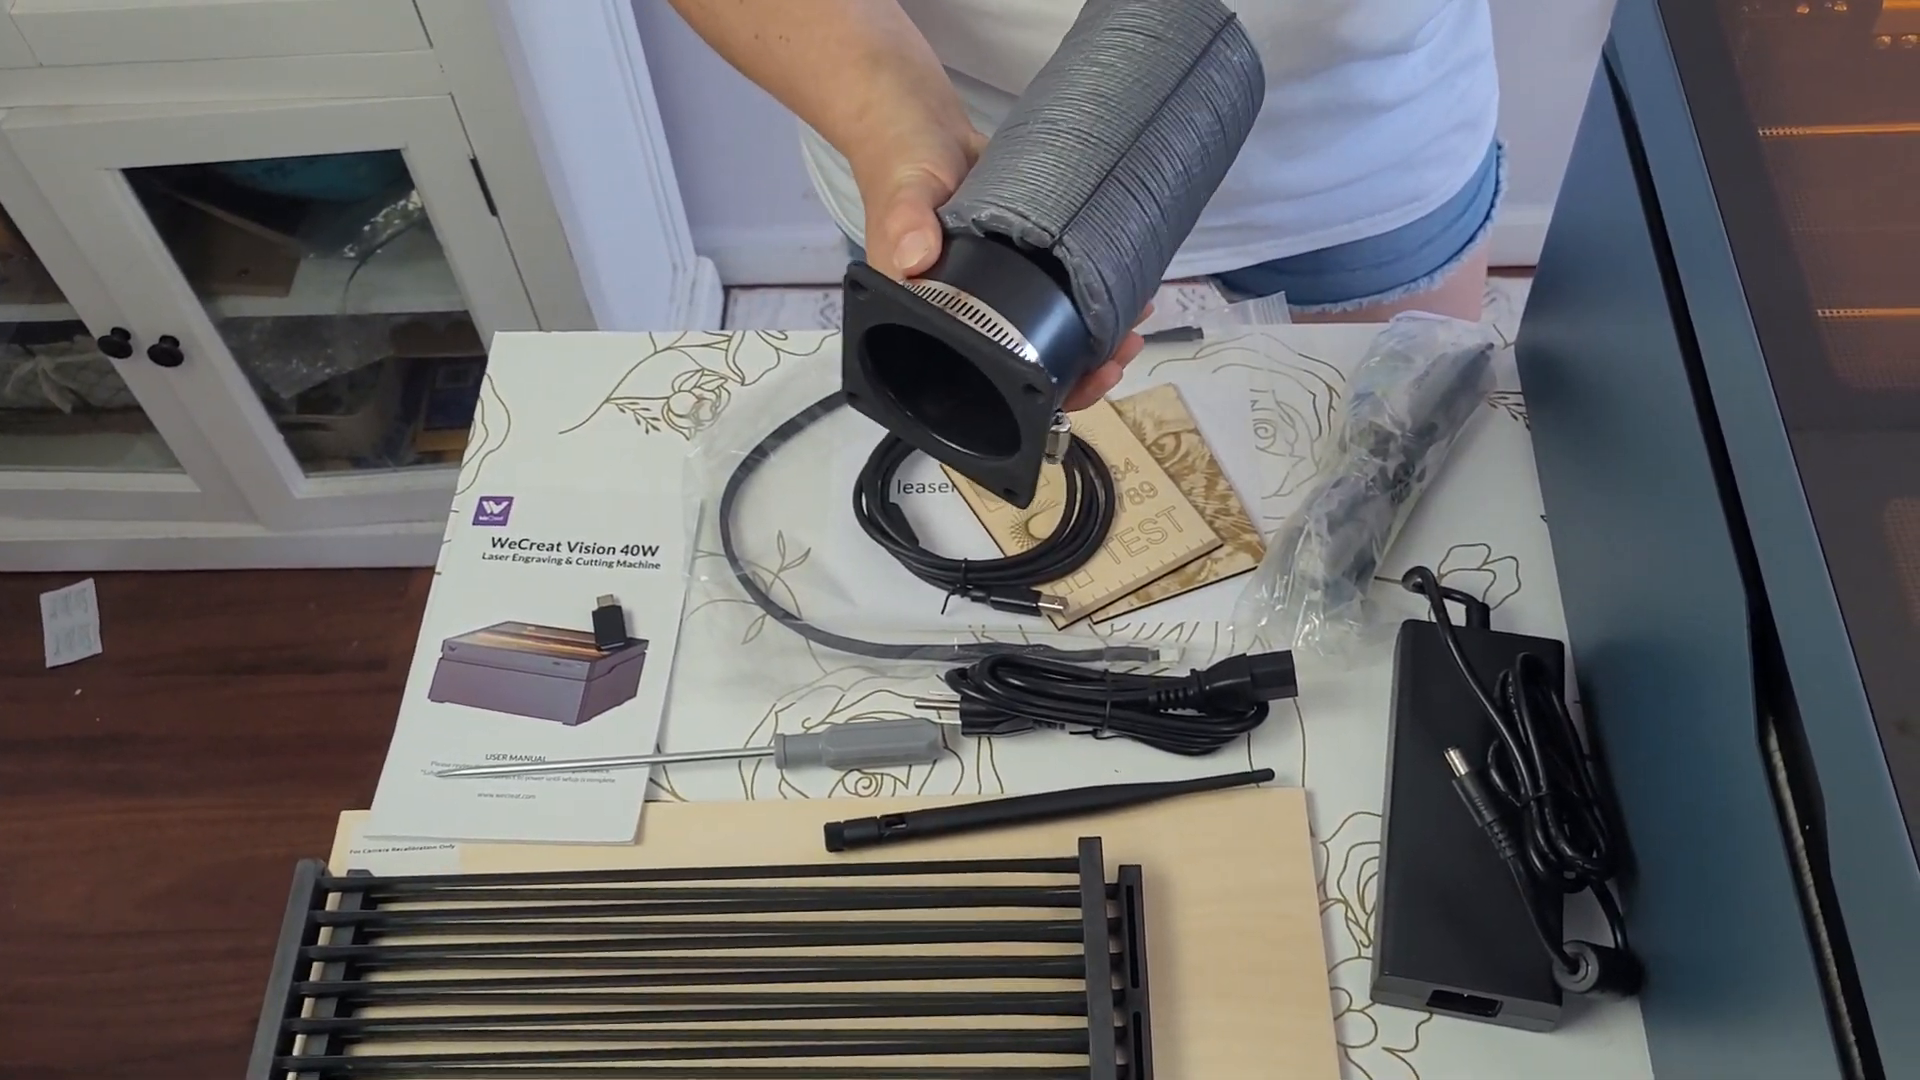
Understanding the Components
Before diving into the setup, it’s essential to familiarize yourself with the various components of the WeCreat Vision 40W Laser Engraver. This knowledge will make the assembly process smoother and enhance your overall experience.
Main Components
The WeCreat Vision 40W Laser Engraver includes several critical components:
- Laser bed grates
- Exhaust hose
- USB and power cables
- Antenna for Wi-Fi
- Air assist system
- Rotary attachment
Tools Needed
To assemble the engraver, only 2 tools are required:
- Standard screwdriver
- Small wrench
These tools will help you secure the various components.
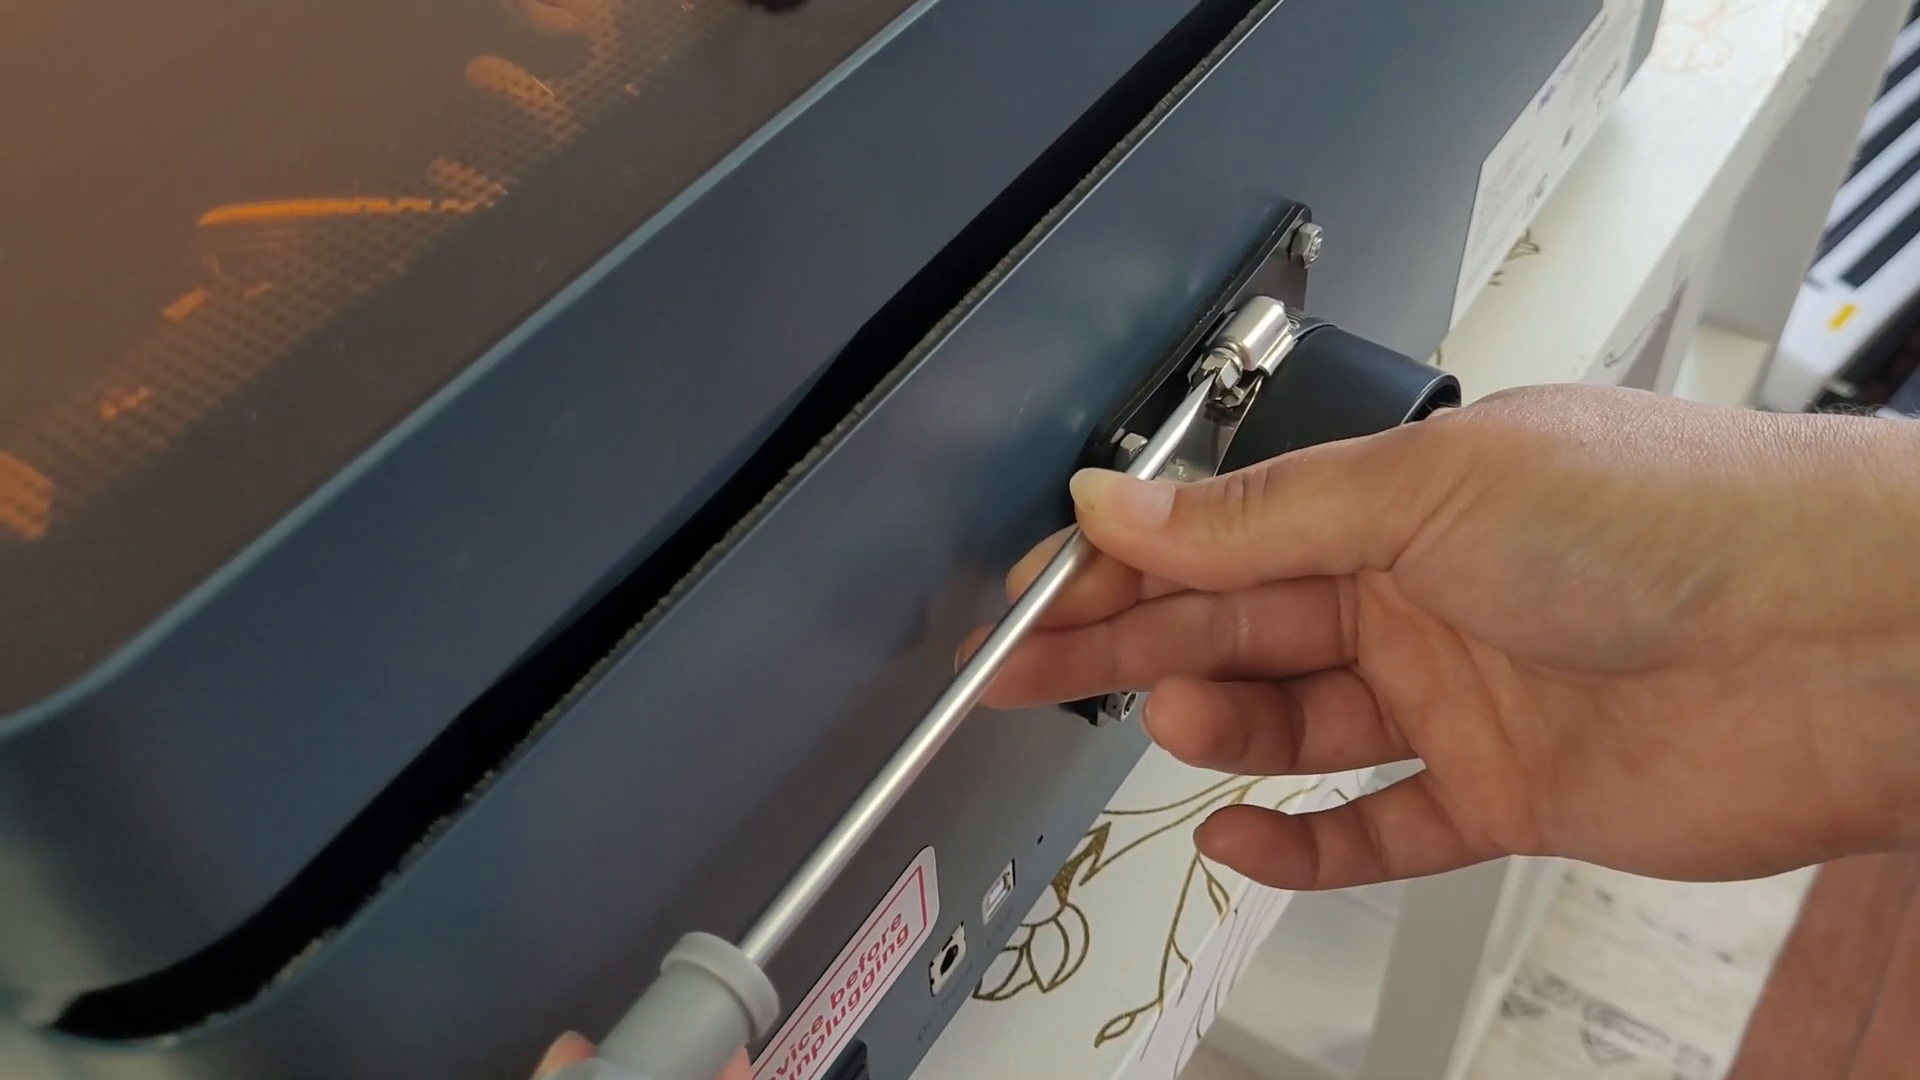
Connecting the Exhaust Hose
Connecting the exhaust hose is an important step in getting your laser engraver up and running! It helps ensure proper ventilation, which is key for both your safety and the best performance of your machine.
Steps to Connect the Exhaust Hose
Follow these steps to ensure a secure connection:
- Unscrew the four nuts on the back of the engraver.
- Slide the exhaust flange onto the designated outlet.
- Reconnect and tighten the four nuts.
- Attach the hose clamp around the hose.
- Tighten the hose clamp to secure the connection.
Setting Up the Air Assist and Antenna
Setting up the air assist and Wi-Fi antenna is crucial for optimal performance. The air assist helps to keep smoke off of the material while engraving, preventing damage. The antenna lets your machine connect to your pc wirelessly.
Steps to Set Up the Air Assist
Follow these steps to properly install the air assist:
- Locate the air assist nozzle.
- Connect the air hose to the nozzle.
- Ensure a secure fit to prevent leaks.

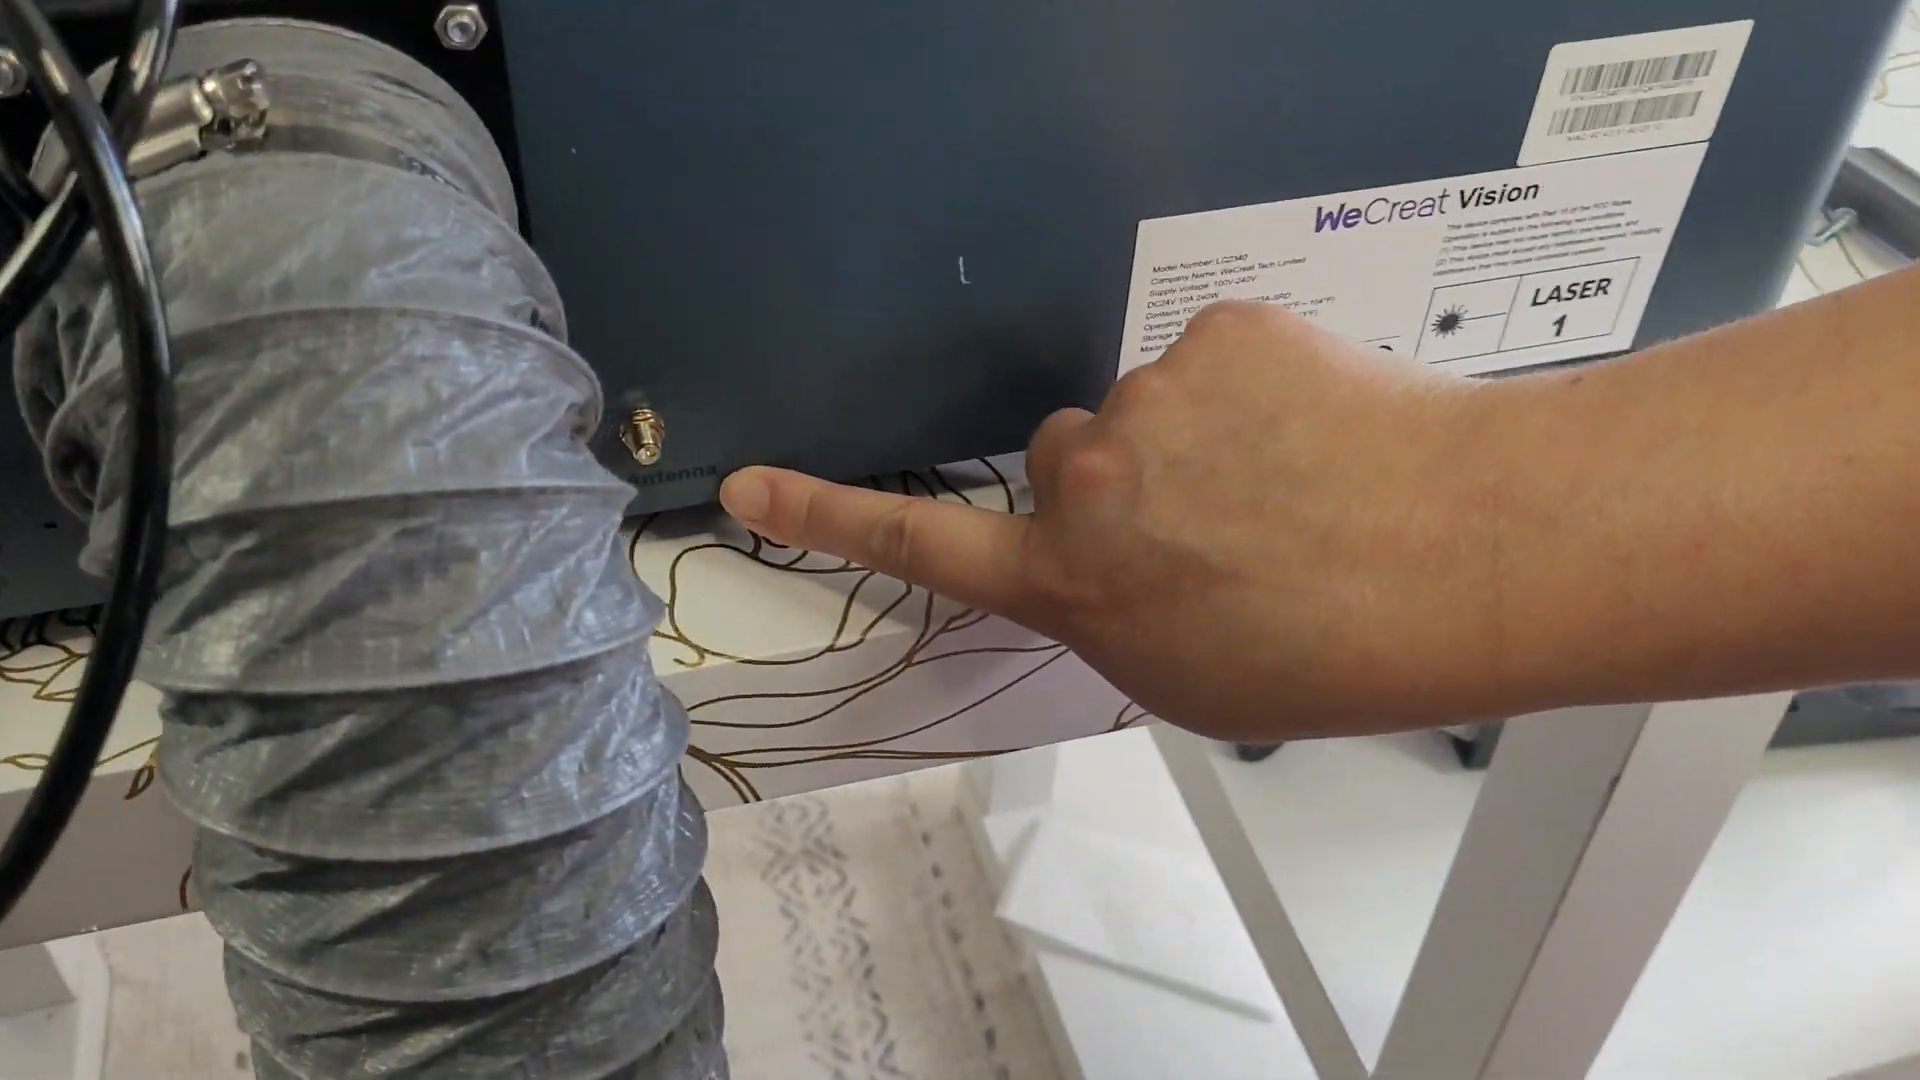
Installing the Antenna
The antenna enables Wi-Fi connectivity. This makes it so no cables are needed when sending your designs to be cut on the laser. Here’s how to install it:
- Find the designated antenna port.
- Screw the antenna into place.
Powering Up the Laser Engraver
After setting up, it’s time to power up your laser engraver. This step will prepare the machine for connection and calibration.
Steps to Power Up
To successfully power up the engraver, follow these steps:
- Connect the power cable securely.
- Flip the power switch on the back of the machine.
- Wait for the system to boot up.
Camera Calibration Process
Calibration is essential for accurate engraving with the WeCreat Vision 40W Laser Engraver. This process ensures the camera aligns correctly with the laser for precise cuts and engravings.
Steps to Calibrate the Camera
Follow these simple steps to calibrate your camera:
- While in a project, press the Settings button
- Click the button to check for the latest software version.
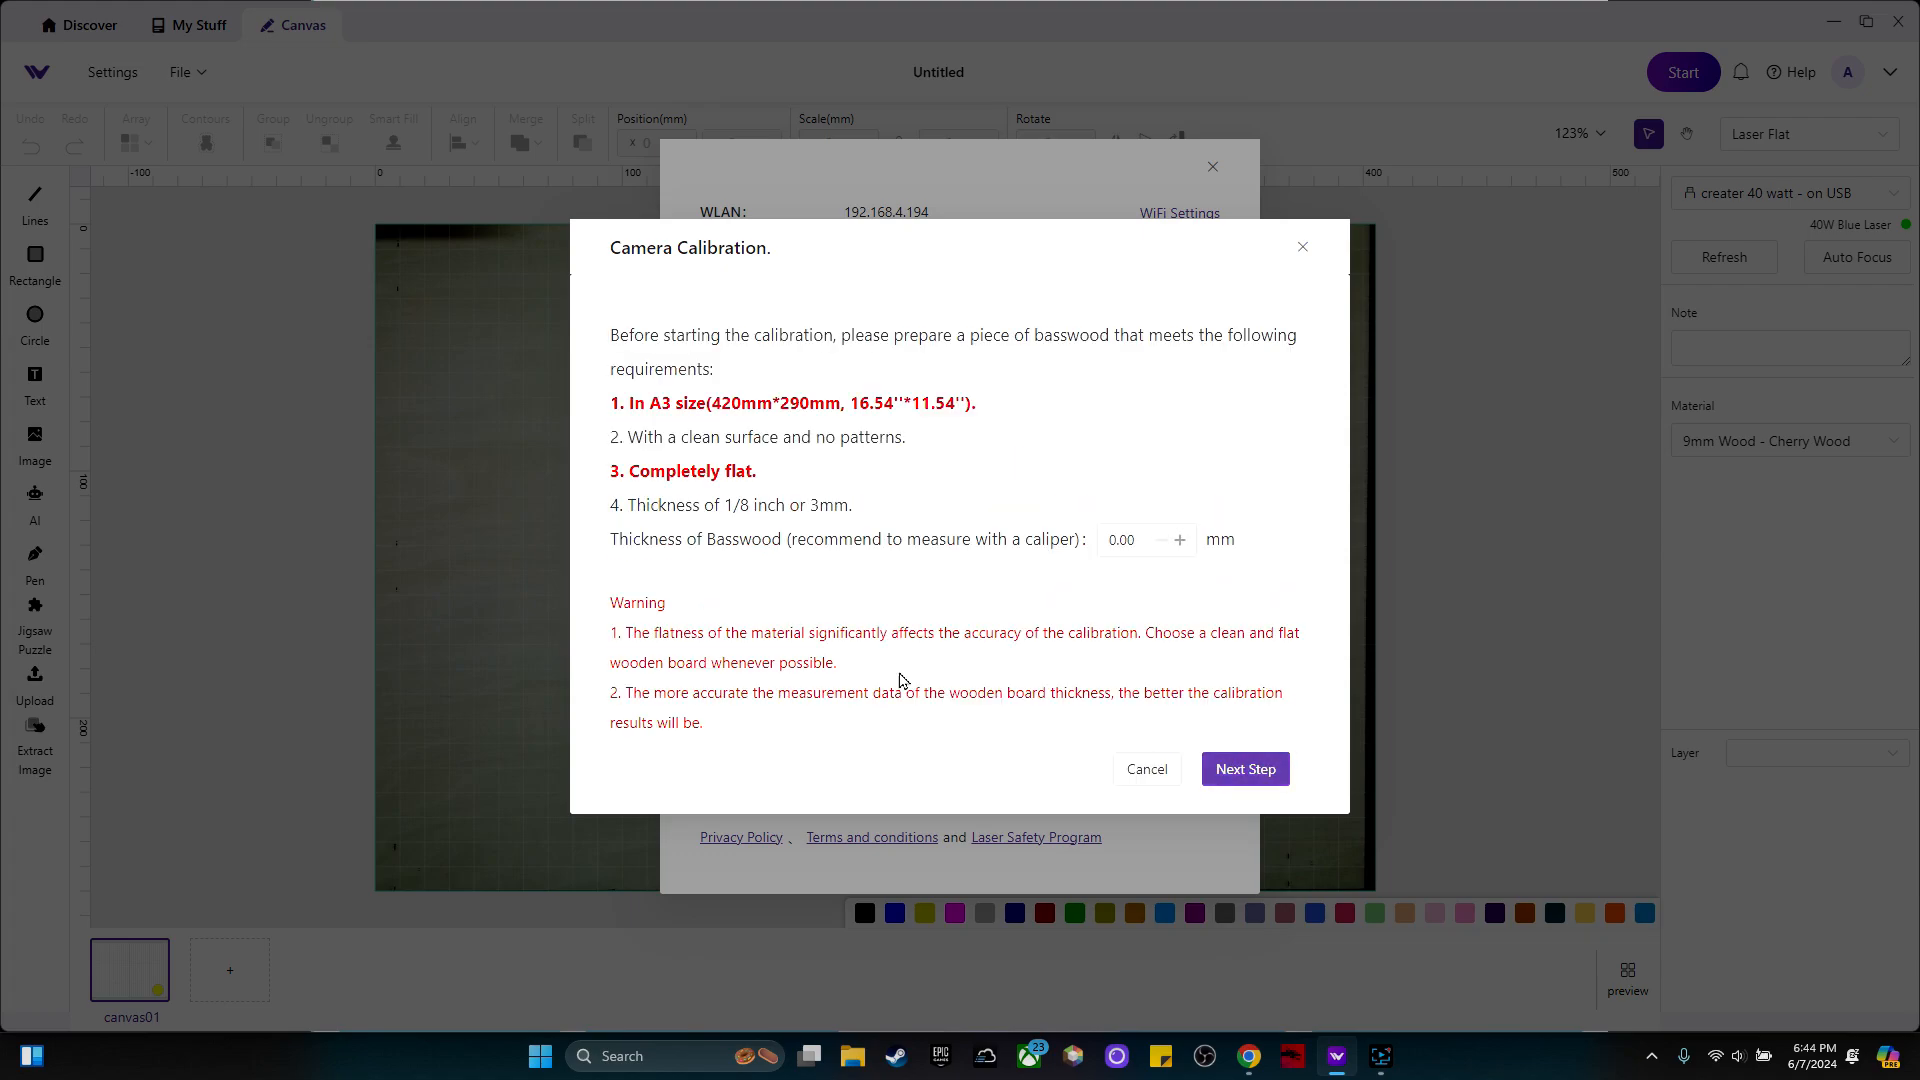
- Umder the camer settings, click on “Start Calibration.”
- Measure the test sheet with digital calipers.
- Place your material in the bottom left corner of the machine.
- Click “Start Calibration” again to begin.
Once the calibration is successful, you’ll receive a confirmation. This step is important for the machine to function accurately during engraving tasks.
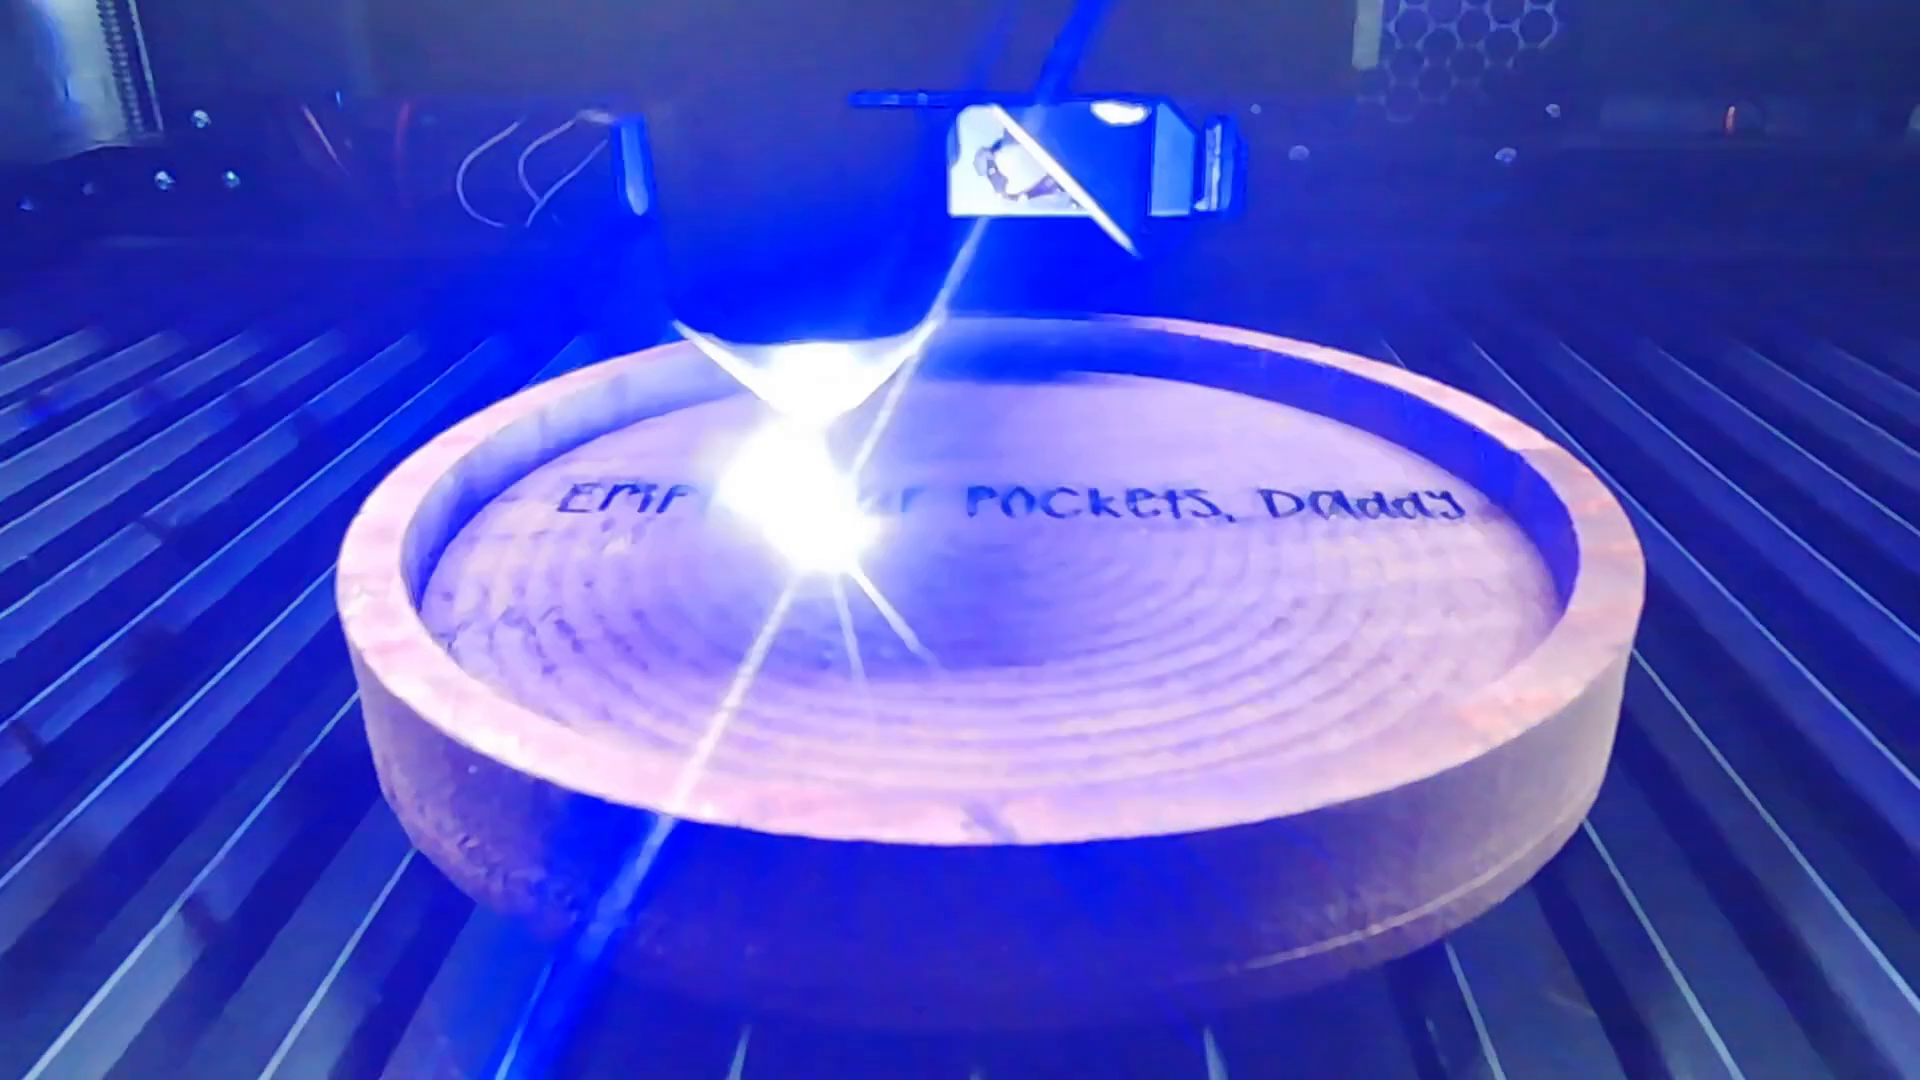
Performing the First Test Engraving
After calibrating the camera, it’s time to perform a test engraving. This will help you familiarize yourself with the engraving process and settings.
Setting Up the Test Engraving
To start, you’ll create a simple design. Here’s what we did to set it up:
- Use the circle tool to draw a circle.
- Set the machine to cut the circle
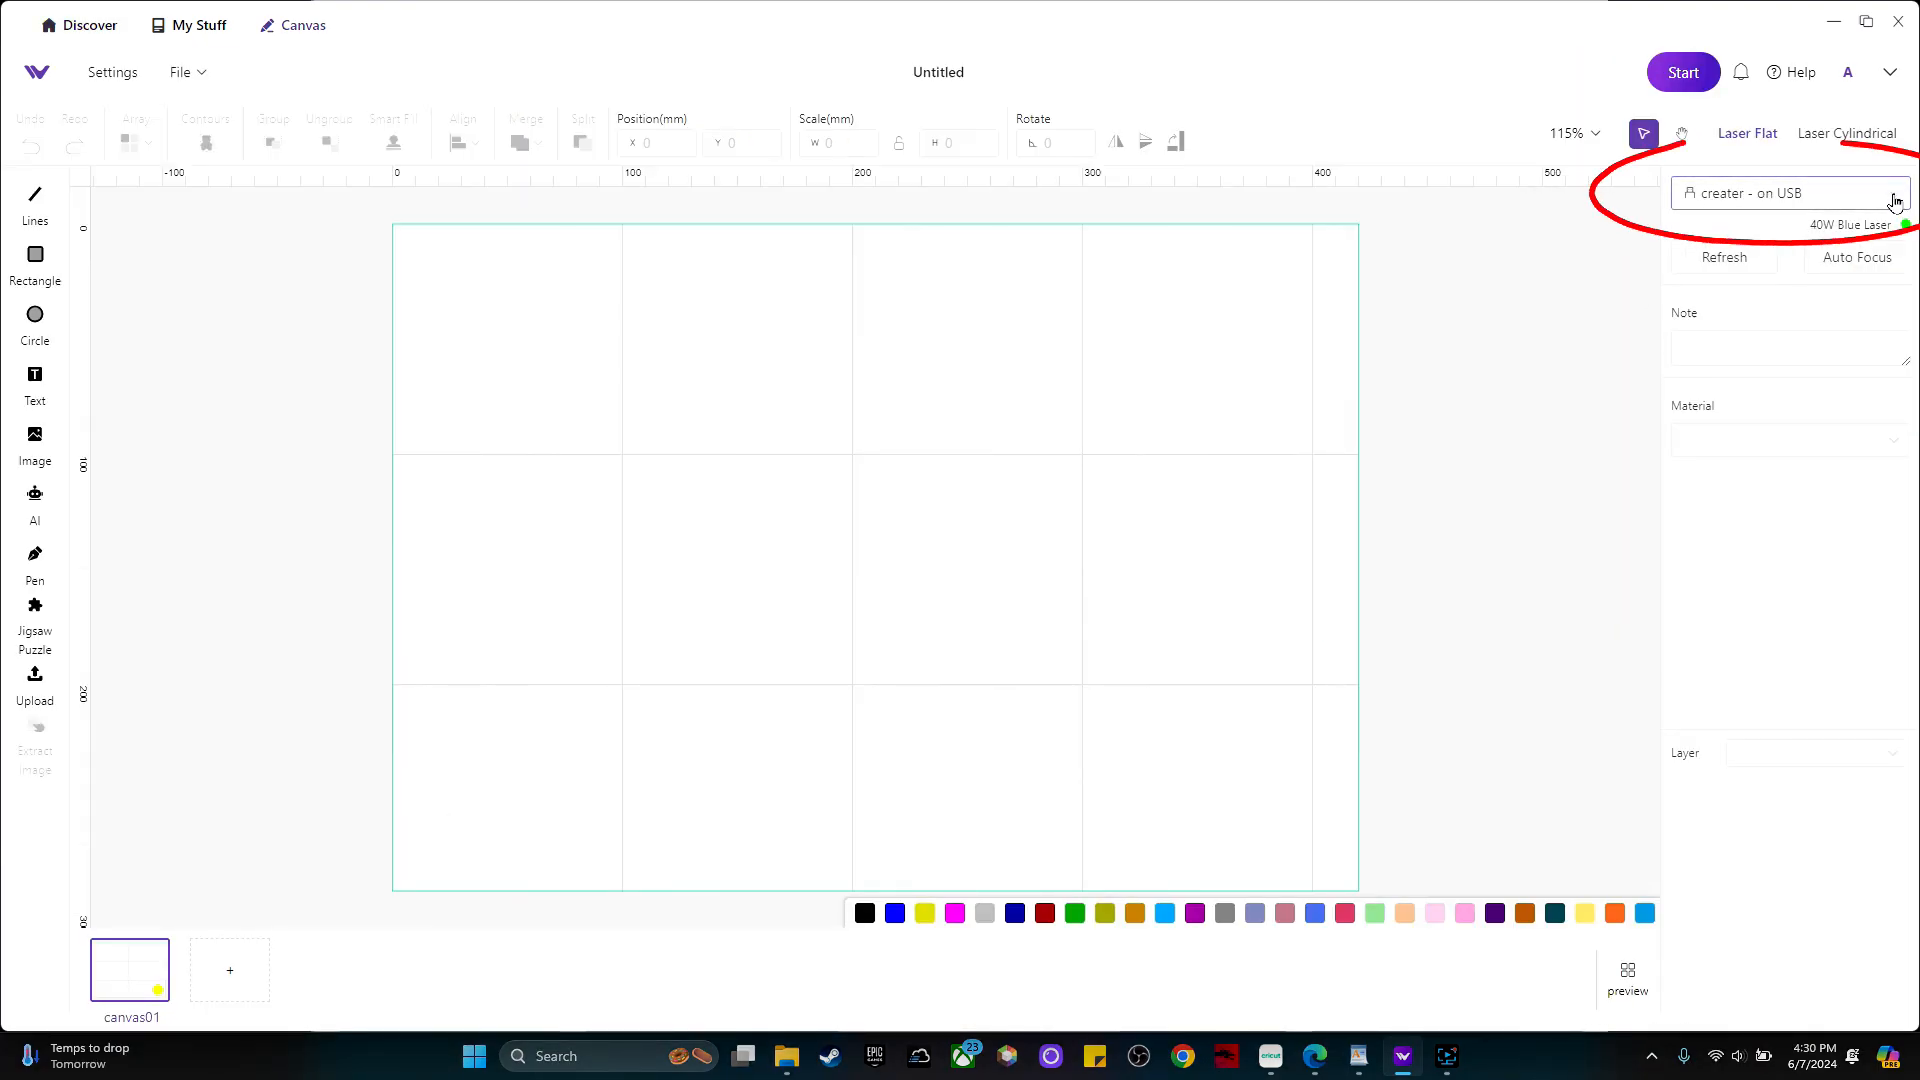
- Use the material selector to choose Basswood for the pre loaded settings
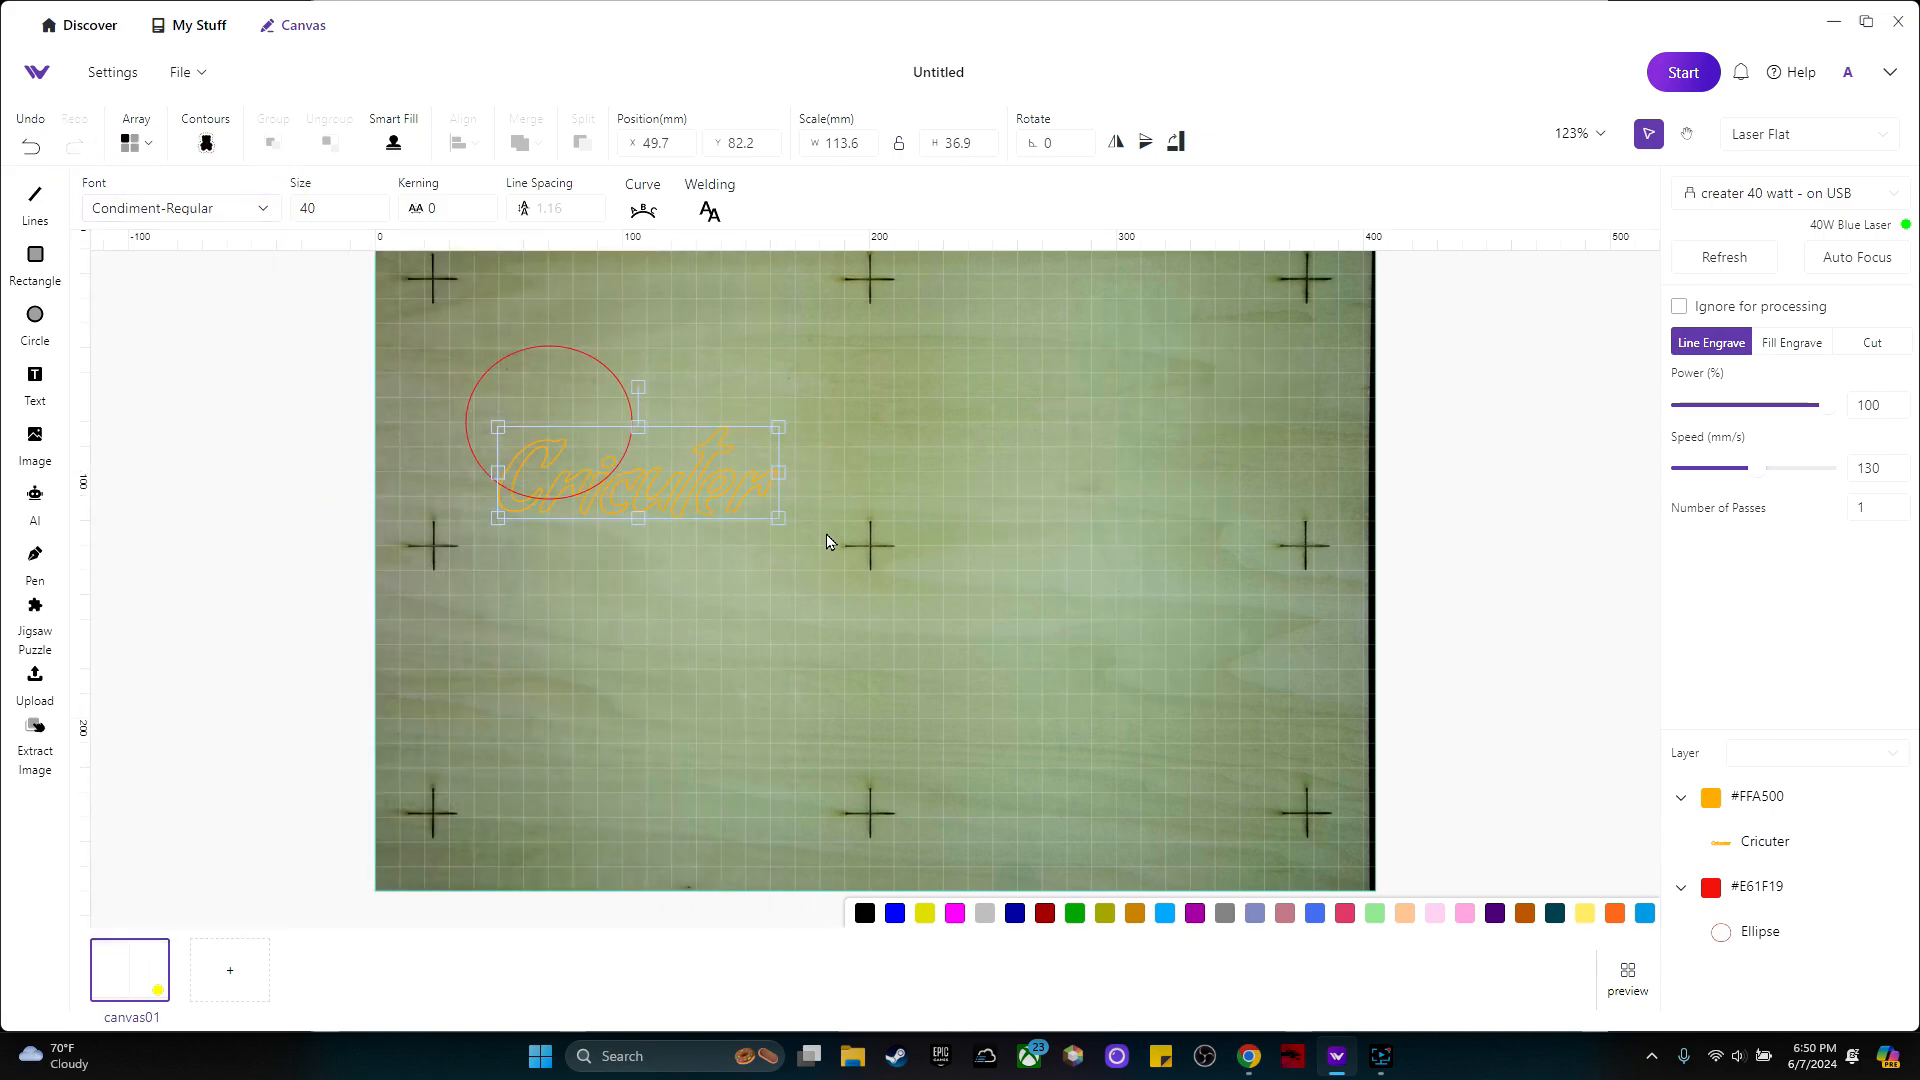
- Add text inside the circle, such as “Cricuter.”
- Make sure the text is selected and click Fill Engrave.
- Use the material selector to choose the power and speed setting
- Set the power to 100.
- Set the speed to 600.
Final Steps Before Engraving
Ensure the settings are correct before starting the engraving, then click Auto Focus. The machine will move to the middle of the area that it will be working in and lower until it is the correct distance from the material.
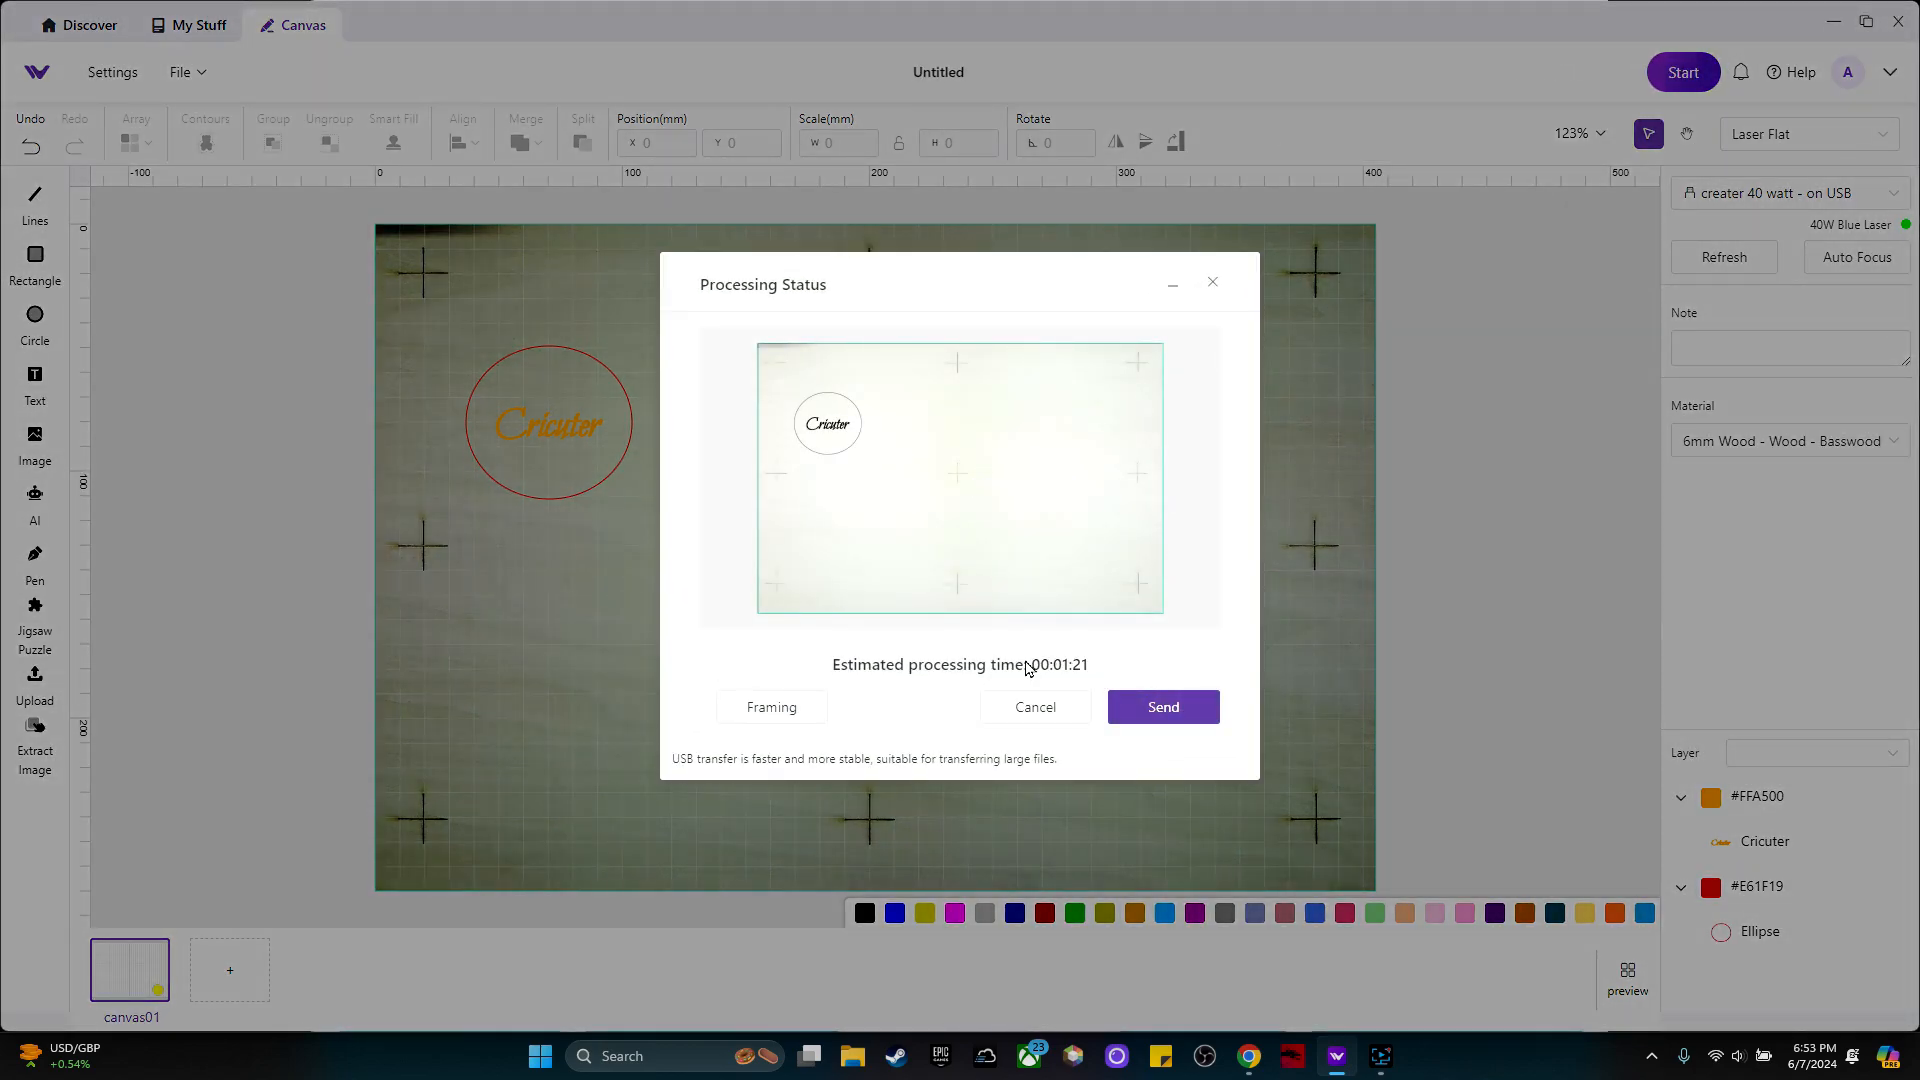
After it’s done, the camera image refreshes at the new height of the machine. Double check that your engraving is still where you want it, then click “Start” to begin the engraving process.
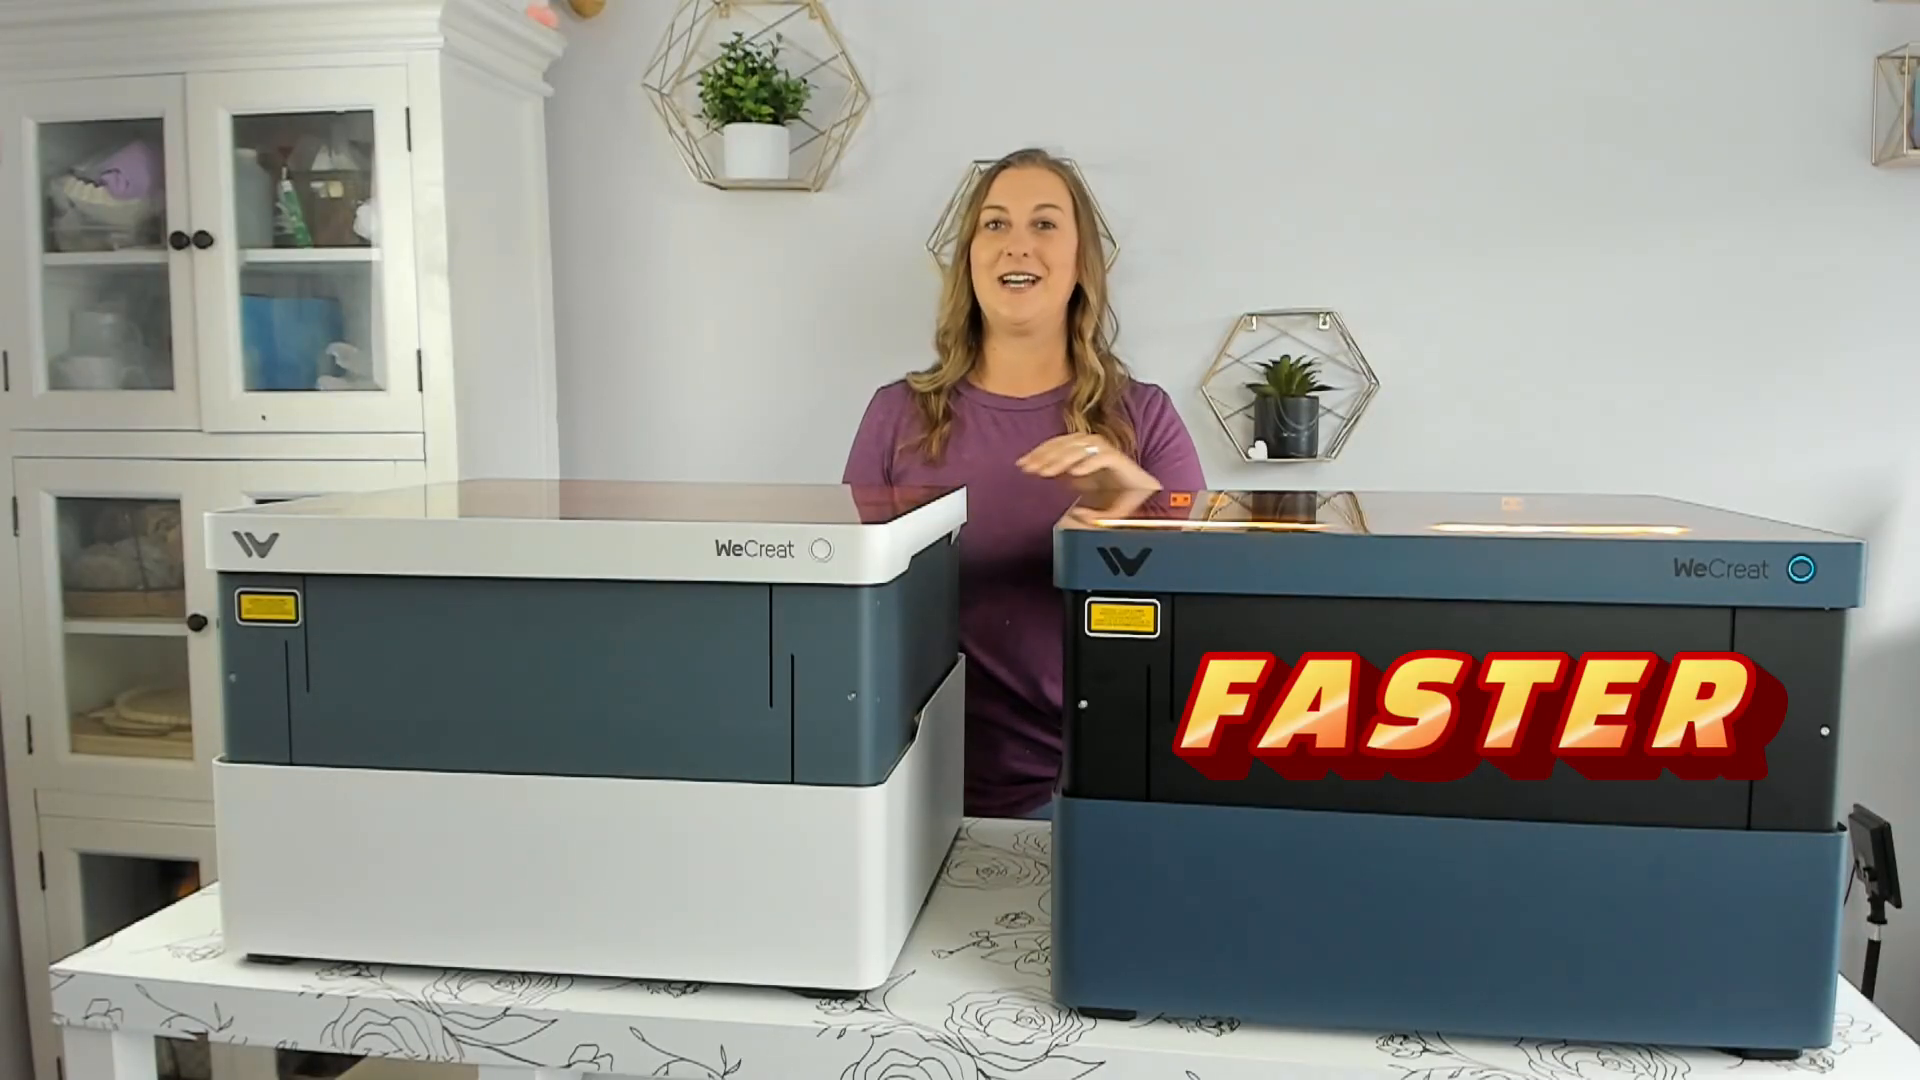
Comparing the 20W and 40W Models
When choosing between the WeCreat Vision 20W and 40W laser engravers, it’s essential to understand their differences. Both machines are great but serve different purposes based on your engraving needs.
Performance and Speed
The 40W model significantly outperforms the 20W in speed and cutting capability. For instance, when cutting through thicker materials, the 40W can achieve results much faster than the 20W, making it ideal for larger projects.
Detail and Precision
On the other hand, the 20W excels in intricate engraving tasks. Its smaller laser spot size allows for more detailed engravings, especially useful for photo engravings. If your projects focus on fine detail, the 20W may be the better choice.
Choosing the Right Model
Ultimately, your decision should be based on the types of projects you plan to undertake. For detailed engravings, go with the 20W. For faster cutting and thicker materials, the 40W is the way to go.
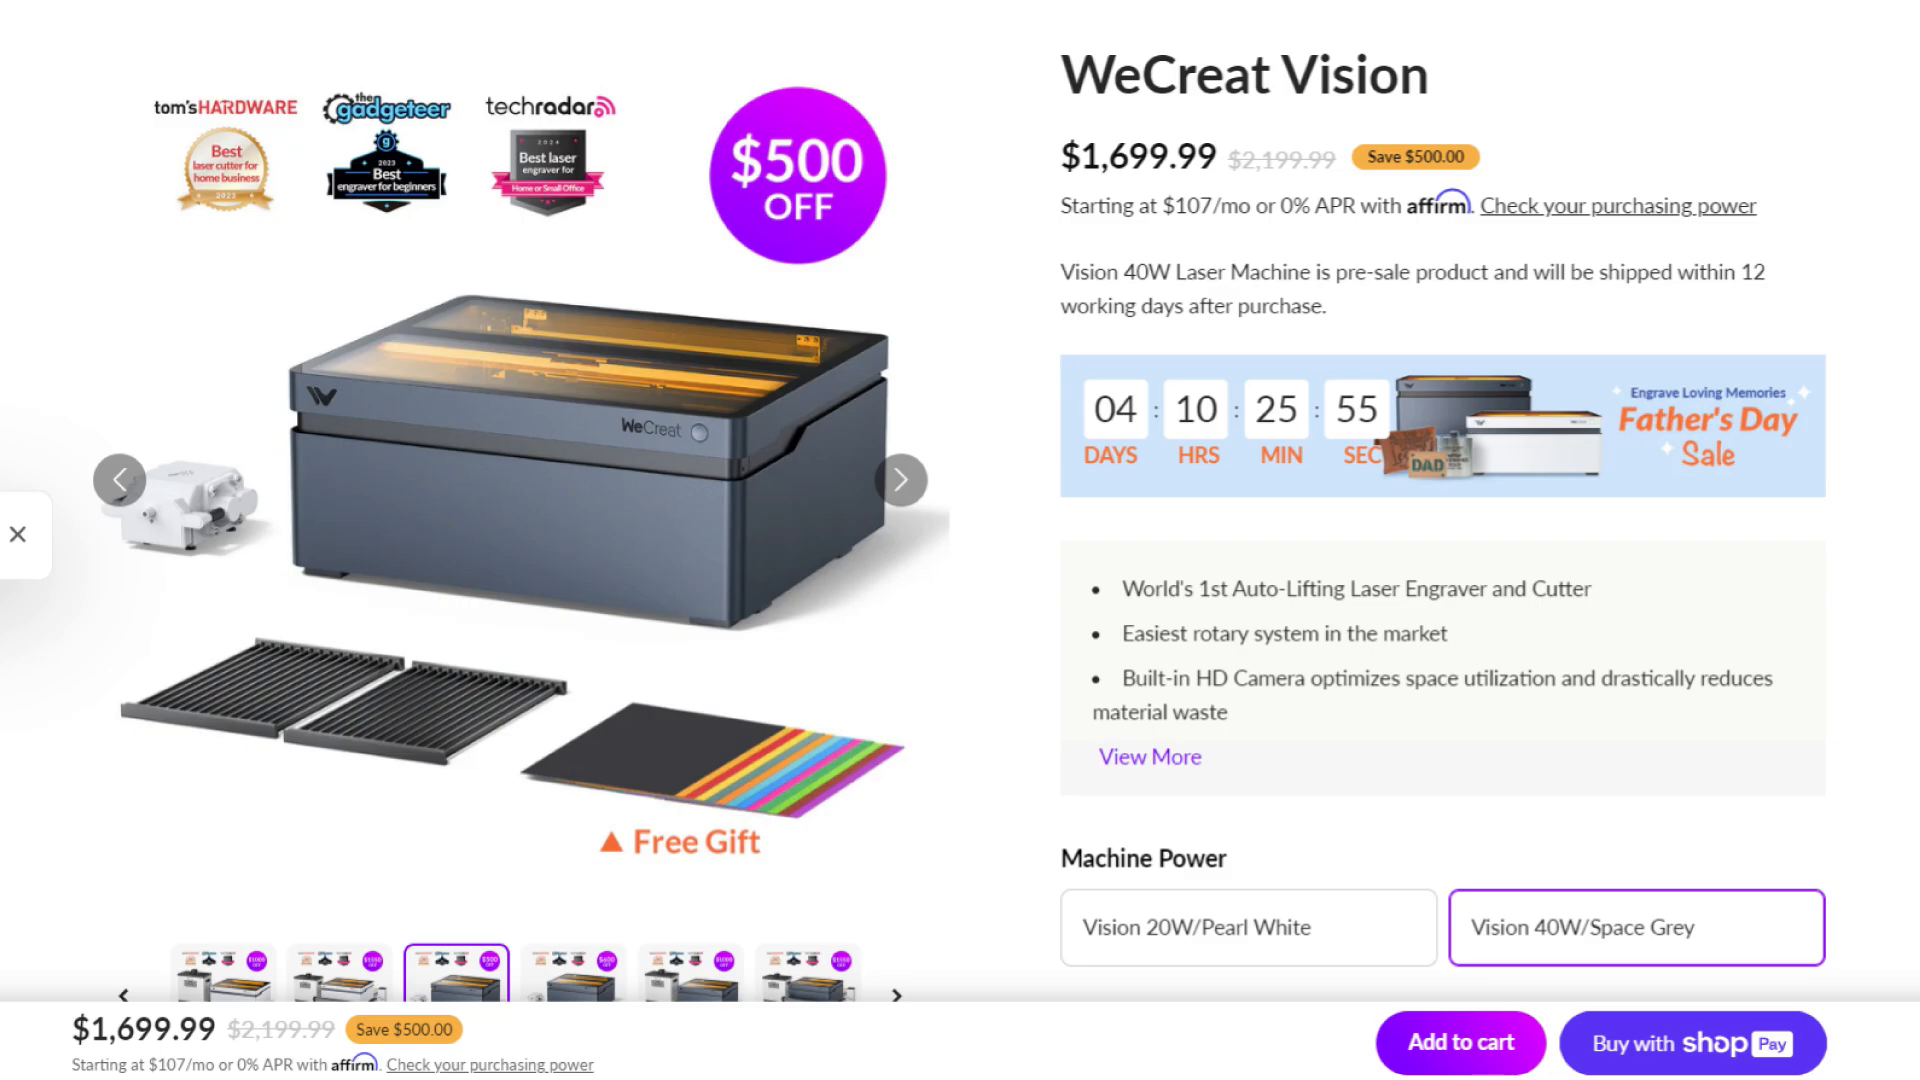
Pricing and Purchasing Options
Cost is a crucial factor when selecting a WeCreat Vision laser engraver. The pricing reflects the power and capabilities of each model.
Current Pricing
The WeCreat Vision 20W basic pack is priced at $1,199. In contrast, the 40W basic pack is available for $1,699. This means the 40W model costs an additional $500, which is justifiable considering its enhanced features. There are a few differnt packs to choose from that include different accessories like the rotary pack, clean air pack, and the super pack which includes the auto pass through feeder and 2w infrared module.
Where to Buy
You can purchase the WeCreat lasers directly through the official website. If you’re interested in accessories, consider buying them alongside the engraver for the best experience and to save money over buying the pieces individually.
Cricuter’s Recommended Deals
- Sign up for Creative Fabrica’s FREE trial
- Sign up for Creative Fabrica’s discounted yearly subscription
- Shop the best deals on Cricut machines
- Accept credit card payments with your FREE Square Card Reader
- Check out my Linktree
Explore More Laser Engraving Options
- LaserPecker LP4
- WeCreat Vision 20W 5 in 1 Laser Engraver and Cutter
- xTool M1 Laser Engraver and Vinyl Cutter (US)
- xTool M1 Desktop Hybridlaser mit integriertem Schneideplotter (DE)
- xTool M1- World’s First Desktop Hybrid Laser & Blade Cutting Machine (EU)
Connect with Cricuter
Made with VideoToBlog