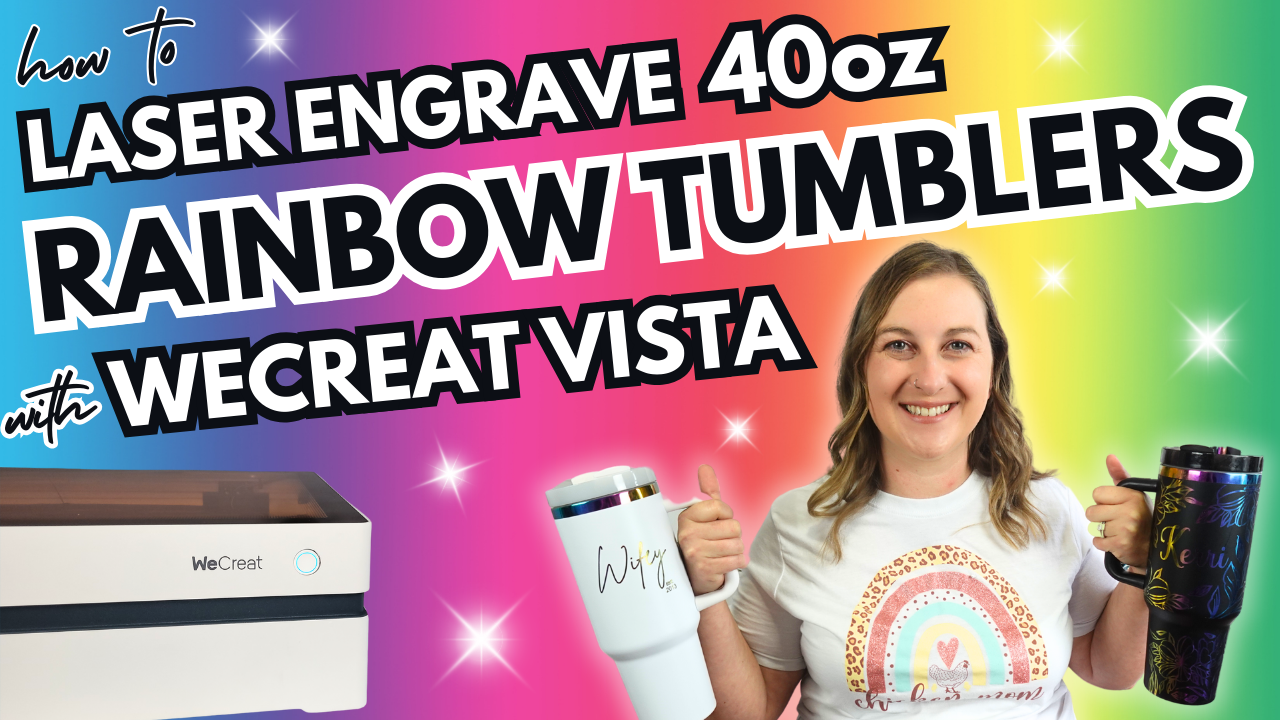
WeCreat Vista Makes Engraving Tumblers Simple and Fun
Complete Step-by-Step Guide!

Are you looking for a way to easily double or even triple your money with your brand-new WeCreat Vista and some engraved tumblers? In this guide, I’m going to show you how to transform an ordinary 40oz tumbler into a stunning, profitable product that’s perfect for your small business.
Don’t want to sell? No problem—these custom engraved tumblers make amazing gifts for any occasion.
Don’t forget to watch the video above for even more details and some tips that aren’t in this blog post!
Stick around to learn where to get these tumblers, how to price them, and tips for maximizing your profit! I’ll show you how to get perfect engravings every time with the WeCreat Vista.
Why Use the WeCreat Vista for Engraved Tumblers
Laser engraved tumblers can feel overwhelming with all the settings and the fear of ruining such a beautiful blank. But don’t worry—I’ve been there.
On this channel, I make the mistakes so you don’t have to. Today I’m breaking down every step so you can confidently engrave your own tumblers.
I’ll be answering some of the most important questions you might have including:
- How do I set up the WeCreat Vista for a 40oz tumbler?
- What settings work best for white rainbow plated tumblers?
- How can I get clean, precise engravings without damaging the tumbler or machine?
By the end of this guide, you’ll have answers to all these questions, plus pro tips to make your engravings look like they were done by a seasoned expert. And don’t worry about taking notes; I have a free printable step-by-step guide available just for you!.
Step 1: Setting Up Your WeCreat Vista for Tumbler Engraving

First things first, let’s set up the Vista. What makes this laser so cool is its one-of-a-kind FlipLaser technology.
With the Vista, you can flip your laser module to engrave either from the top or the side, allowing you to engrave large cylindrical objects like 40oz tumblers without the need for risers, all in a compact 6.5” tall machine.
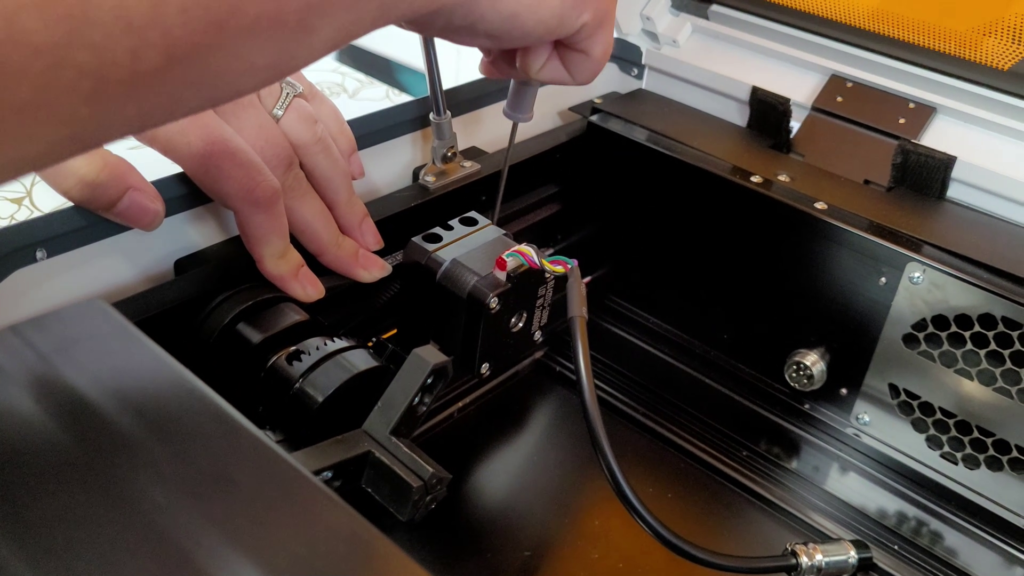
How to Flip the Laser Module from Vertical to Horizontal Engraving
Check out how easy this is: just unscrew the two screws on the sides, turning them in opposite directions. You’ll feel the screws spring out, then flip the laser module down.
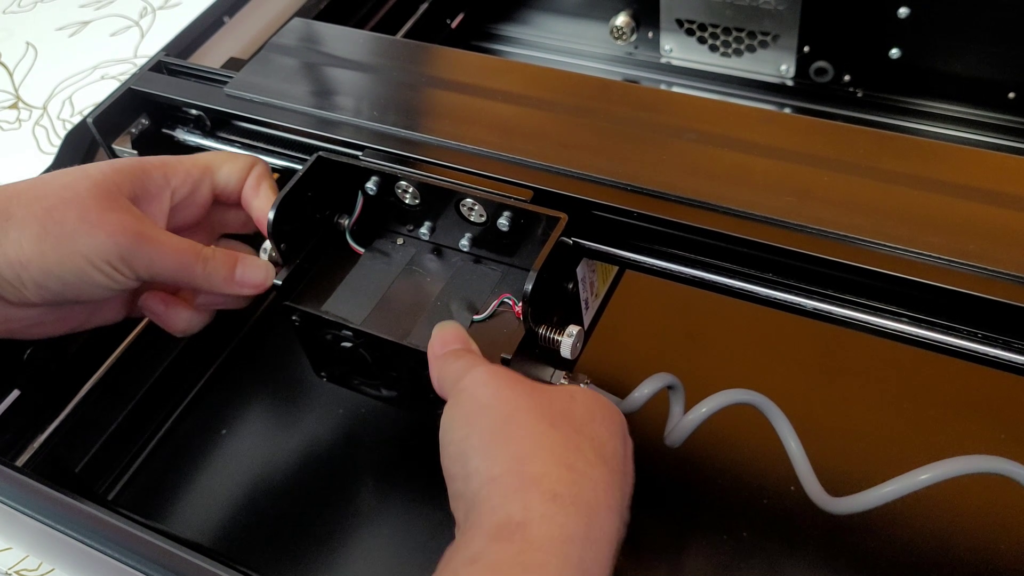
Tighten your screws back up, and you’re ready to go!
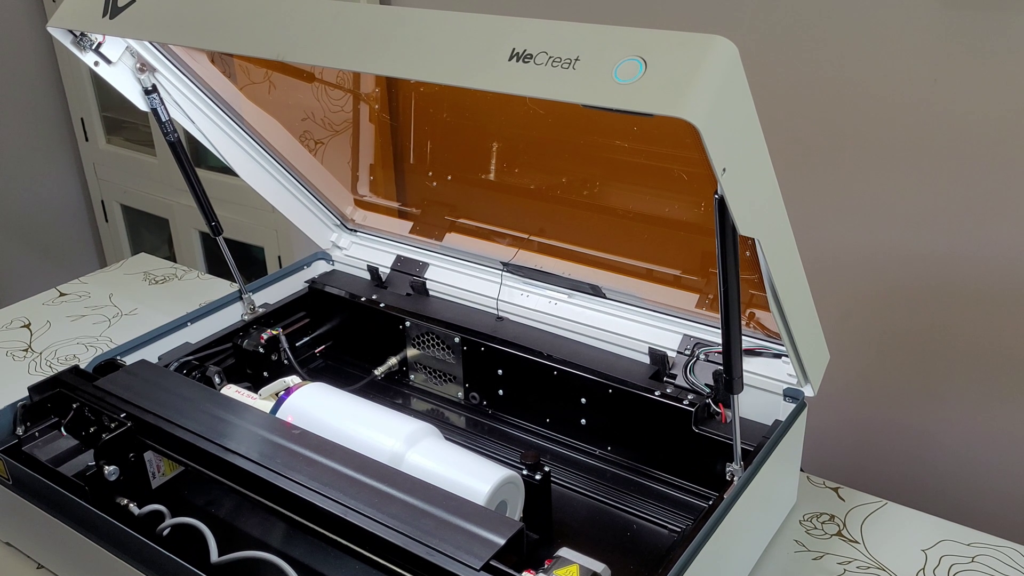
Installing the Rotary Attachment on the WeCreat Vista
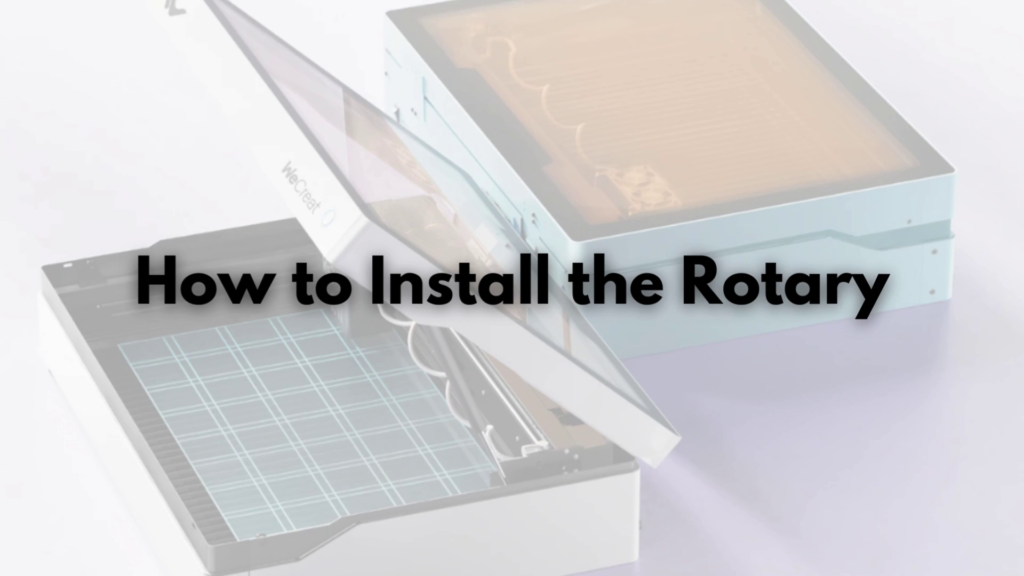
Next, install the rotary attachment. If you’re engraving round or cylindrical objects like these tumblers, the rotary is a must-have.
It’s super easy to set up—just line up the pin with the hole on the left side of the working area, tighten two screws, and plug in the cable.
Using a Tumbler Holder Attachment to Fix Rotary Issues
I’ve had some issues with the WeCreat rotary because without this special attachment, your cup doesn’t extend far enough past the no-work zone, making it impossible to engrave the whole tumbler.
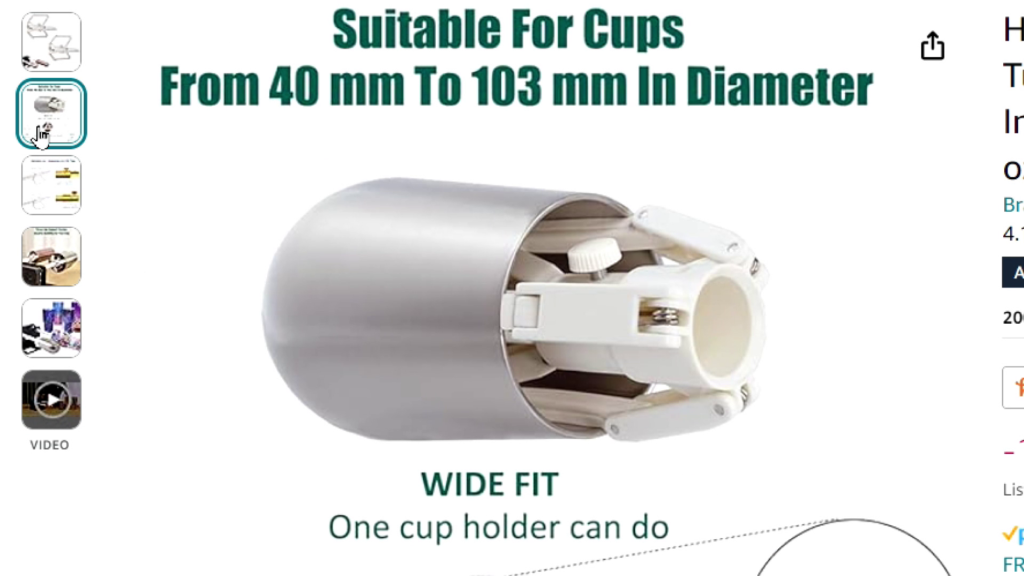
This cup turner holder, which I bought on Amazon, solves that problem. It’s adjustable to fit tumblers from 10 to 40 ounces, and it’s only $15.99 for a two-pack.
You will also need a small length of 3/4” PVC pipe needed to connect it.
I would highly recommend buying this tool because it makes tumbler engraving a lot easier.
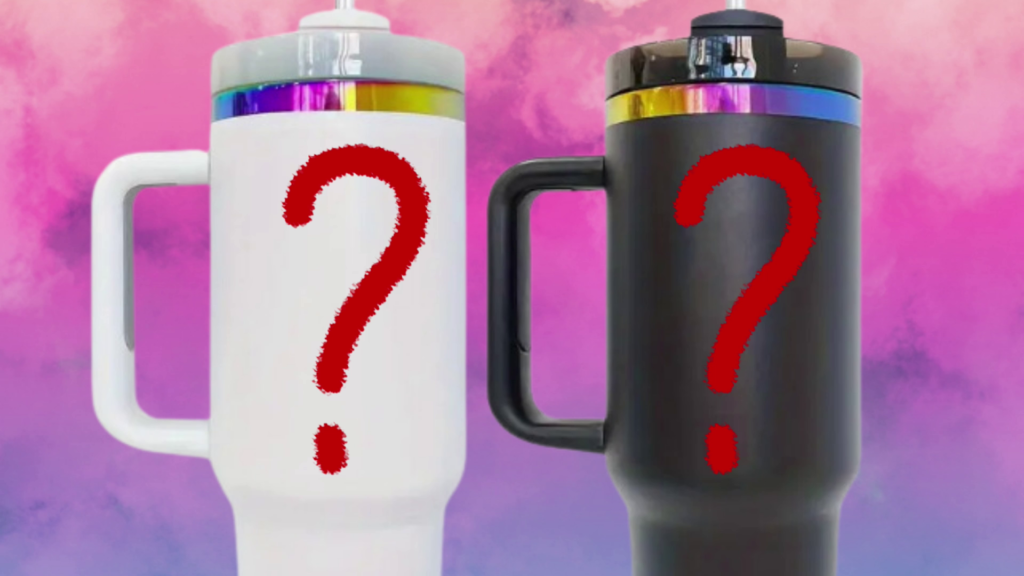
Where to Find 40oz Rainbow Plated Tumbler Blanks for Laser Engraving
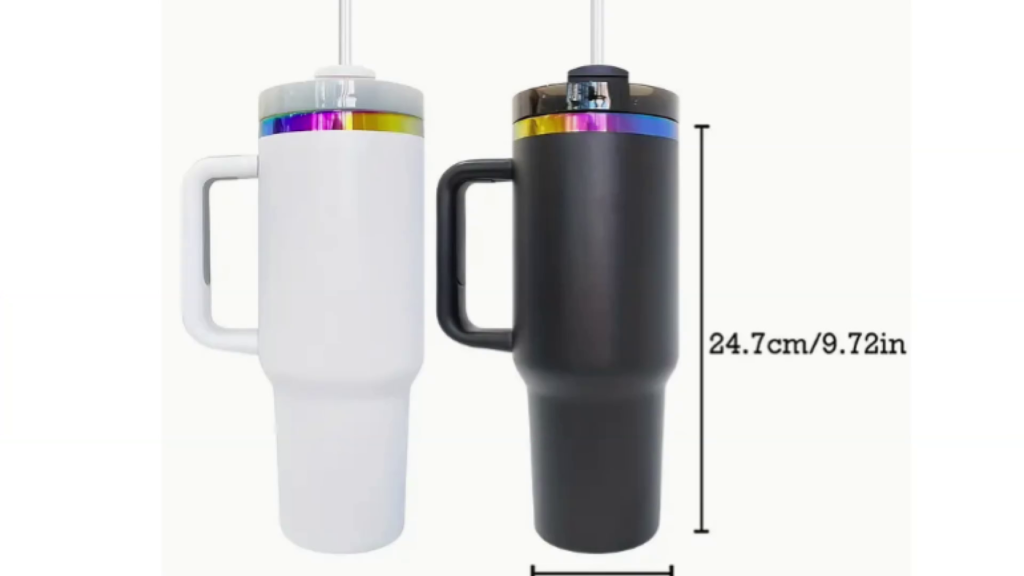
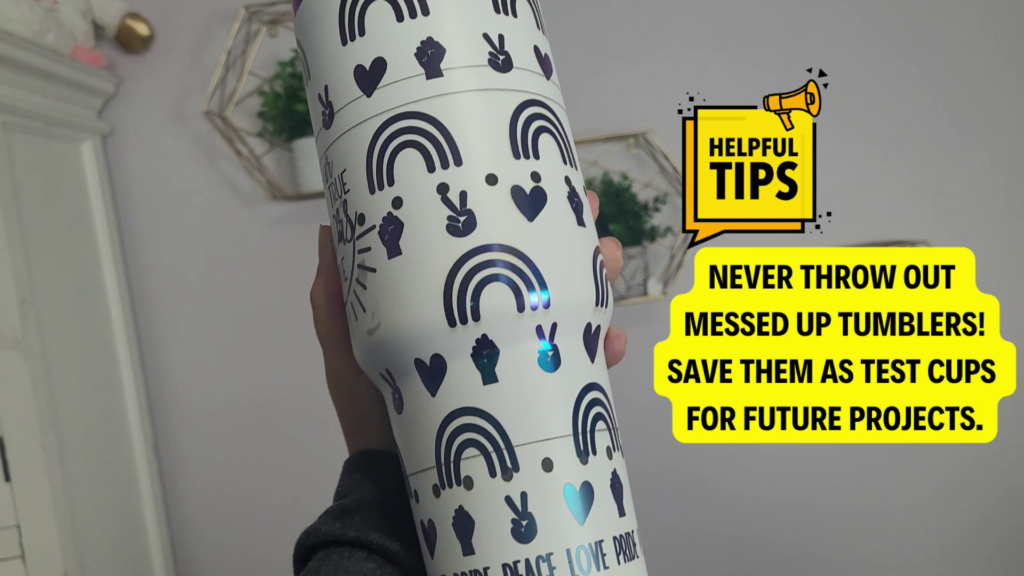
I’ll be using these 40oz rainbow-plated tumbler blanks from my Etsy shop. They’re available in white or black, and I always ship orders fast with same or next-day shipping depending on the time you place your order.
These blanks look nearly identical to the 40oz Stanleys, and the Stanley lids even fit on them!
Step 2: Preparing Your Tumbler for Laser Engraving
Measuring Your Tumblers Perimeter
Grab your tape measure or digital calipers to measure the tumbler. If you’re measuring around the tumbler with the measuring tape, that’s the perimeter.
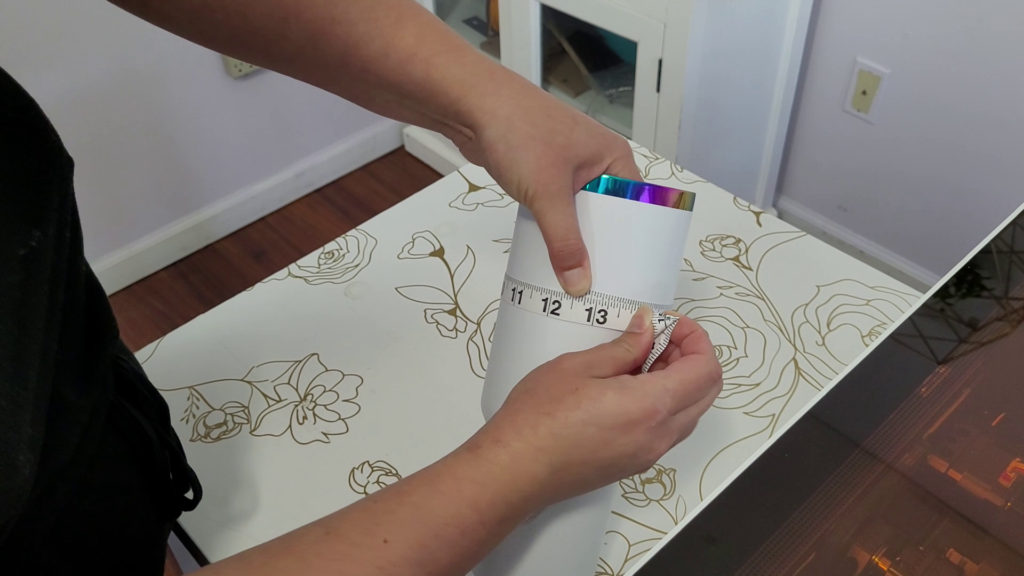
With the calipers, you’re measuring across the cup, which is the diameter.
Write down this number; you’ll need it for the WeCreat MakeIt software in a moment.
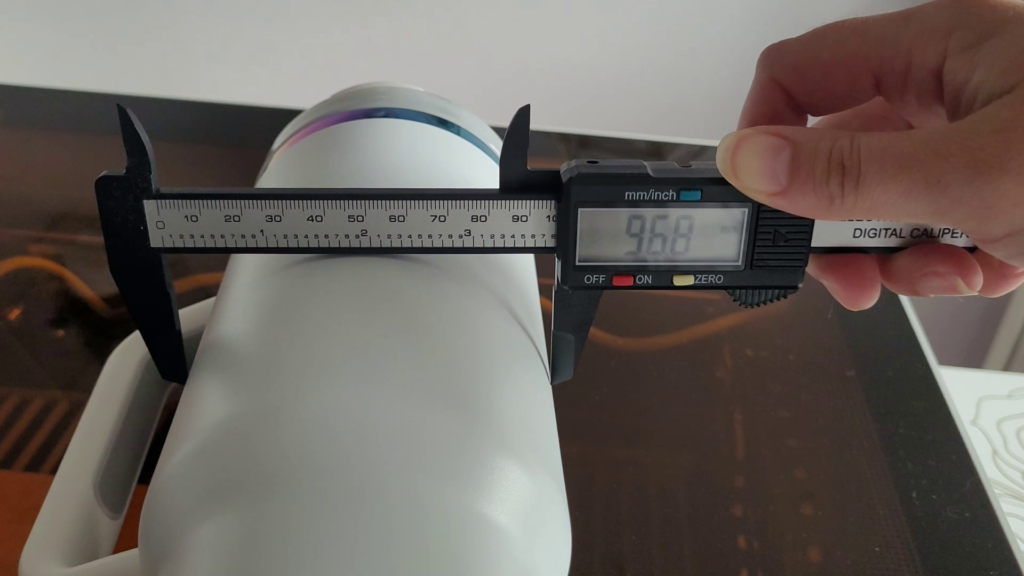
I prefer digital calipers for accuracy, but a measuring tape works fine too.
Removing the Handle from Your Tumbler

Flip your tumbler upside down and unscrew the two screws on the underside of the handle.
Bend the tabs down as flat as possible to avoid interference with the laser. If you have super strong fingers, you can bend the tabs down by hand.
Alternatively, you can use needlenose pliers to bend the tabs.

Some people worry that bending the tabs might weaken the handle, but I’ve never had any issues.
Cleaning Your Tumbler with Isopropyl Alcohol
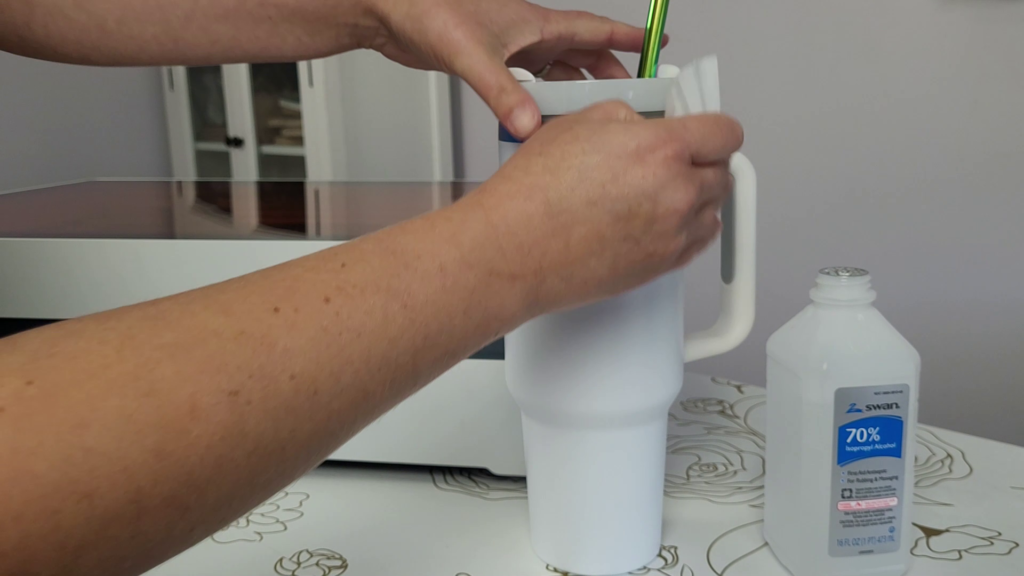
Before engraving, clean your tumbler with isopropyl alcohol and a lint-free wipe to remove oils, dust, or fingerprints that could affect your engraving.
I like using coffee filters since they’re a cheap, lint-free wipe that most people already have in their home.
Inserting Your Tumbler into the Rotary Attachment and Leveling

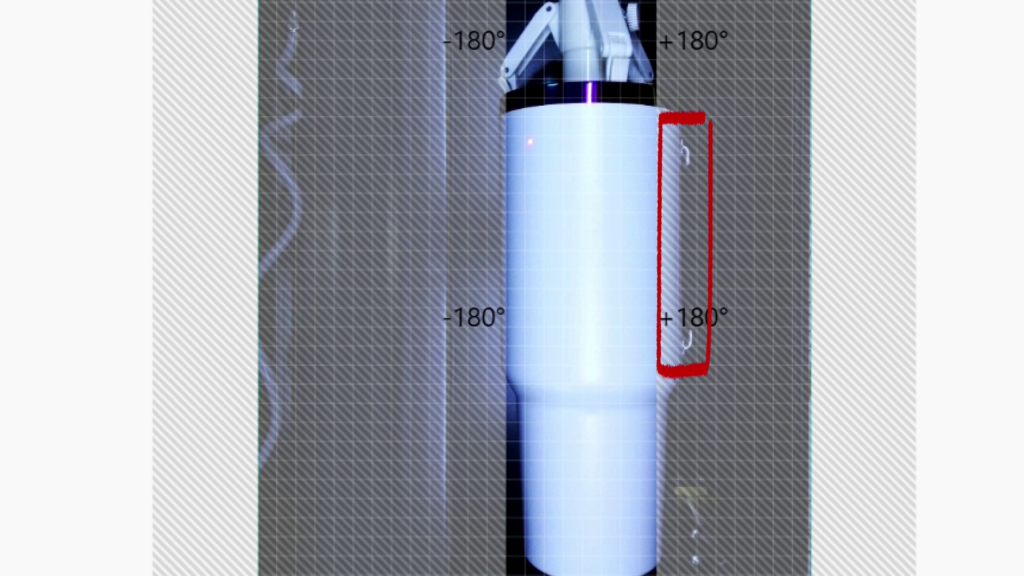
Slide your tumbler into the rotary attachment. You want to make sure that the tabs are facing the back of the machine so that when you look at the camera preview, the tabs are on the right side of the cup.
Use a small level to ensure it’s aligned correctly. Even a slight misalignment can warp your design.
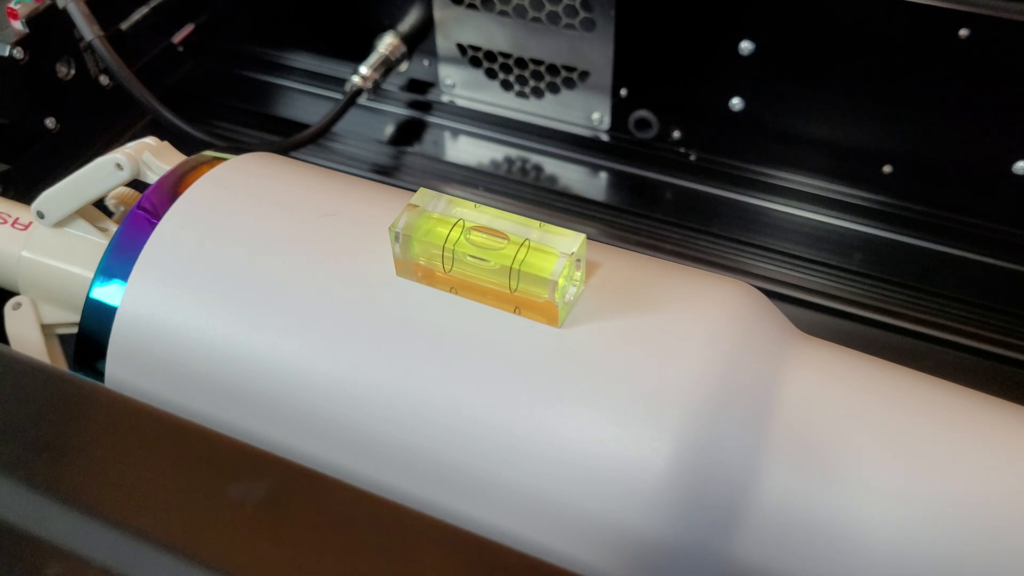
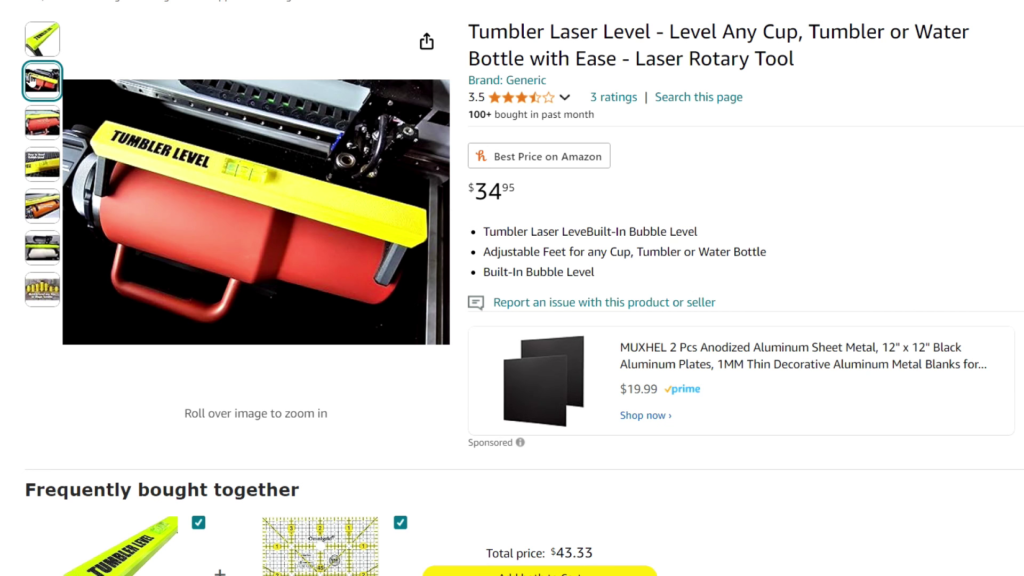
I’ve seen a lot of people in the WeCreat Facebook groups suggesting this laser tumbler level. I’ve personally never used it before, but it does look really cool and helpful. Give it a try and let me know what you think!
Join our WeCreat Facebook Group!
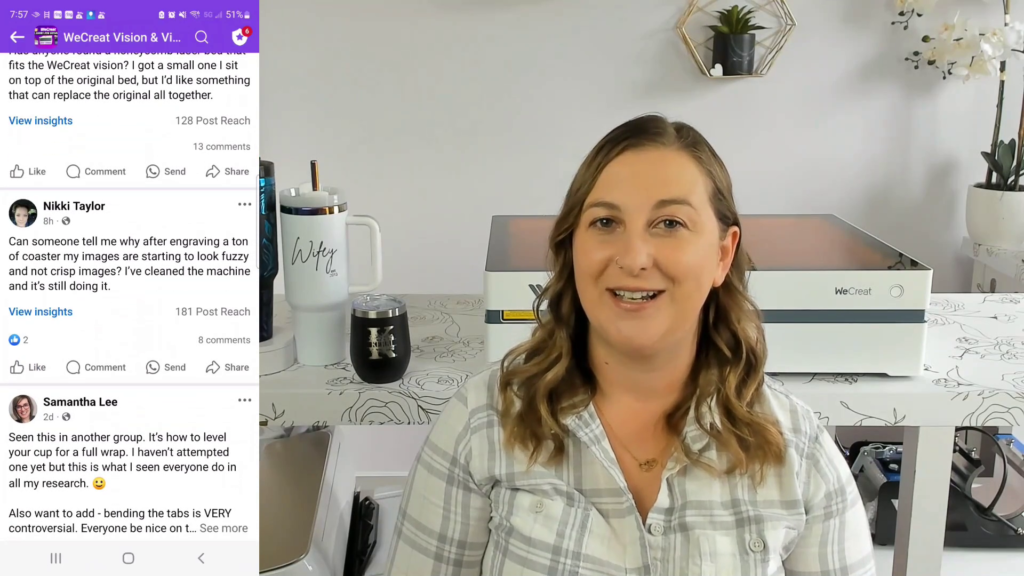
If you haven’t already, I would love it if you joined our WeCreat group on Facebook. It’s called WeCreat Vision & Vista Laser Engraver for Beginners. With over 3.7k members and growing, there’s plenty of people to help answer questions and share project ideas.
Step 3: Setting Up the WeCreat MakeIt Software for Engraved Tumblers

Understanding How the Camera Measures Your Blank
Keep the lid on your laser open—the camera is located in the top left corner, and the lid needs to be open for it to work.
This will help measure your blank accurately. I’ll let you know later on when it’s time to close the lid. But for now, leave it open and let’s move over to the computer.
Finding Laser Engraving Designs on Creative Fabrica
Ever feel like you have the perfect blank but have no clue what to put on it? It’s one of the most common struggles for crafters—needing that spark of inspiration to kickstart your next project.
I’ve been there too with these white tumblers.
I wanted to create some wedding projects for my Etsy shop since October is the most popular month for weddings, but I didn’t know what design to put on it.
That’s when I turned to my go-to source for inspiration: Creative Fabrica.
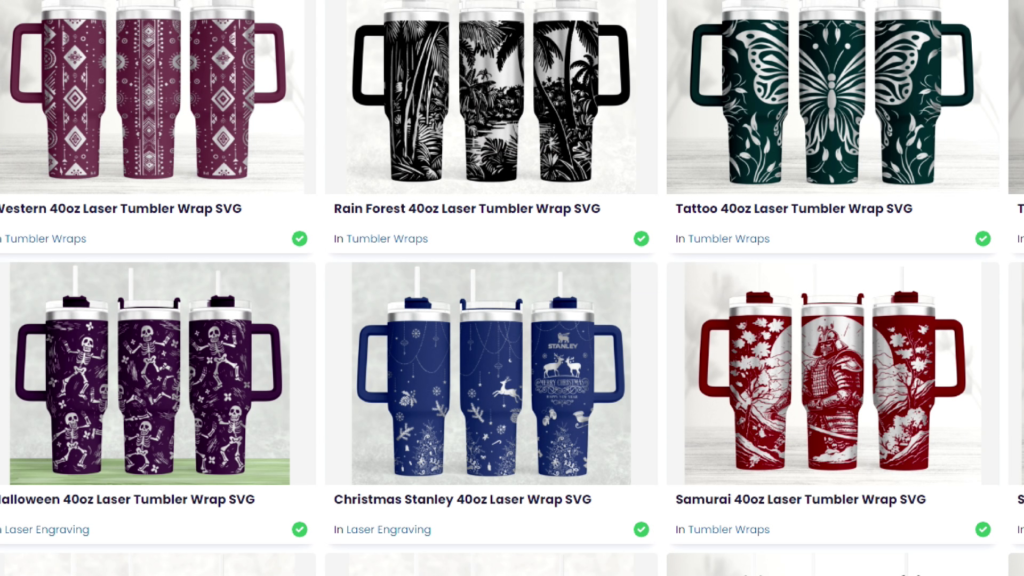
Whenever I’m stuck and in need of ideas, Creative Fabrica always saves the day. They have millions of graphic designs, fonts, SVGs, and laser cut files to explore.
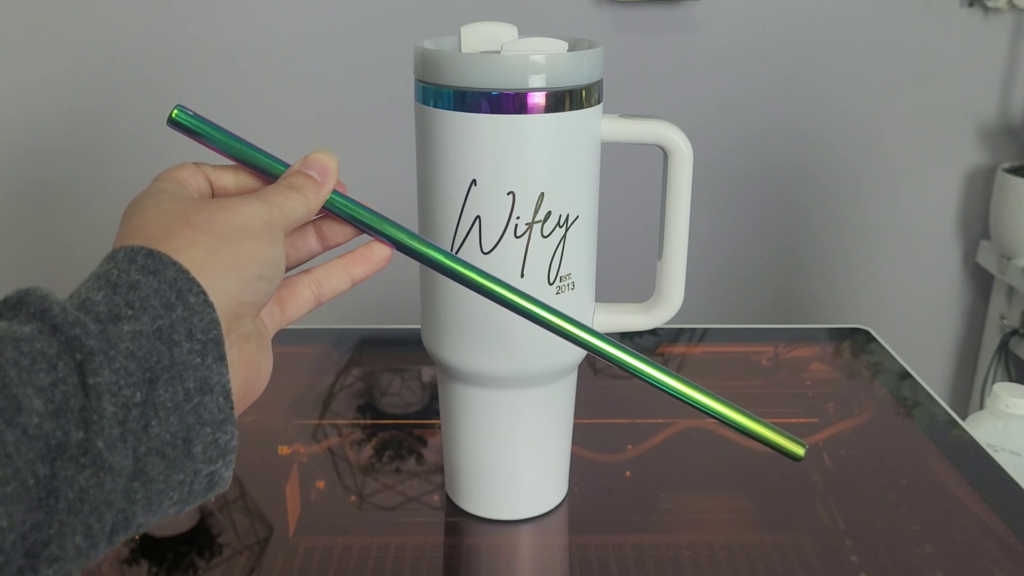
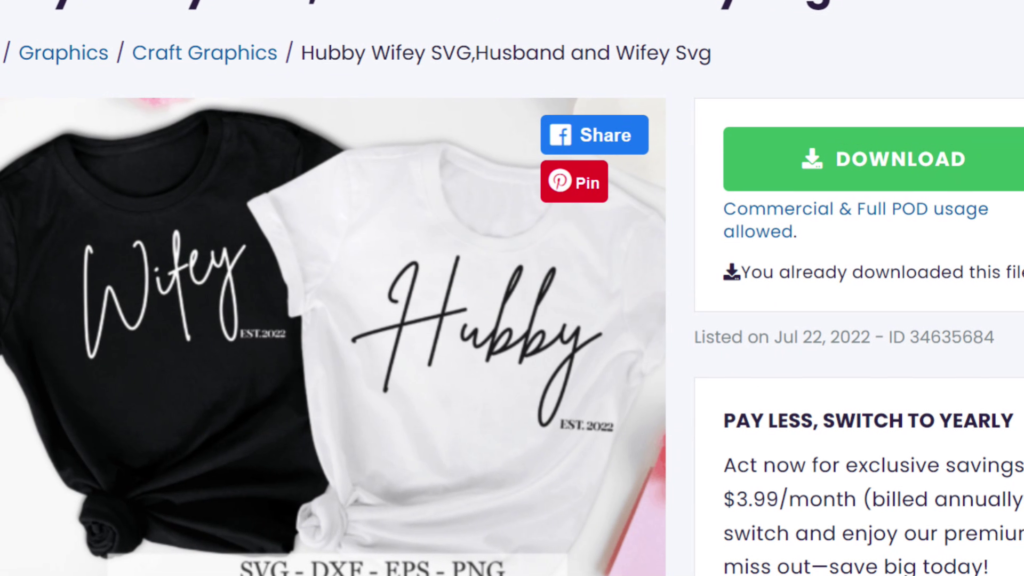
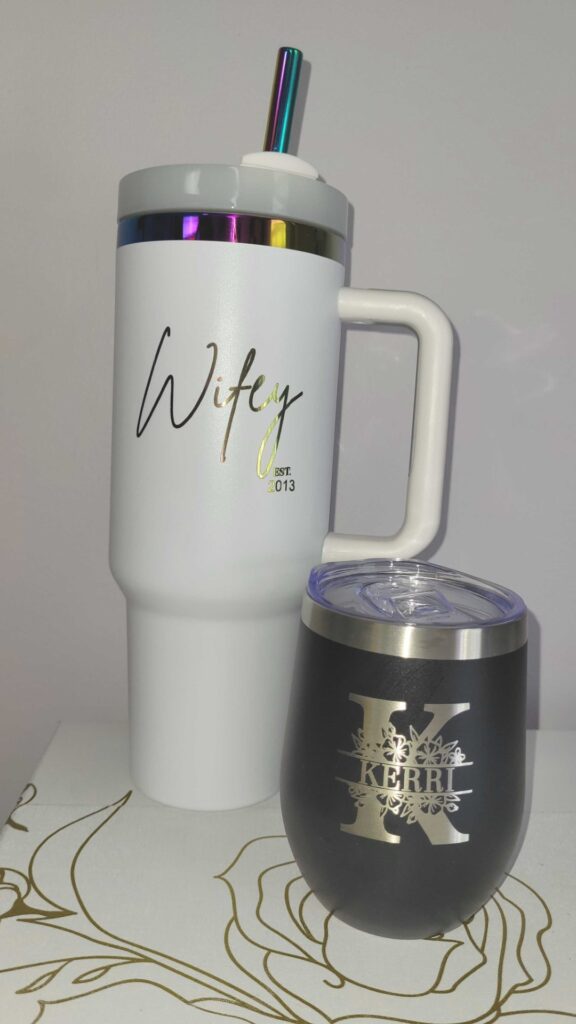
This time, I stumbled upon a beautiful ‘Wifey’ SVG, and I thought it was the perfect fit for my white tumbler wedding project.
With Creative Fabrica’s All Access subscription, which is just $3.99 a month, you get unlimited downloads of fonts, graphics, and engraving projects. Plus, every design comes with a commercial license so you can use them in your products without worrying about copyright issues.
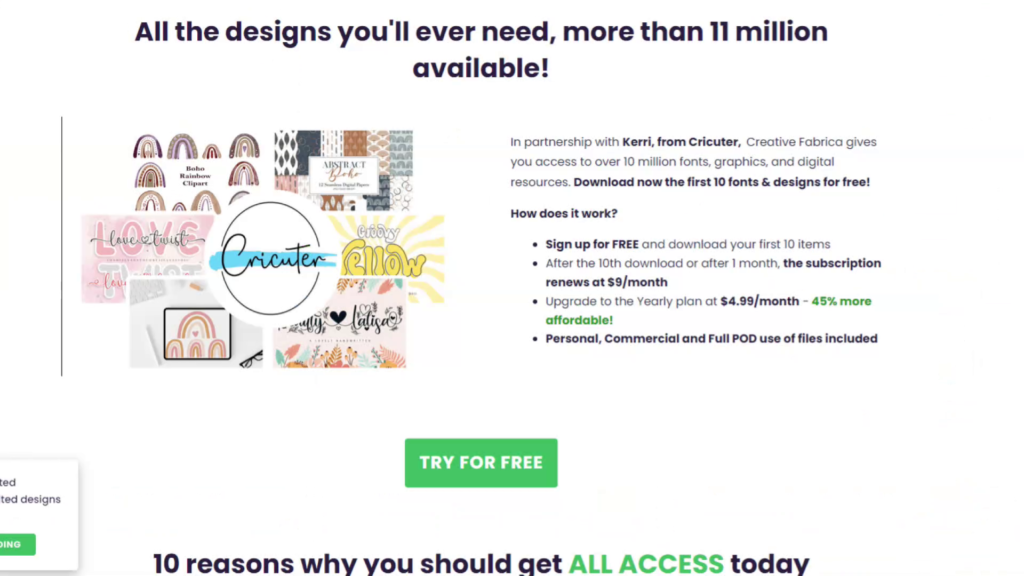
It’s perfect for small business owners who want to run their business without running into any legal trouble.
If you’ve ever struggled with figuring out what to make, Creative Fabrica is your ultimate solution. Click here for an exclusive free trial! With Creative Fabrica, you’ll never run out of ideas.
Importing Your Design into WeCreat MakeIt Software
Open the WeCreat MakeIt software and change the setting from Laser Flat to Laser Cylindrical to indicate that you’re using the rotary.
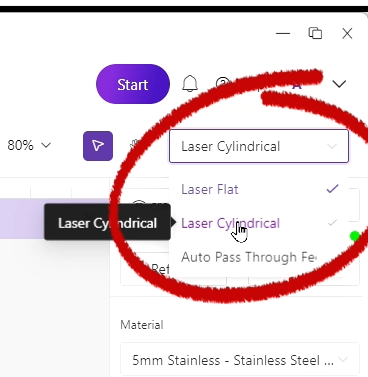
Click refresh, and your camera will pull up a picture of your tumbler inside the laser. Enter either the perimeter or diameter measurement you took earlier—my perimeter is 12.31 inches.
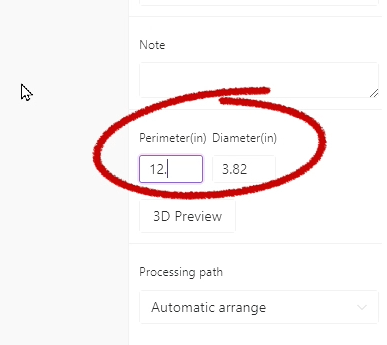
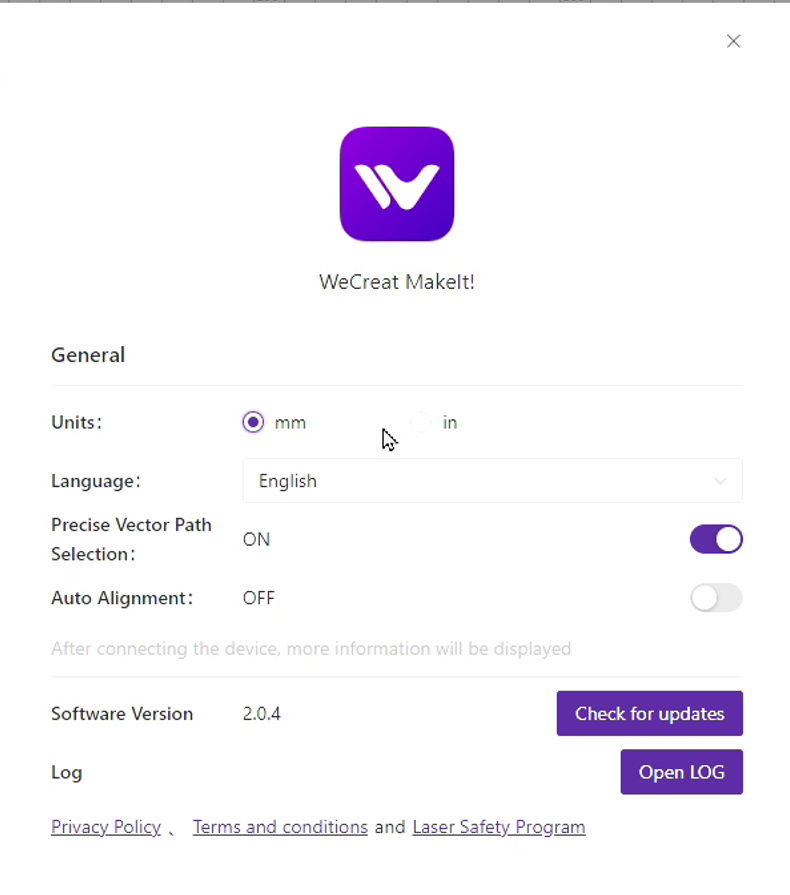
Make sure that if you measured in inches, the software is set to use inches. If it’s accidentally set to mm, your design won’t engrave correctly.
To change between inches and millimeters, go to settings and select the one you want.
How to Import and Resize Your Design
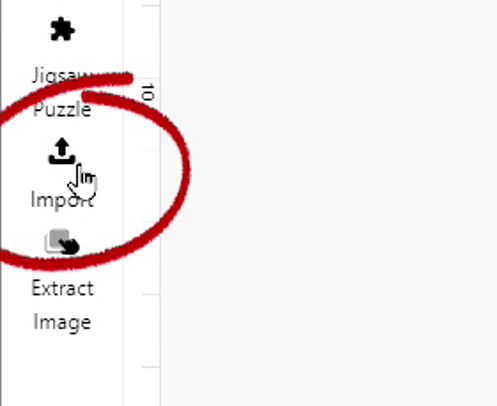
Click the Import button on the left, find your saved file, and click open.
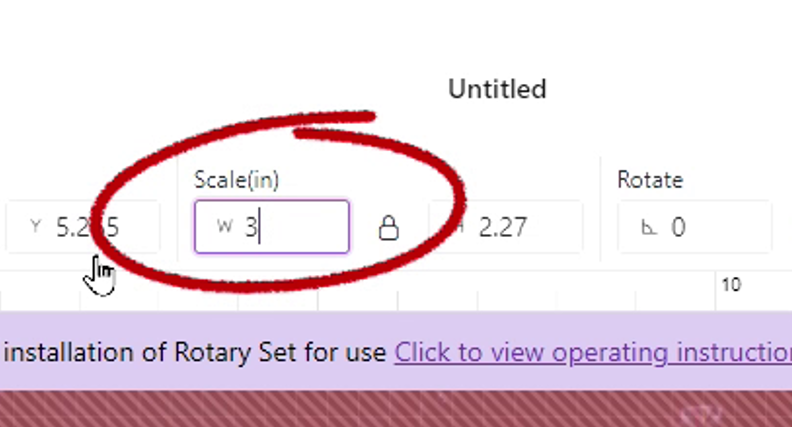
Resize the design by dragging the corners or adjusting the scale. I set mine to 3 inches wide.
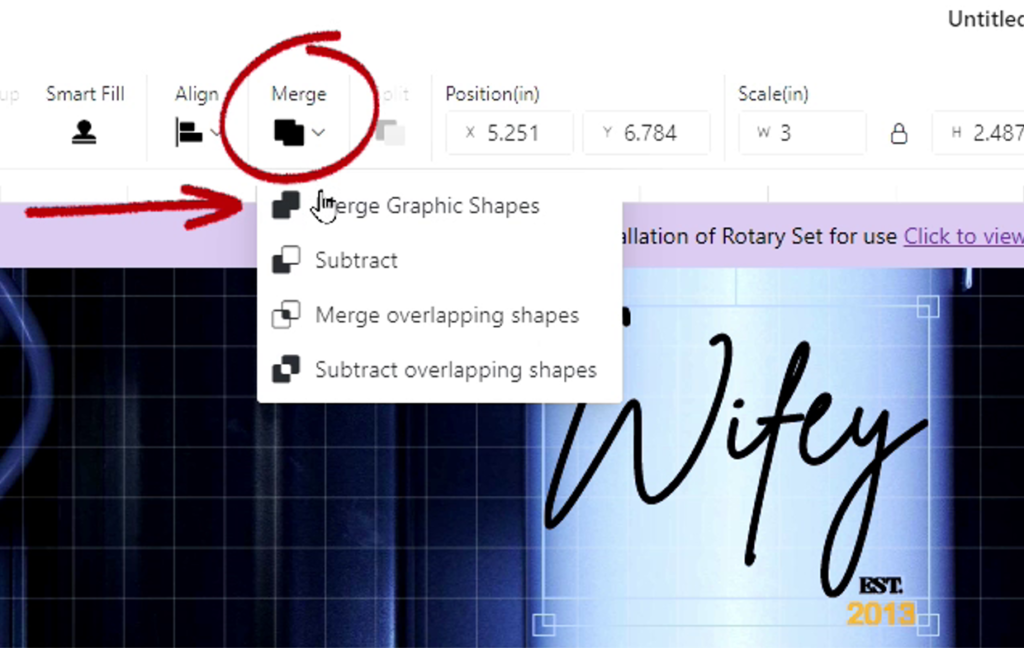
If you need to add a date, click on text, type in the year, shrink it, and position it on your design.
Highlight the whole design and click Merge Graphic Shapes, which is like welding in Cricut Design Space—it makes the design one piece.
Adjusting Your Engraving Settings for White Tumblers
Make sure you have Fill Engrave selected. I set my power to 50, speed to 15, and line density to 100.
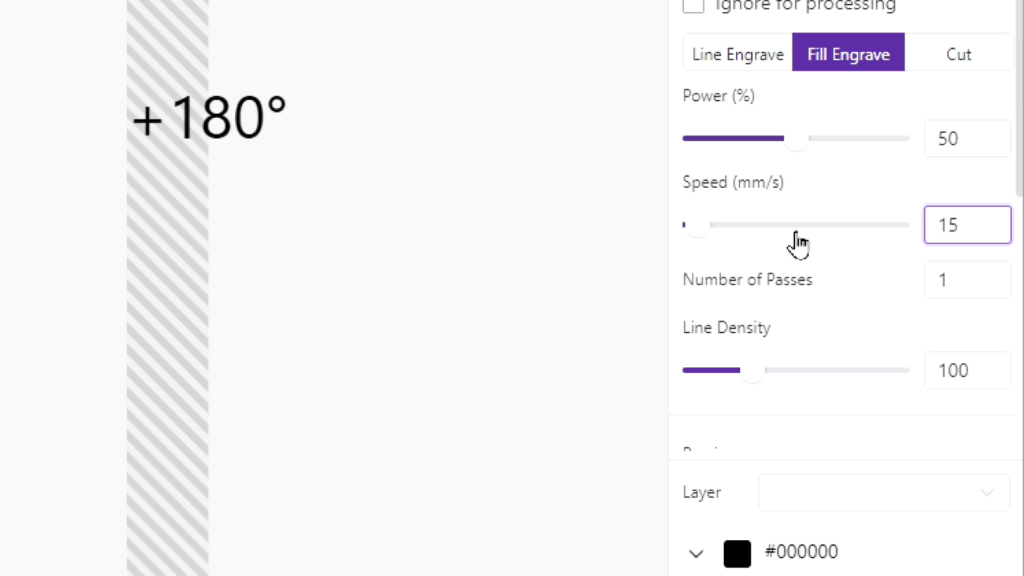
The software estimates an engraving time of about 18 minutes and 49 seconds. Click send, close the lid, and press start on your machine.
Step 4: Engraving and Finishing Your Tumbler
Now it’s time to engrave. Hit start and let the Vista work its magic.
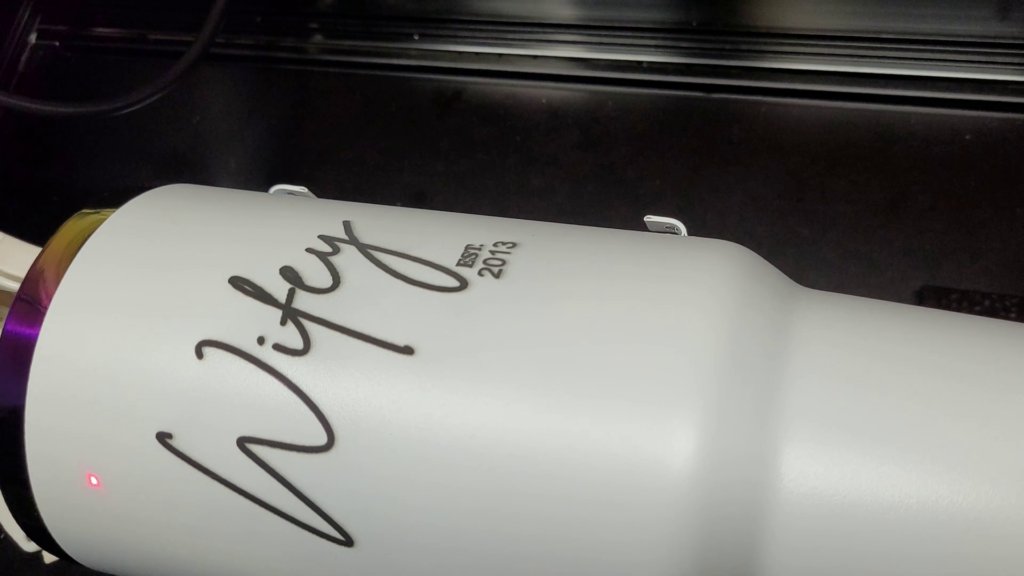
After engraving, it’s normal for the design to look black and smoky. Use a magic eraser to scrub off the residue—it wipes right off, revealing the vibrant rainbow plating underneath!
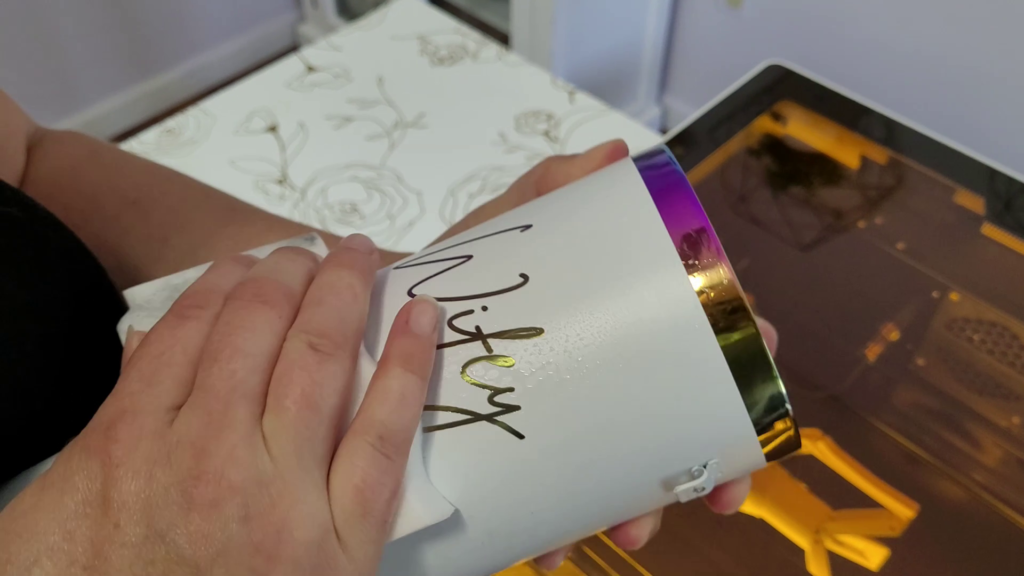
How to Clean Your Engraved Tumblers
Get your magic eraser wet, wring it out, and scrub the cup thoroughly. Don’t be afraid to use some elbow grease to remove all the soot.
Reattaching the Handle to Your Engraved Tumblers
Once cleaned, carefully bend the tabs back out, slide the handle on, and tighten the screws underneath.
The rainbow effect shining through the engraving looks amazing!
Big Payoff: Creating and Selling Custom Laser Engraved Tumblers
You’ve seen how to set up, engrave, and finish a stunning 40oz rainbow tumbler with the WeCreat Vista—now let’s talk about turning this skill into cash!
Custom laser engraved tumblers like these are selling for $60 or more on Etsy, Facebook Marketplace, and personal websites.
People love being able to personalize their gifts, and offering customization is a great way to add value and increase your profits. Whether it’s adding names, special dates, logos, or unique designs, you can charge an upcharge for personalization, making each tumbler even more special.
So whether you’re looking to build a business, create unique gifts, or just show off your creativity, the opportunities are endless. Start selling online or locally and watch how quickly these beautiful tumblers catch people’s attention—and wallets.
Now that you’ve mastered the 40oz rainbow-plated tumbler, why not try something new? Check out my next guide on how to make custom garden stakes with the 20W WeCreat Vision. The process is pretty much the same on the Vision as it is on the Vista, plus you’ll learn valuable tips like how to laser cut and engrave designs with 3mm basswood.
Subscribe for More Laser Engraving Tutorials
Don’t forget to download that free printable step-by-step by signing up with your email address above
If you found this helpful, don’t forget to like, subscribe, and comment on my Youtube Channel with what you’d like to see next.
Thanks for reading, and I’ll see you in the next one!
Materials List:
- WeCreat Vista – Don’t miss out on those Earlybird deals saving you up to $1400! Put down a refundable $20 deposit before 10/14 to lock in that great price: WeCreat Vista
- Tumbler Laser Level – Level Any Cup Tumbler or Water Bottle with Ease – Laser Rotary Tool: Tumbler Laser Level
- HHTHH 2 pcs Cup Turner Holder Adjustable Tumbler Turner Inserts for 3/4 Inch and 1/2 Inch PVC Pipe Cup Turner Foam Insert Fit 40 oz 30 oz 20 oz 10 oz All Tumblers: Cup Turner Holder
- NEXT DAY SHIPPING! Rainbow 40oz Tumbler Blank – Rainbow Plated Tumbler for Laser Engraving: Black or White Laser Engravable Tumbler: Rainbow 40oz Tumbler Blank
- Hubby Wifey SVG Husband and Wifey SVG Graphic: Hubby Wifey SVG
- YVV Rotating Display Stand 360 Degree Motorized Rotating Turntable Adjustable Speed Rotating Display Stand Electric Spinner for Photography Products Shows Turner for Tumblers Display Base White: Rotating Display Stand
Cricuter’s Recommended Deals
- Sign up for Creative Fabrica’s FREE trial
- Sign up for Creative Fabrica’s discounted yearly subscription
- Shop the best deals on Cricut machines
- Accept credit card payments with your FREE Square Card Reader
- Check out my Linktree
Connect with Cricuter
Some of the links provided are affiliate links. Cricuter is a participant in the Amazon Services LLC Associates Program, an affiliate advertising program. As an Amazon Associate,