Ultimate Beginner’s Guide: How To Laser Cut Acrylic – Wecreat Vision
Laser Cut Acrylic
If you’ve ever wondered if the 40W WeCreate Vision can laser cut acrylic, you’re in the right place.
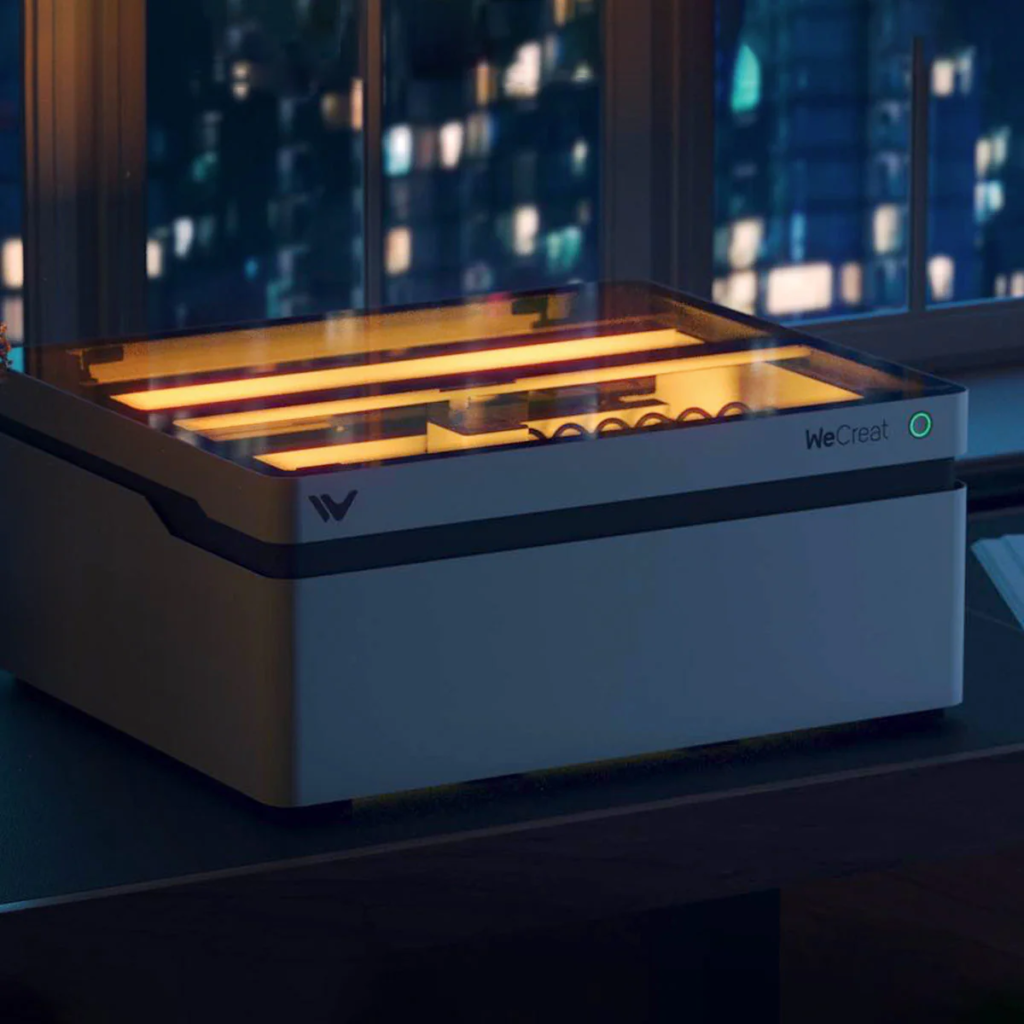
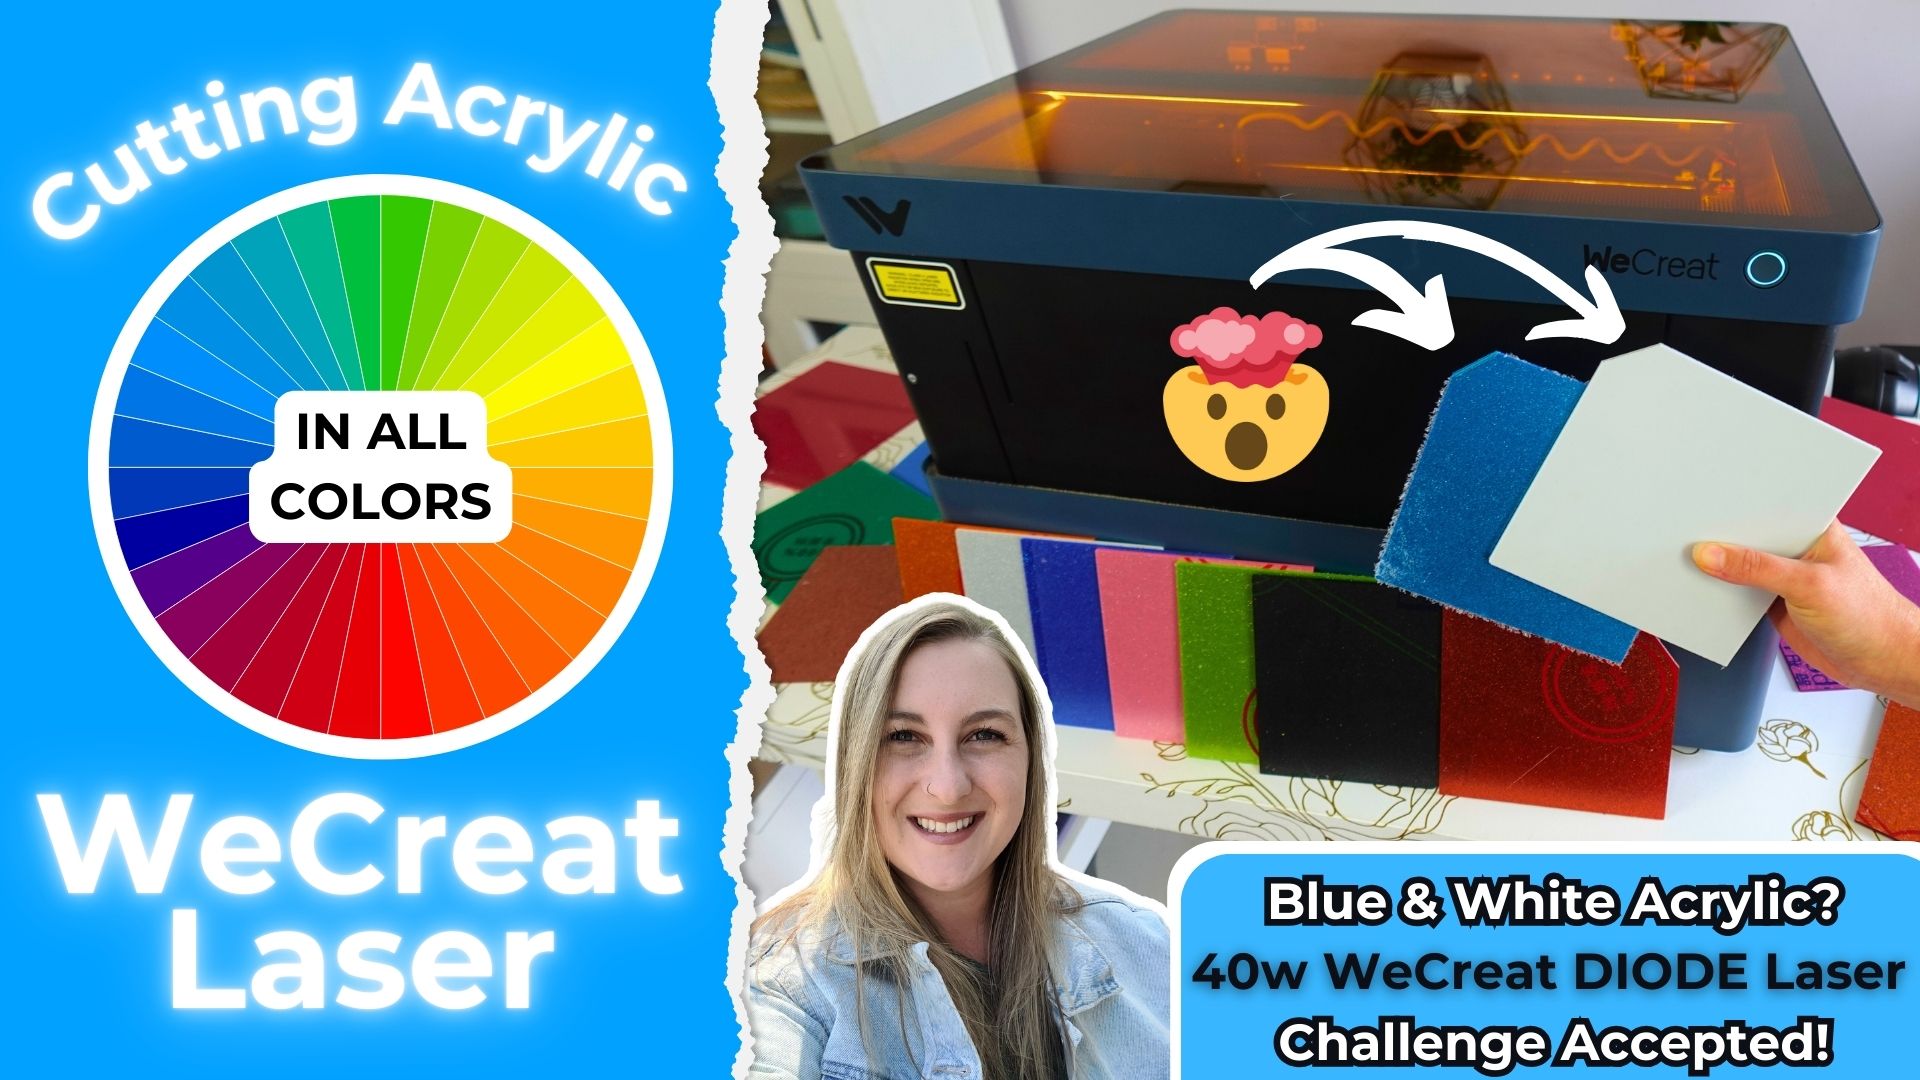
Today, we’re diving into the Ultimate Beginner’s Guide to Cutting Acrylic with the WeCreate Vision Laser. I’ll be testing a variety of acrylic colors, textures, and thicknesses to find out just how versatile this machine really is.
We’ve all heard the myths that diode lasers can’t cut through certain acrylic colors, especially blue and white. But, can the WeCreate Vision pull off the impossible? That’s exactly what we’re going to discover in this post.
Armed with my trusty 40W laser engraver and some colorful acrylic from Temu, I’ll walk you through cutting intricate designs, larger shapes, and testing with and without the protective film to see how it affects the final result.
Have you ever done a bunch of test cutting to dial in your laser settings, but forgot what they were a week later? Keep reading to find out how you can get a FREE downloadable table to keep track of your laser test cuts!
Acrylic is one of the most versatile materials for DIY projects. It’s strong, vibrant, and gives that sleek, professional look to anything from custom signs to keychains and ornaments.
But, is it laser-friendly? And more importantly, can the WeCreate Vision handle it?
By the end of this post, you’ll know which types of acrylic cut smoothly and which colors or textures cause issues. Whether you’re looking to make personalized Stanley tumbler toppers or just test the limits of your machine, this guide will give you all the answers you need.
Watch the video here!
Let’s get started!
The Versatility of Laser Cut Acrylic

Acrylic is one of the most popular materials for crafting because it’s strong, vibrant, and gives a sleek, professional finish. It’s perfect for projects like ornaments, keychains, cake toppers, and custom signs.
When you laser cut acrylic, the clean lines and polished look can take your projects to the next level.
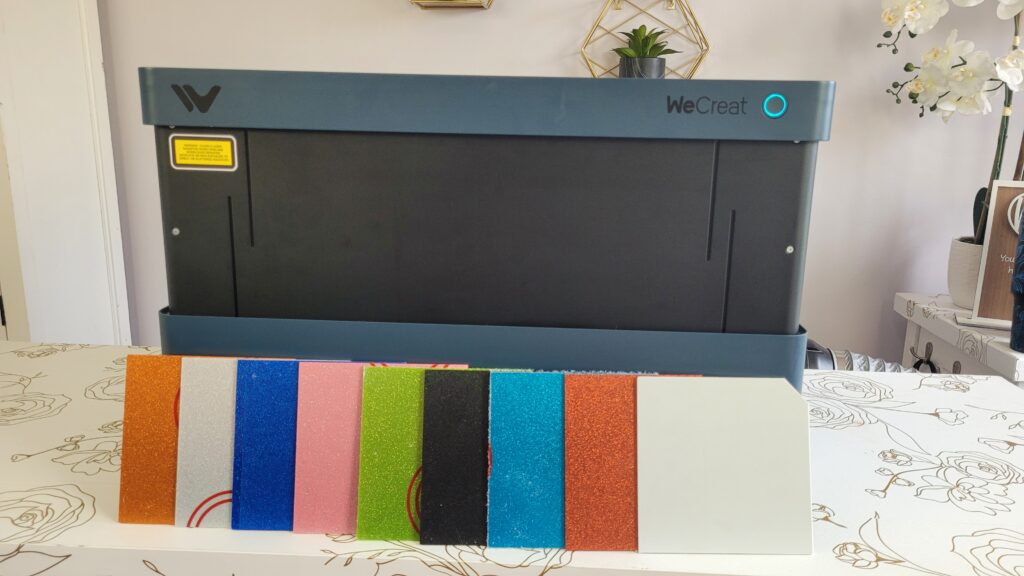
For this test, I used two different packs of acrylic from Temu:
- Glitter acrylic sheets (3.175mm thick)
- Non-glitter sheets (2mm thick)
One challenge with laser cutting acrylic is the belief that diode lasers can’t cut through certain colors, like blue or white. But today, we’re putting that theory to the test with my 40W WeCreate Vision laser.
I’ll be laser cutting acrylic in a variety of colors, textures, and thicknesses to see how well this machine performs.
Cutting Different Acrylic Colors with a Laser
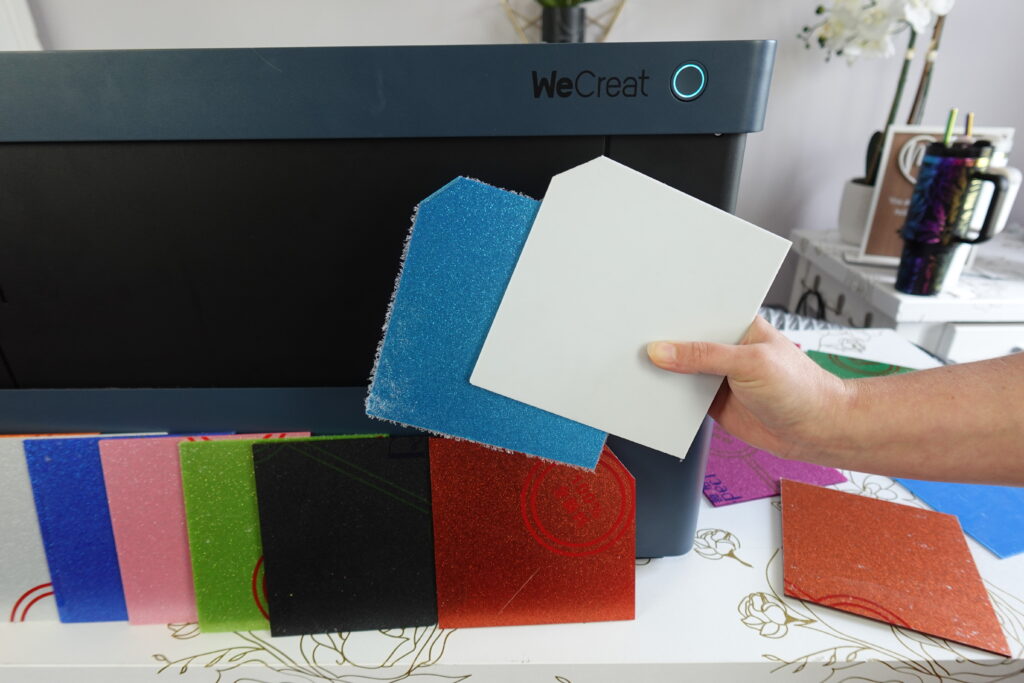
Now, let’s dive into how the WeCreate Vision performed when cutting different colors of acrylic. I set up the laser to cut across the corners of each acrylic sheet, and here’s what happened:
- Black and Green Glitter Acrylic: Both colors cut beautifully. The laser effortlessly cut through the acrylic, leaving smooth edges with no need for sanding. Using an air assist helped keep debris away, resulting in clean, polished edges.
- White and Light Silver Acrylic: As expected, these colors were more challenging. The WeCreate Vision couldn’t cut all the way through the light silver sheet, and the cut was jagged. This supports the idea that laser cutting white acrylic is tricky with a diode laser.
- Red and Blue Acrylic: Despite the common belief that you can’t cut blue acrylic with a diode laser, the WeCreate Vision managed to cut through light blue acrylic with surprisingly smooth results. However, darker blue shades struggled, resulting in some melting.
- Darker Silver Glitter: This acrylic also surprised me by cutting through fairly well, although the edges weren’t as smooth as with lighter colors. Still, it shows the laser cut acrylic results can vary based on color and texture.
Stanley Toppers: A Fun Laser Cut Acrylic Project
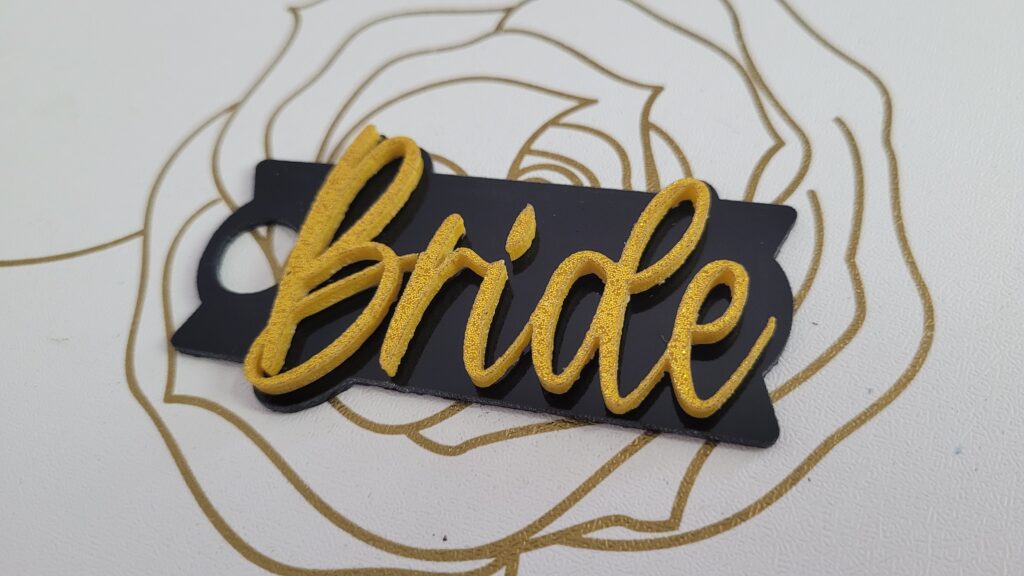
After testing how well the laser handled different acrylics, I wanted to try a real project—customizable Stanley tumbler toppers. These are perfect for personalized gifts or even to sell.
Sign up here to get your FREE 40oz Stanley topper blank file! Use this file to create your unique Stanley Topper. This file does not include the Bride design, and is meant to be a jumping off point for your design!
For the project, I used:
- Shiny, non-glitter black acrylic for the back piece
- Gold glitter acrylic for the text “Bride”
The larger shapes of the topper laser cut acrylic beautifully. The edges were smooth, and the pieces popped out easily.
However, cutting intricate text was a challenge. The letters stuck to the acrylic sheet, and I had to carefully pry them out using a Cricut weeding tool.
Tip: When working on intricate designs with acrylic, using a thicker font and removing the protective film before cutting will give you cleaner results.
Troubleshooting Common Issues With Laser Cut Acrylic

When laser cutting acrylic, you might face some common challenges. Here’s what I learned and how to troubleshoot:
- Melting and jagged edges: Darker colors like dark blue tended to melt, and the edges were rough. Adjusting the speed and power settings or switching to a different acrylic brand can help reduce melting.
- Letters sticking to the sheet: If you’re cutting text, the letters may stick to the sheet after cutting. Use a weeding tool or an X-Acto knife to gently pop them out. Choosing a thicker font can also help the pieces come out more easily.
- Protective film issues: Leaving the protective film on can cause it to melt and make it difficult to remove the pieces. Removing it before cutting is often a better option.
When troubleshooting cut settings for laser cutting acrylic, it’s important to experiment with different speed and power levels to get the best results.
Start by performing test cuts on a small piece of acrylic and adjust your settings as needed for clean, smooth edges.
Keeping track of these settings can save you time in future projects, so I recommend making a tablet to record your settings for different materials and thicknesses, along with the results you get. The best results for this type of acrylic was 90 power, 8 speed, and 2 passes.

This simple step will help you consistently achieve optimal results without having to redo tests every time you switch materials.
Interested in a template you can download to keep track of your test settings? Enter your email below and its yours, totally FREE! There are 2 forms included, one you can open in excel to keep track of digitally, and a printable PDF if you prefer to keep written copies!
Acrylic vs. Wood for Laser Cutting Projects
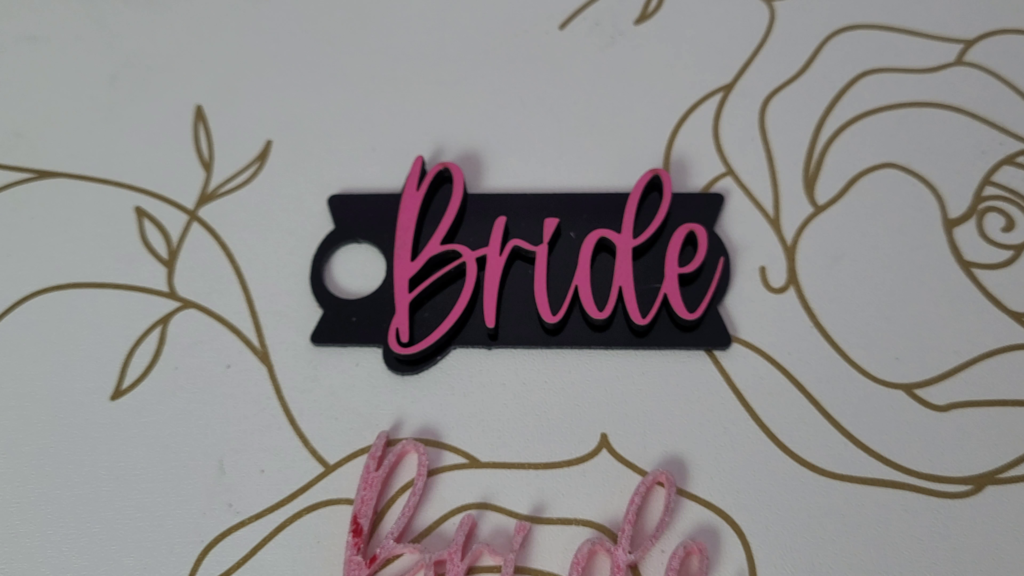
While acrylic is a fantastic material for many projects, sometimes laser cutting wood is a better option, especially for intricate designs like small text.
To compare, I cut the same “Bride” topper design using both acrylic and wood.
- Wood cuts faster and cleaner than acrylic. The text popped out easily, and the edges were smooth.
- Laser cut acrylic is better for larger shapes and projects that need a sleek, professional look, but for intricate designs, wood offers better results.
So, while laser cut acrylic is great for large, bold designs, if you need to cut smaller, more detailed pieces, wood may be the better choice.
Choosing the Right Acrylic for Laser Cutting
Not all acrylic is created equal, and when it comes to laser cutting acrylic, choosing the right type is key. There are two types of acrylic you should know about:
- Extruded acrylic: This type is often used with CO2 lasers but can cause problems with diode lasers like the WeCreate Vision. It tends to melt, leaving rough edges.
- Cast acrylic: This is better for laser cutting with a diode laser. It cuts more cleanly and gives you polished edges with less melting.
For this test, I used extruded acrylic, which didn’t always give the best results.
If you’re working with a diode laser, I highly recommend trying cast acrylic for smoother cuts and fewer issues.
No matter which acrylic you use, you want to make sure that you have good ventilation with your laser to ensure a safe and clean working environment. Acrylic emits fumes when cut, which can be unpleasant and even harmful if inhaled over time.
Proper ventilation helps to remove these fumes, preventing them from accumulating in your workspace and keeping the air clear.
I highly recommend using the WeCreate Booster Fan for laser cutting projects. This powerful fan quickly removes fumes and debris from the cutting area, ensuring your cuts are clean and the air stays fresh.

It’s a game-changer for anyone working with materials like acrylic, where fumes can be a significant issue.
With the WeCreate Booster Fan, you can focus on your projects without worrying about air quality.
Final Thoughts: Can the WeCreate Vision Laser Cut Acrylic?
After testing a range of acrylic colors and textures, here’s what I’ve learned: The WeCreate Vision can successfully laser cut acrylic, even in challenging colors like certain shades of blue, though it struggles with finer details and certain shades like white and dark blue.
To get the best results:
- Use cast acrylic instead of extruded acrylic.
- Stick to thicker fonts and simpler designs for clean, easy cuts.
- Always remove the protective film before cutting intricate shapes.
The WeCreate Vision is capable of handling laser cut acrylic for larger shapes and bold designs, but for projects with fine details, you may need to experiment with settings or switch to a different material like wood.
Additional Tips for Laser Cutting Acrylic
- Test different brands: Acrylic quality varies by brand, so try a few to find what works best for your laser.
- Use an air assist: This helps keep debris away from the cutting path, leading to cleaner cuts and fewer rough edges.
- Experiment with settings: The preset settings in the WeCreate MakeIt software are a good starting point, but you may need to adjust speed and power for different acrylic types and thicknesses.
Conclusion
The WeCreate Vision laser engraver is powerful enough to laser cut acrylic in a variety of colors and textures, making it a great option for DIY projects like customizable tumblers, signs, and more.
With a few adjustments and some trial and error, you can achieve smooth, clean cuts that are perfect for your crafting needs.
For more tutorials and project ideas, check out my WeCreate playlist on Youtube!. Happy crafting, and I hope this guide helps you get the most out of laser cutting acrylic with your WeCreate Vision!
Which WeCreat Laser to Buy?
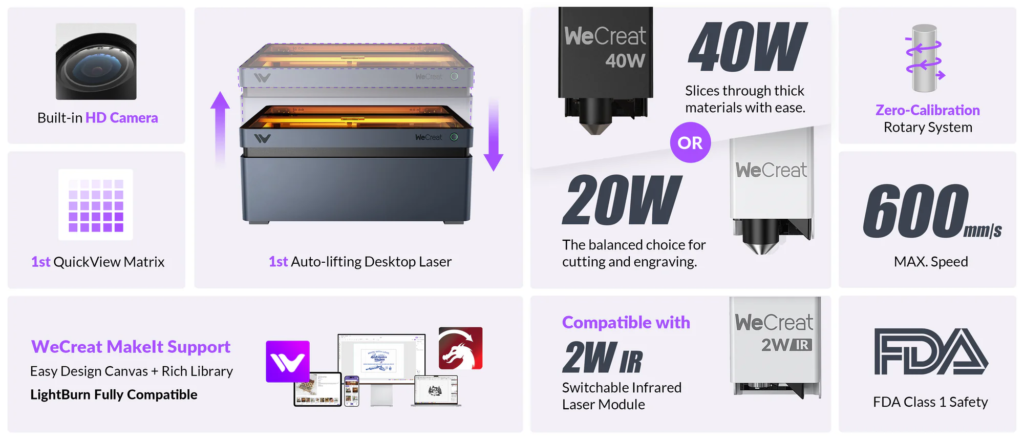
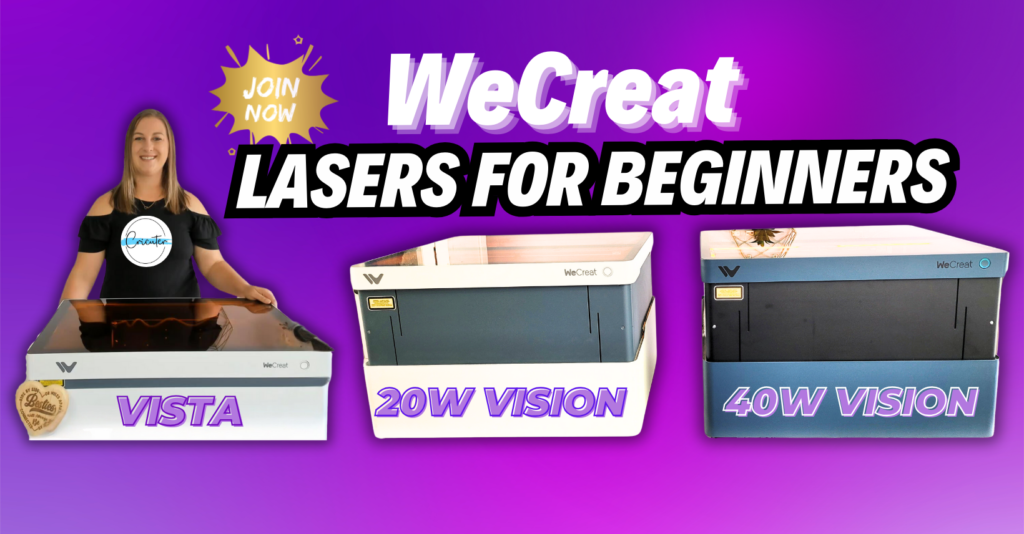
If you’re trying to decide between the WeCreat Vista, 20w WeCreat Vision, or 40w WeCreat Vision, be sure to check out my detailed guide here.
Each machine has unique features that might fit your project needs, and I break down everything to help you make the best choice.
Early Bird Deal for the WeCreat Vista

Don’t miss out on the Early Bird deal for the WeCreat Vista! Save up to $1400 by putting down a refundable $20 deposit before 10/14. Lock in this great price here.
Ready to Buy a Laser?
Interested in learning about what I wish I knew before I bought a laser engraver? Click Here!
Check out these links to purchase the best laser engraver for beginners:
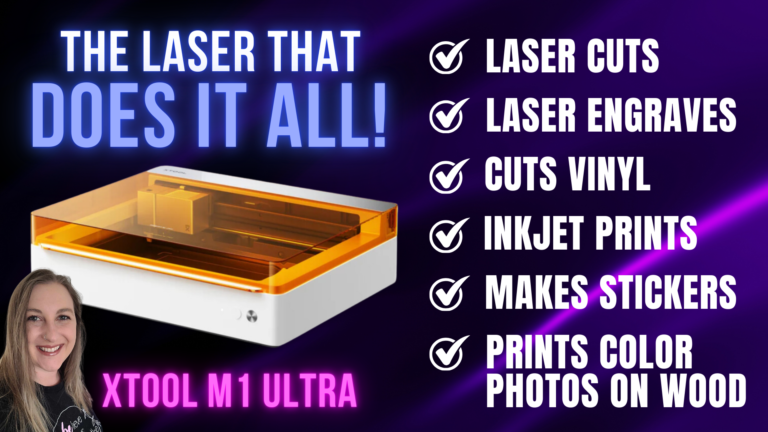
If you haven’t heard the exciting news, xTool just launched the new xTool M1 Ultra. This versatile machine is like a Cricut, laser engraver, laser cutter, and inkjet printer all in one!
Check out this video to learn more or purchase it here using the promo code “Cricuter” to save on your purchase!
Cricuter’s Recommended Deals
- Sign up for Creative Fabrica’s FREE trial
- Sign up for Creative Fabrica’s discounted yearly subscription
- Shop the best deals on Cricut machines
- Accept credit card payments with your FREE Square Card Reader
- Check out my Linktree
Connect with Cricuter
Some of the links provided are affiliate links. Cricuter is a participant in the Amazon Services LLC Associates Program, an affiliate advertising program. As an Amazon Associate,I earn a small commission if you make a purchase, at no additional cost to you!
Testing a $400 CO2 Laser Engraver: Vevor 40w CO2 Laser Engraver Review
A laser engraver that can cut clear acrylic AND engrave glass for UNDER $500? No way. Ready to dive into laser engraving without spending a fortune? The VEVOR 40 watt Desktop Laser Engraver is your ticket to crafting detailed, custom…
Top Black Friday Deals and Give Aways on Laser Cutting and Engraving Supplies for 2024
Plus, crafting tools like Cricut, HTVRont, and more! Ready to take your laser crafting to the next level? Black Friday is here, and it’s packed with deals you won’t want to miss! From handy tools like honeycomb laser beds and…
Learn how to make Personalized Ornaments with Custom Photo Designs Today!
Looking for a unique and personalized holiday gift idea this holiday season? Crafting personalized ornaments using Cricut Print Then Cut might be the perfect solution to bring joy for your whole family, year after year. Not only do these…
10 Essential Sublimation Tips You Need to Know for Flawless Results
If you love Cricut crafts and laser engraving, you’re going to love sublimation! I’ve put together this list of my top 10 sublimation tips to help you on your way to success. Sublimation is one of my favorite crafting methods…
How to Sell Sublimation Crafts Successfully: A Step-by-Step Guide
Sublimation crafting is a fantastic way to create personalized, vibrant, and durable products. If you’ve ever wondered how to turn this hobby into a profitable venture, you’re in the right place. This guide will give you an idea about everything…
