
How To Make Car Decals With Your Cricut
Hey Cricuters! Welcome back to my blog. Today, I’m excited to share a fun and easy way to make money right from home using your Cricut machine. In this tutorial, I’ll walk you through the steps to create and sell car decals using vinyl. Creating vinyl decals for cars is a cost-effective and profitable Cricut project that’s perfect for selling.
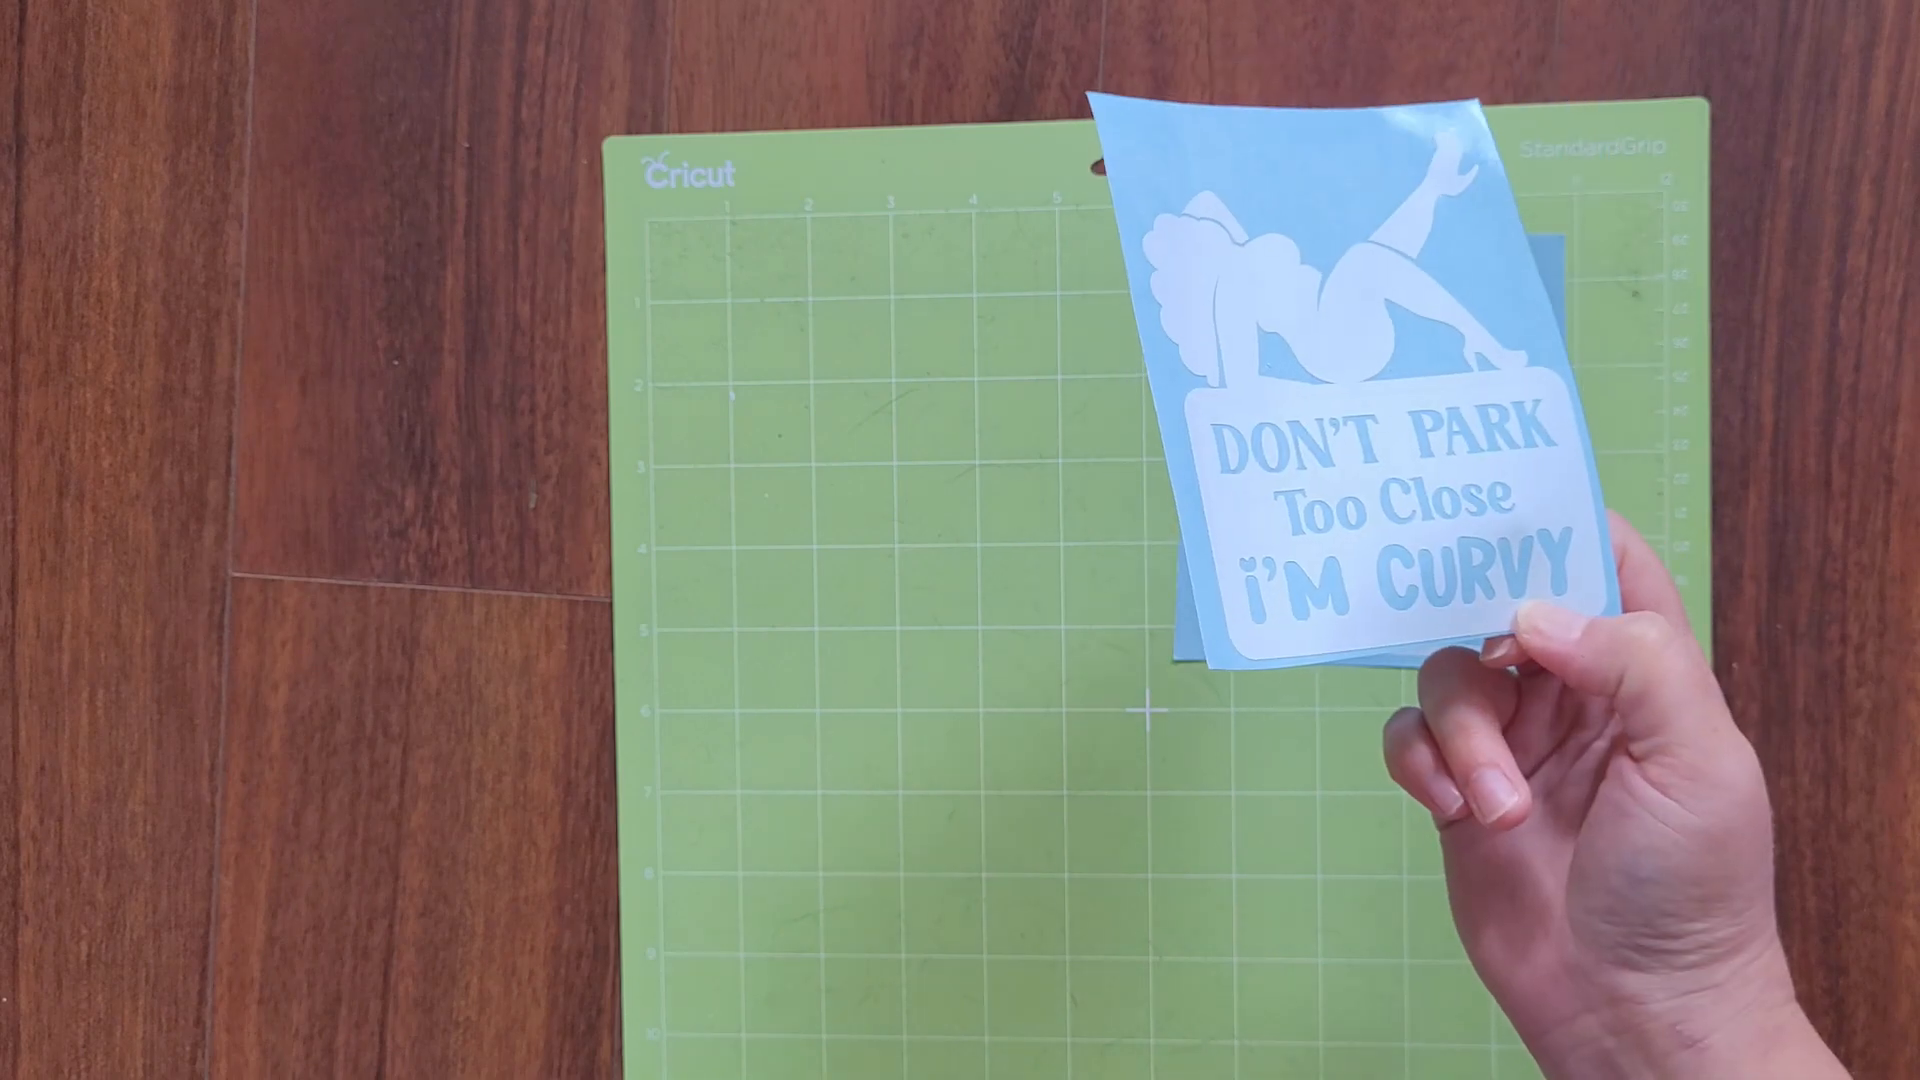
For this project, I’ll be using a design I like from a bundle I found on Creative Fabrica that you can find here. I love how it’s funny and hopefully it’ll keep people from parking too close to my car, especially since I have kids. Eveyone knows kids aren’t the most careful when opening car doors!

Table of Contents
- Step 1: Gather Your Cricut Machine and Materials
- Step 2: Find the Perfect Design
- Step 3: Choose the Right Vinyl
- Step 4: Prepare Your Cutting Mat and Tools
- Step 5: Upload and Resize Your Design in Cricut Design Space
- Step 6: Weld Your Design for Cutting
- Step 7: Cut Your Vinyl Decal
- Step 8: Weed Your Decal
- Step 9: Apply Transfer Tape and Prepare for Application
- Step 10: Package and Ship Your Decals
- Step 11: Final Tips and Considerations
Step 1: Gather Your Cricut Machine and Materials
Before you start making car decals, you need to gather all the necessary tools and materials. This will help ensure a smooth crafting process. First, you’ll need a reliable Cricut machine. I recommend using either the Cricut Maker or Cricut Maker 3 for optimal results,
Essential Tools
- A Cricut Machine, like the Cricut Maker Cricut Maker 3
- Oracle 651 White Vinyl
- Transfer Tape
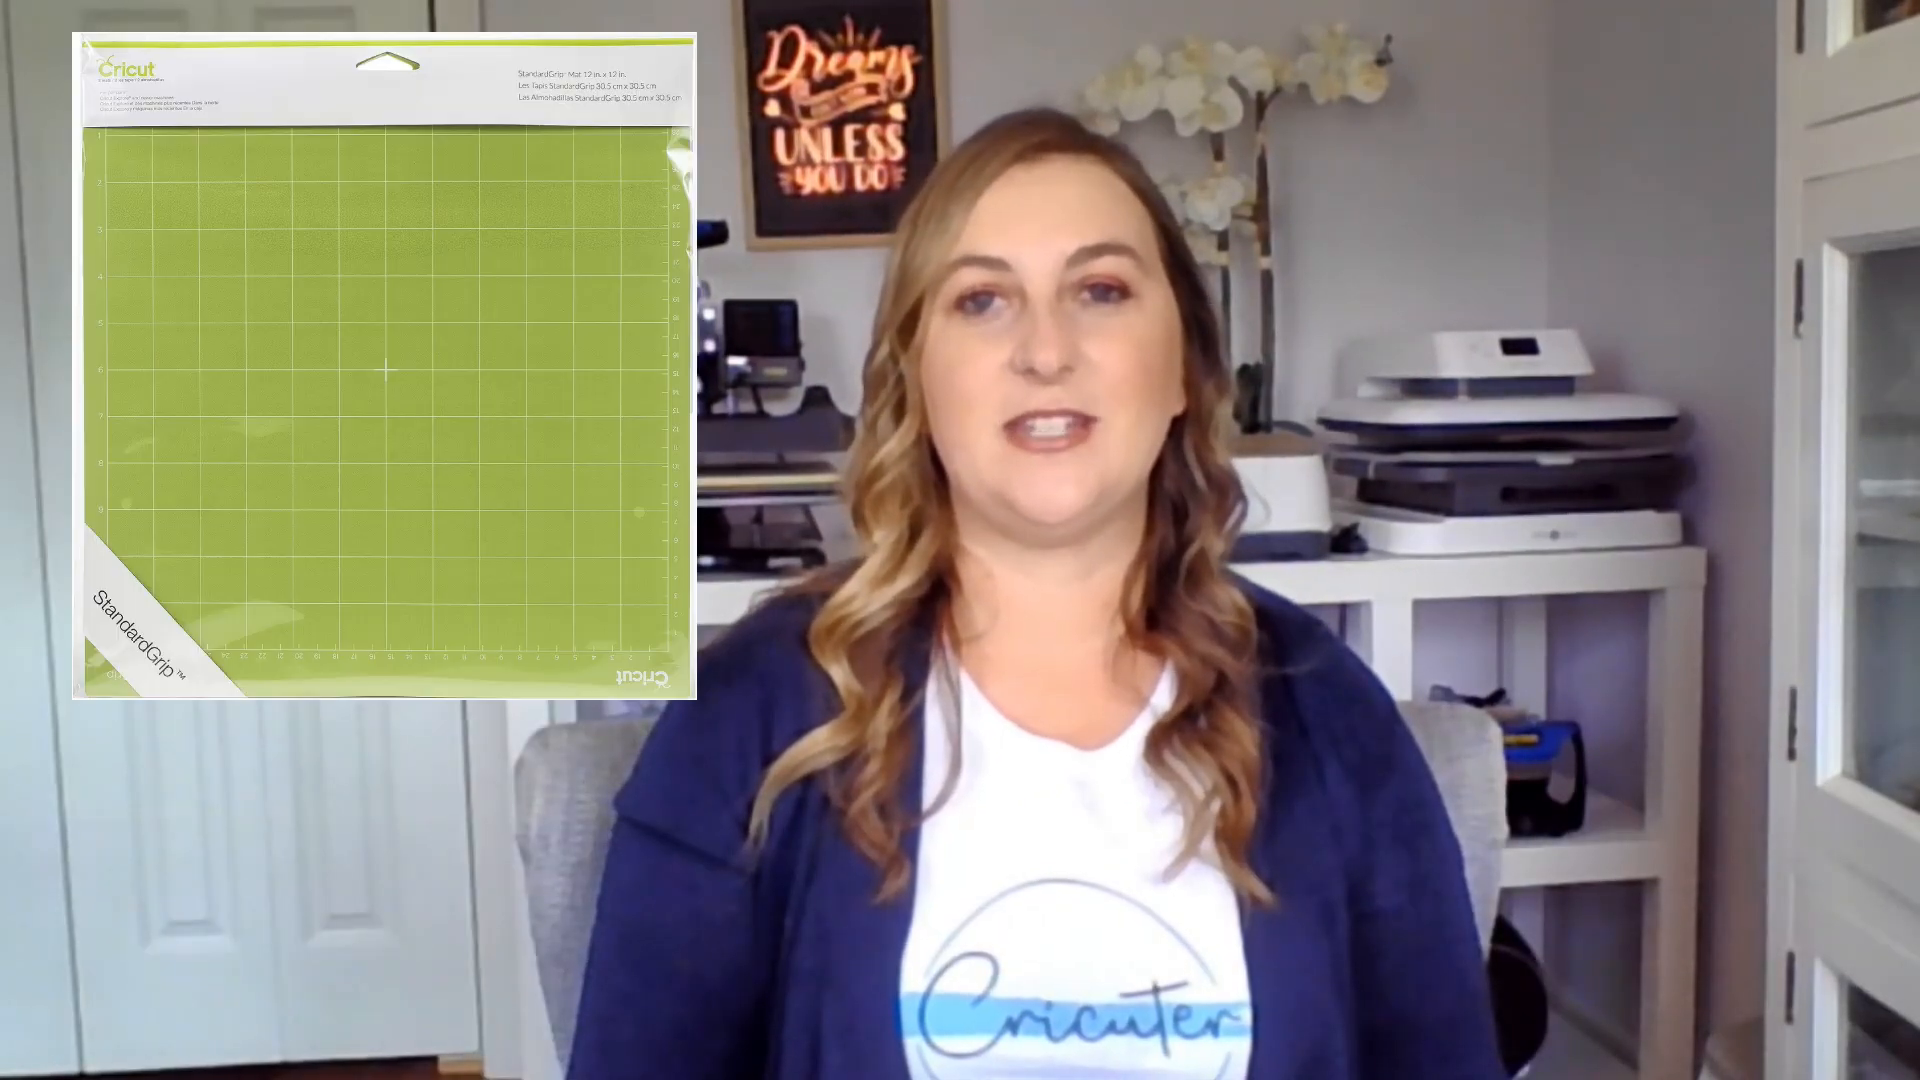
- Standard Grip Mat
- Cricut Basic Tool Set
- Cricut Trimmer
Step 2: Find the Perfect Design
You’ll need a design for your car decal. If you’re not so great at drawing your own designs, Creative Fabrica is an excellent resource for fonts and designs.
Today, I’ll be using a design from this Dont Park Too Close Funny SVG bundle. I like how the design looks and I think it’ll look great on my car
If that’s not your style, Creative Fabrica offers thousands of options suitable for any project. They have almost any design you can think of, in addition to beautiful fonts, graphics, and even an AI tool to help you create designs no one’s ever seen! Sign up for their free trial to explore their vast library.
Download Your Design
Step 3: Choose the Right Vinyl
Selecting the right vinyl is important for creating durable and appealing car decals. To make sure you’re making a quality product that people would be happy to pay for, here’s what you need to know.
Types of Vinyl
Permanent vinyl is ideal for car decals. It withstands outdoor elements and lasts for years. You definitely dont want to use HTV or something temporary.
My typical go-to vinyl for projects like this is Oracle 651. You can buy it in large rolls and it holds up super well. Another option would be something like a Holographic Vinyl from Techwrap if you want to add some sparkle to your design.
Permanent vs. Removable Vinyl
Ensure you choose permanent vinyl, not removable. Permanent vinyl adheres securely but can be removed with effort.
It’s essentially a super sticky sticker that can be removed using a razor or hair dryer.
Color Choices
White vinyl looks great on car windows, but there are many color options available. Choose what suits your design best. I’m going with white because my car windows are tinted black, so the white will stand out really nicely
Step 4: Prepare Your Cutting Mat and Tools
I’m using a green standard grip mat for this project. Remove the protective film and make sure your mat is clean.
Setting Up Your Workspace
Organize your workspace with all materials within reach. This helps you work efficiently and avoid mistakes.
Ensure your Cricut machine is connected and ready to use.
Step 5: Upload and Resize Your Design in Cricut Design Space
Uploading and resizing your design in Cricut Design Space is a breeze. Follow these steps to get it just right.
Uploading Your Design
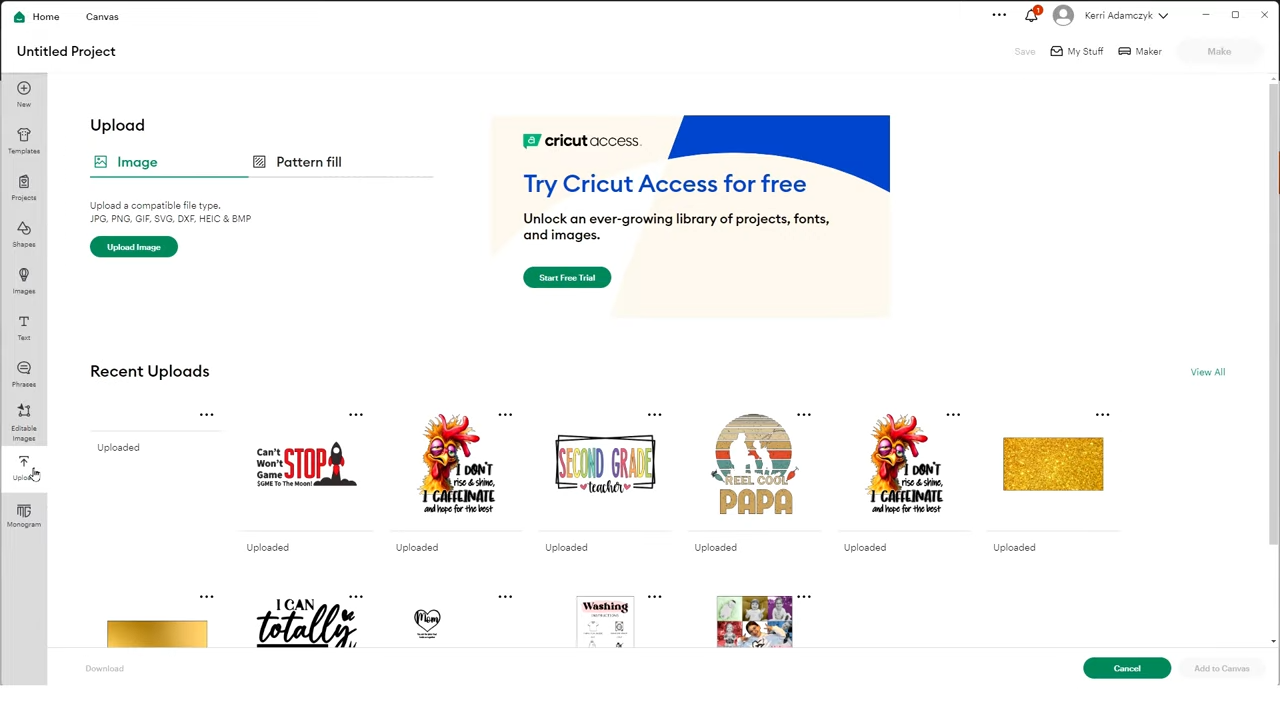
Click on the “New Project” button to start a new design. To upload a design, select the “Upload” button on the left-hand side. Then, click “Upload Images” and “Browse” to find the file you want to use from your computer. Then click open.
Resizing and Positioning
Once your design is uploaded, click on it to add it to your canvas.
Step 6: Weld Your Design for Cutting
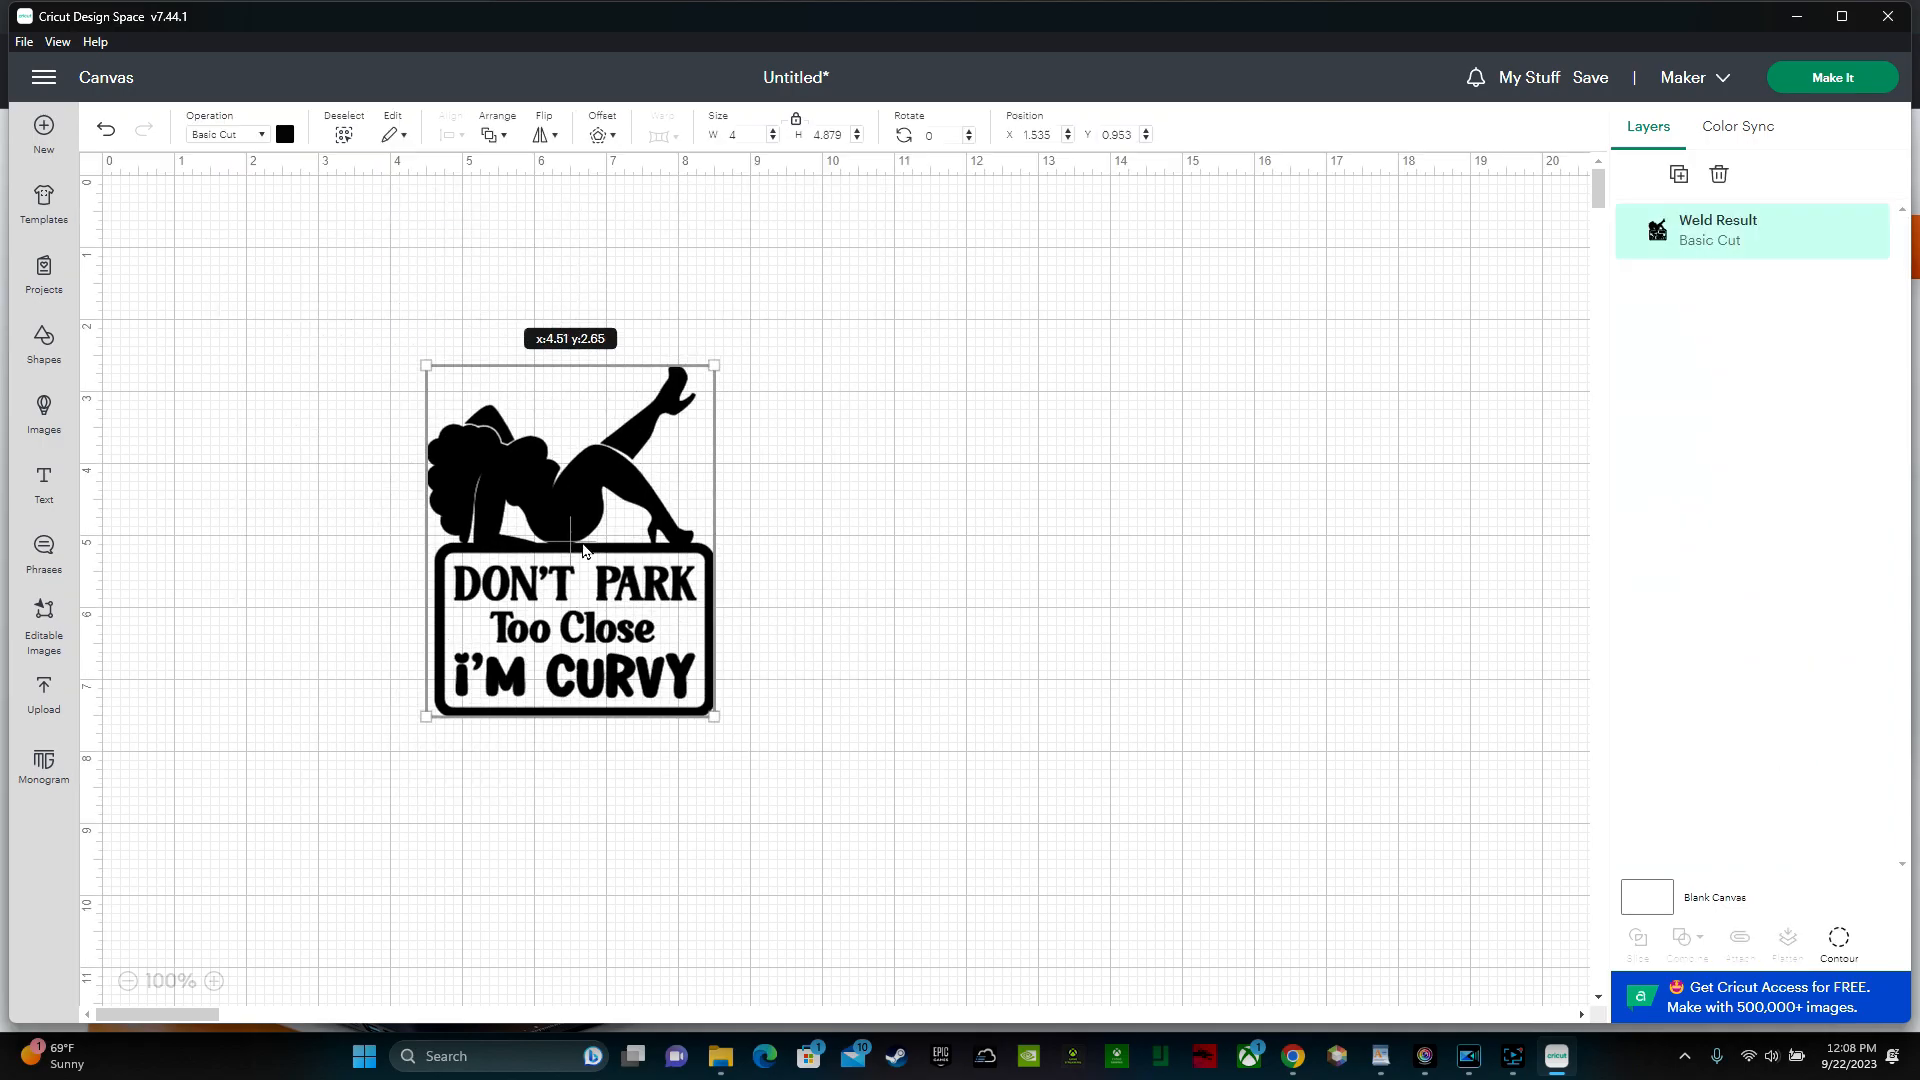
Welding your design ensures it cuts exactly as you see it. If you don’t weld your design,when you go to make it your Cricut doesn’t automatically cut your image out the way that you see it. It breaks it up into a million different pieces.
How to Weld
Highlight your entire design and click “Combine” then “Weld”. This merges all elements into one piece.
- Highlight the whole image
- Click “Combine”
- Select “Weld”
Now, your design is one cohesive piece, ready for cutting.
Prepare for Cutting
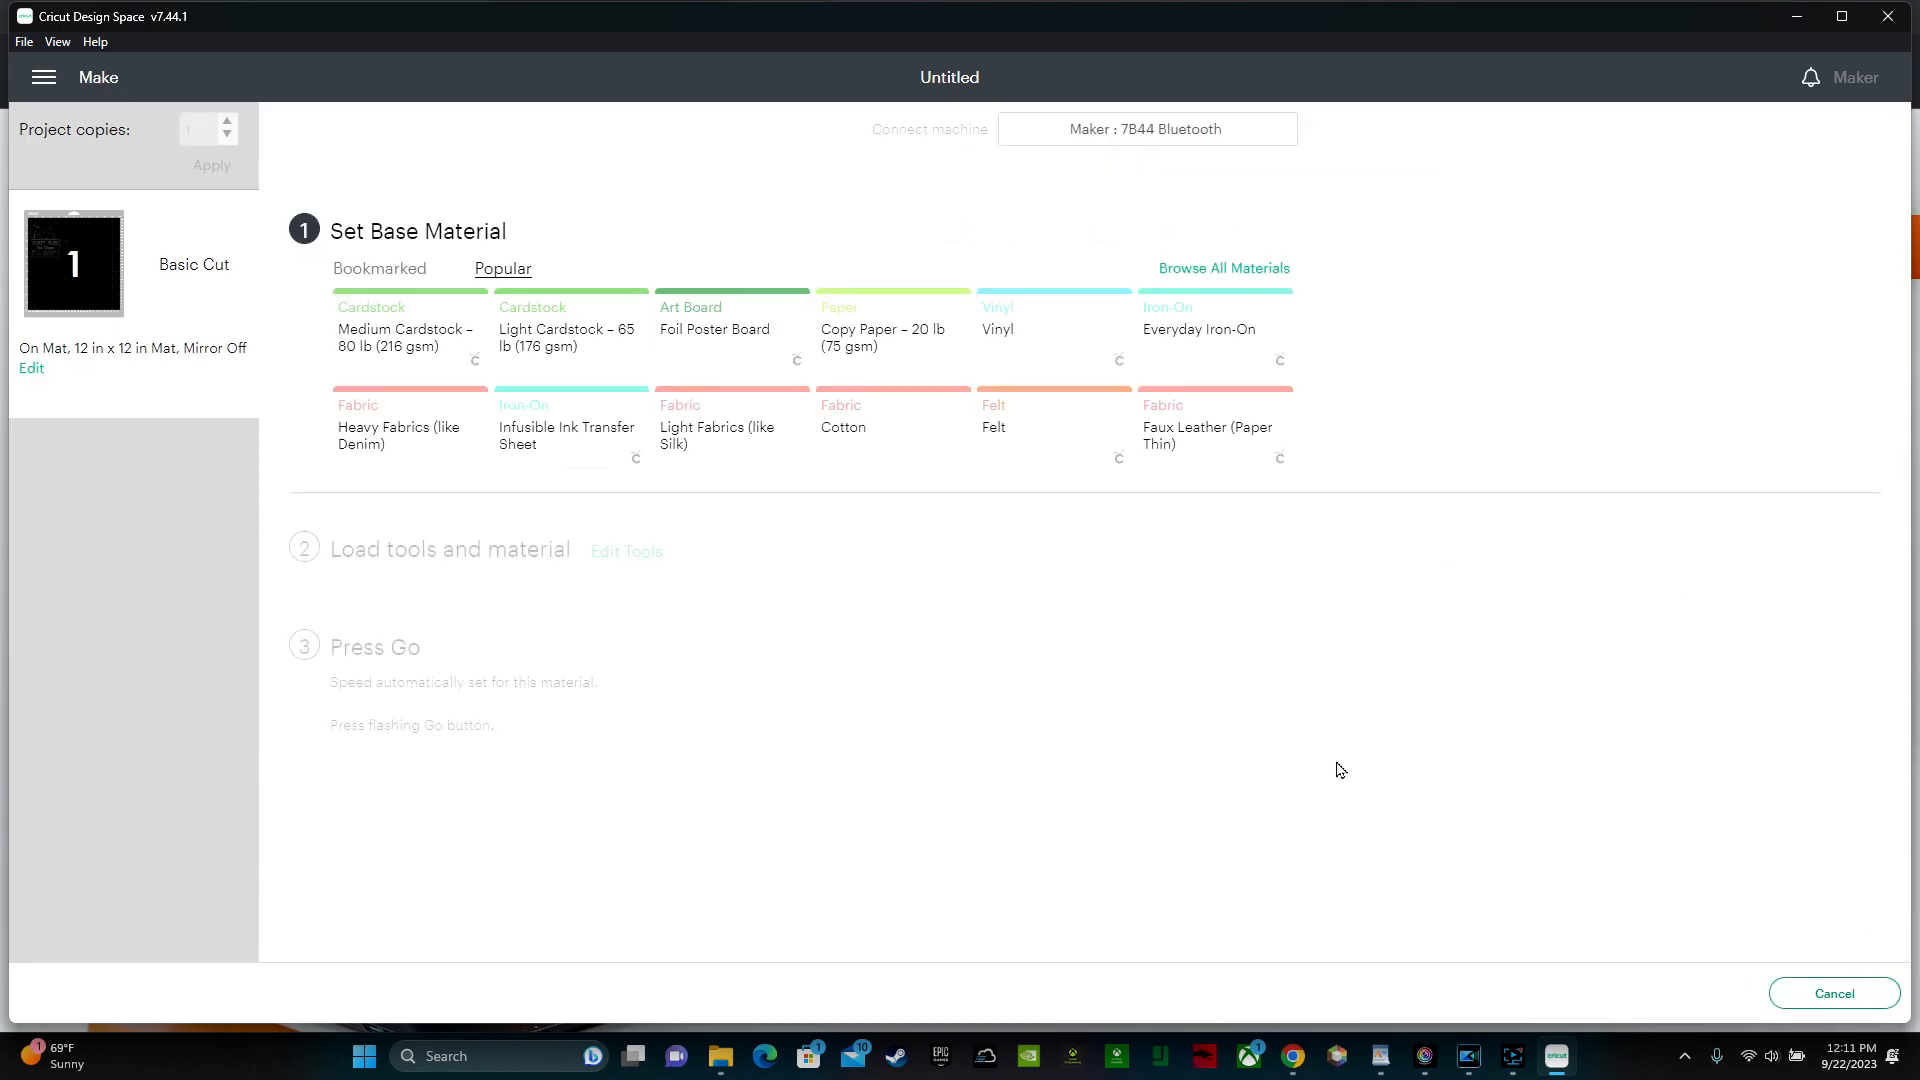
Click “Make It” to proceed. You don’t need to mirror your image since you’re using regular vinyl, not heat transfer vinyl.
Click “Continue”, select your material, which should be set to vinyl
Step 7: Cut Your Vinyl Decal
Cutting your vinyl decal accurately is essential for a professional look. Here’s how to do it right.
Load the Vinyl
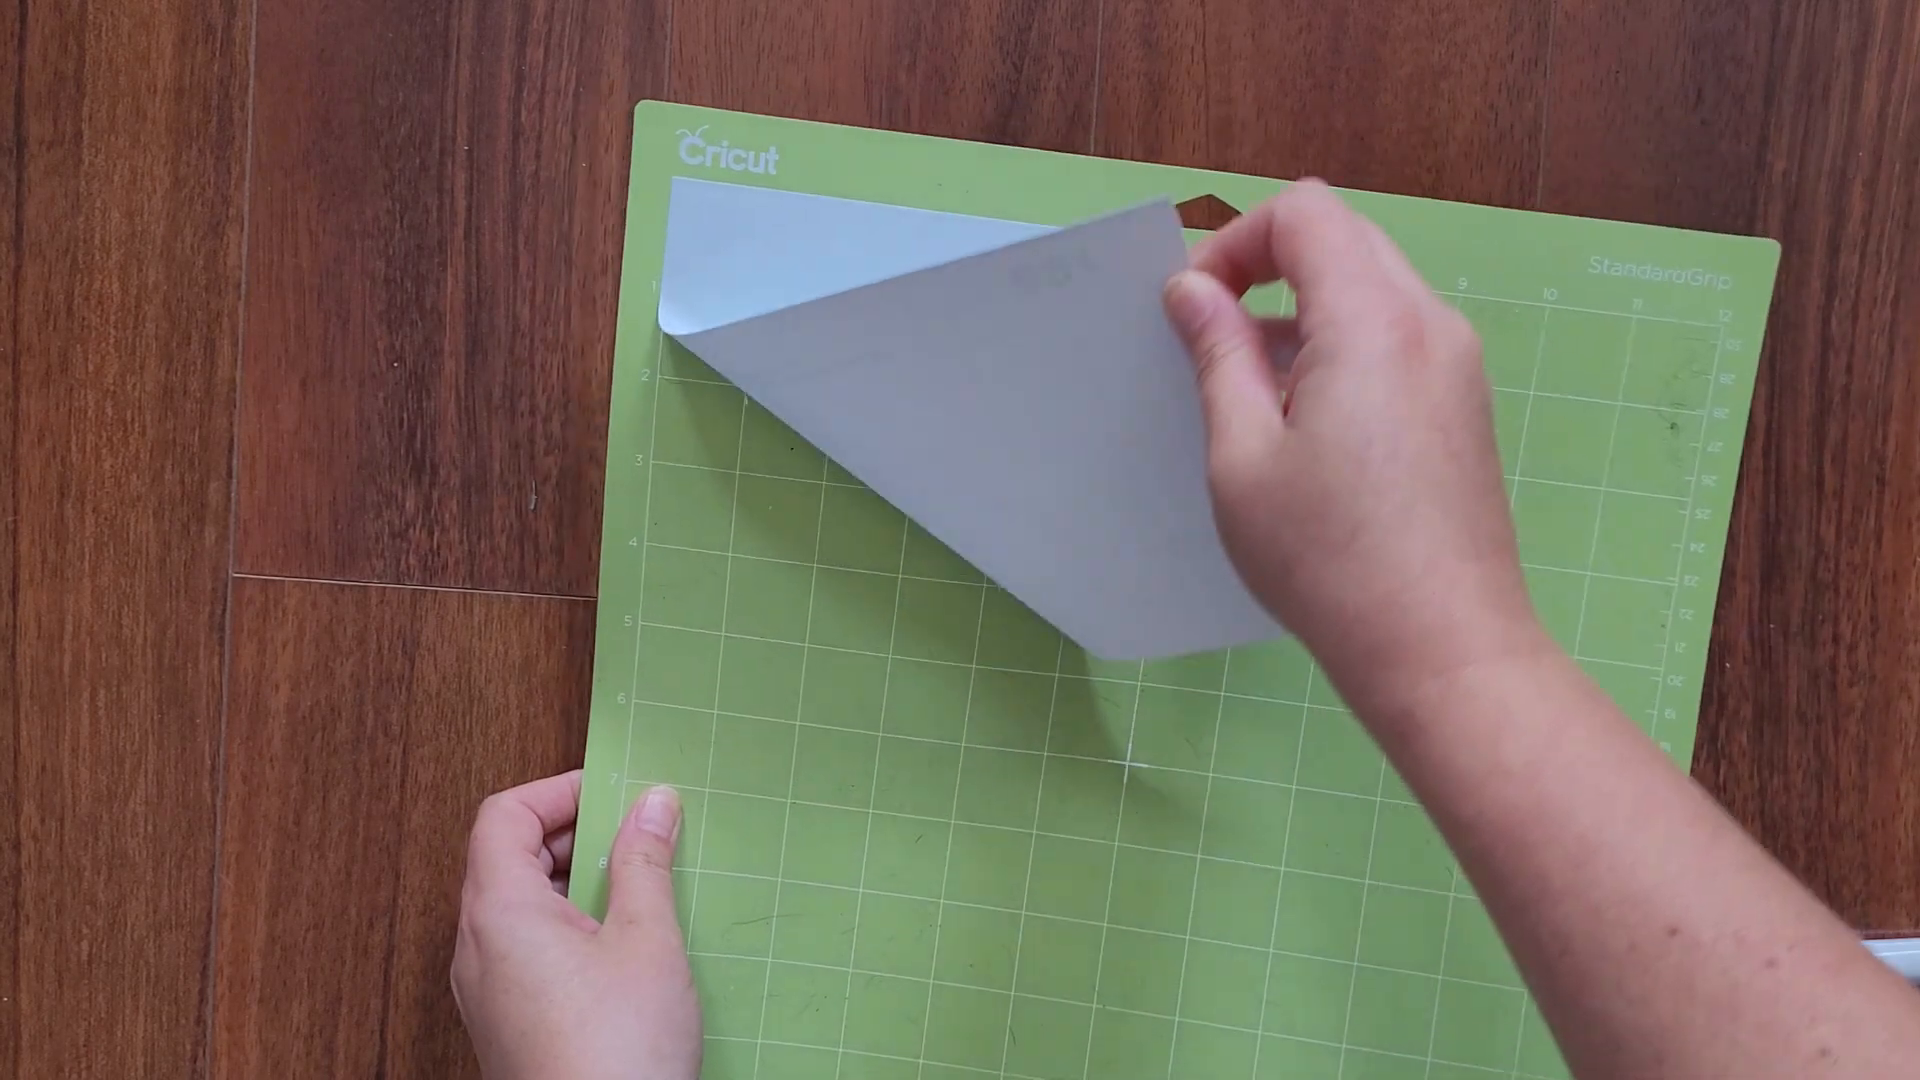
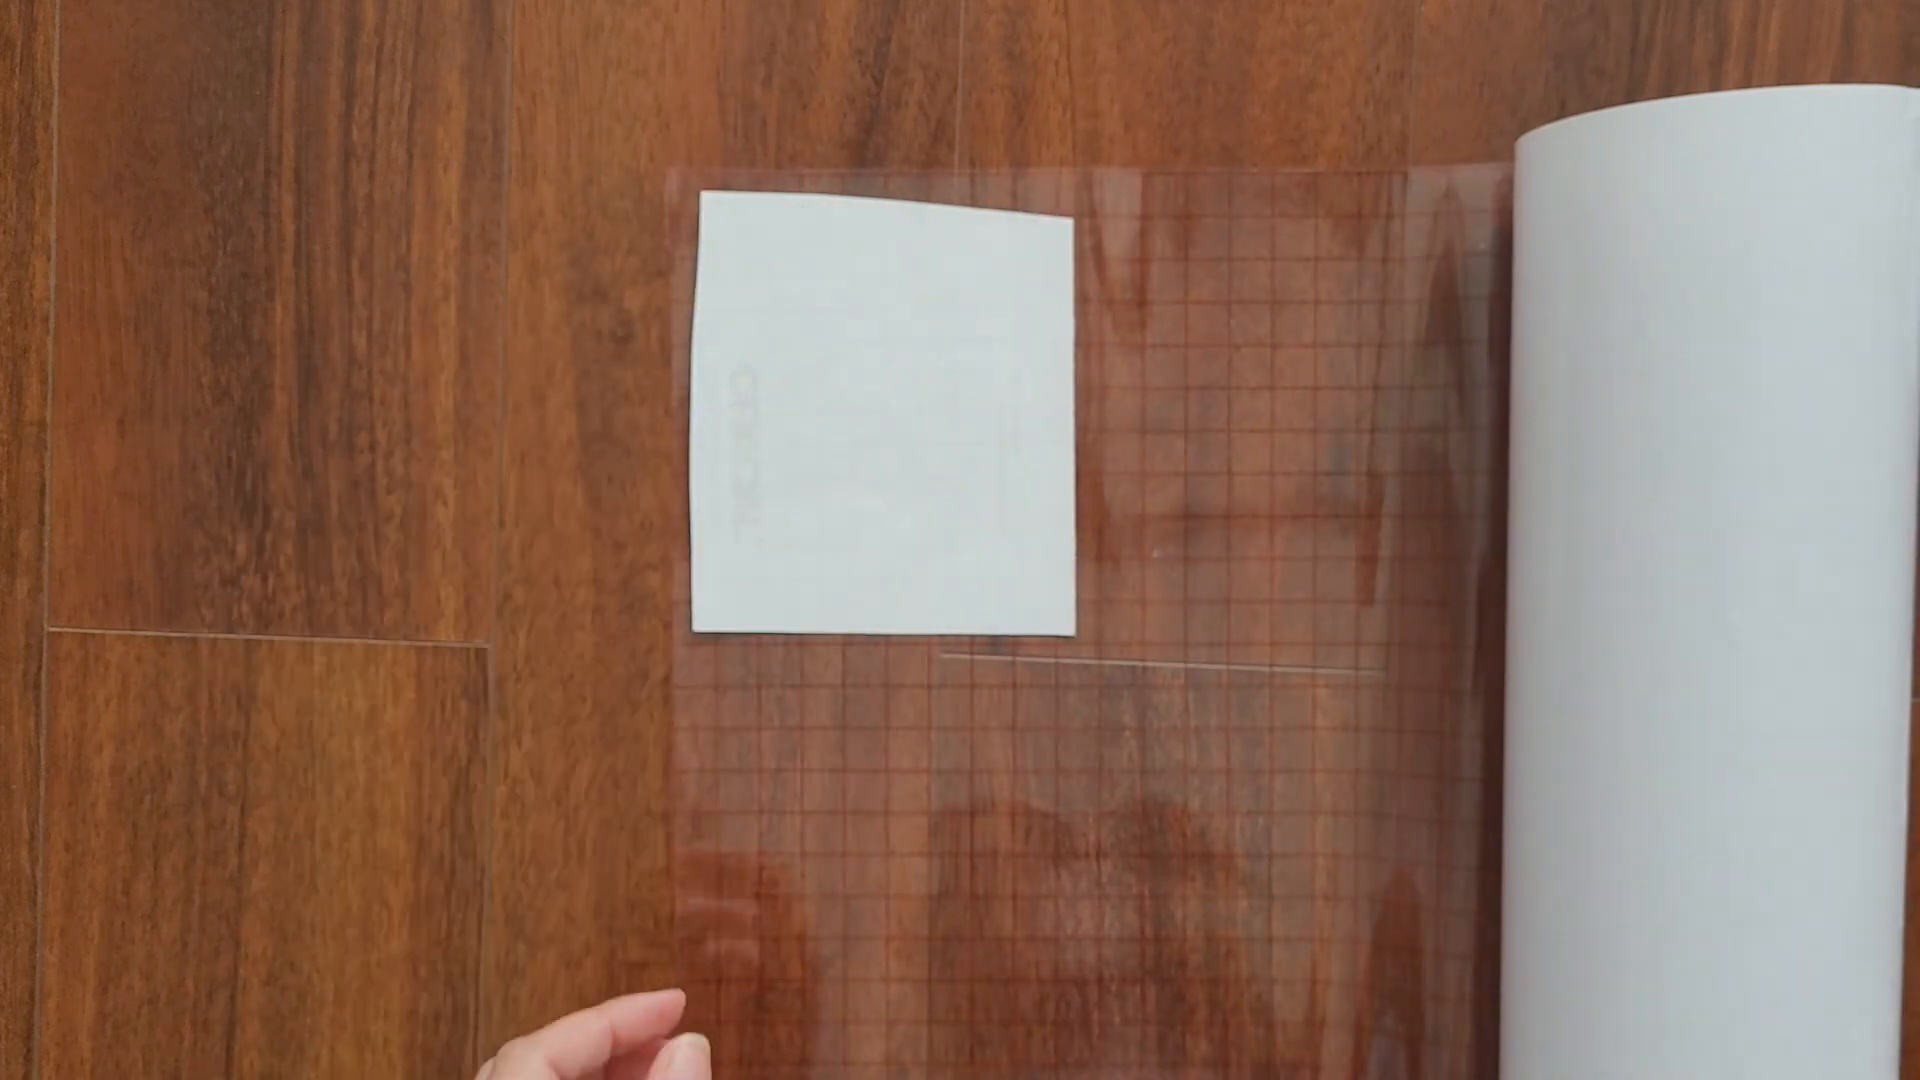
For this design, I’m going to cut a piece of vinyl about 5 and a quarter inches. Place your vinyl on the standard grip mat in the upper left hand corner. Smooth it out to avoid bubbles and ensure it sticks well.
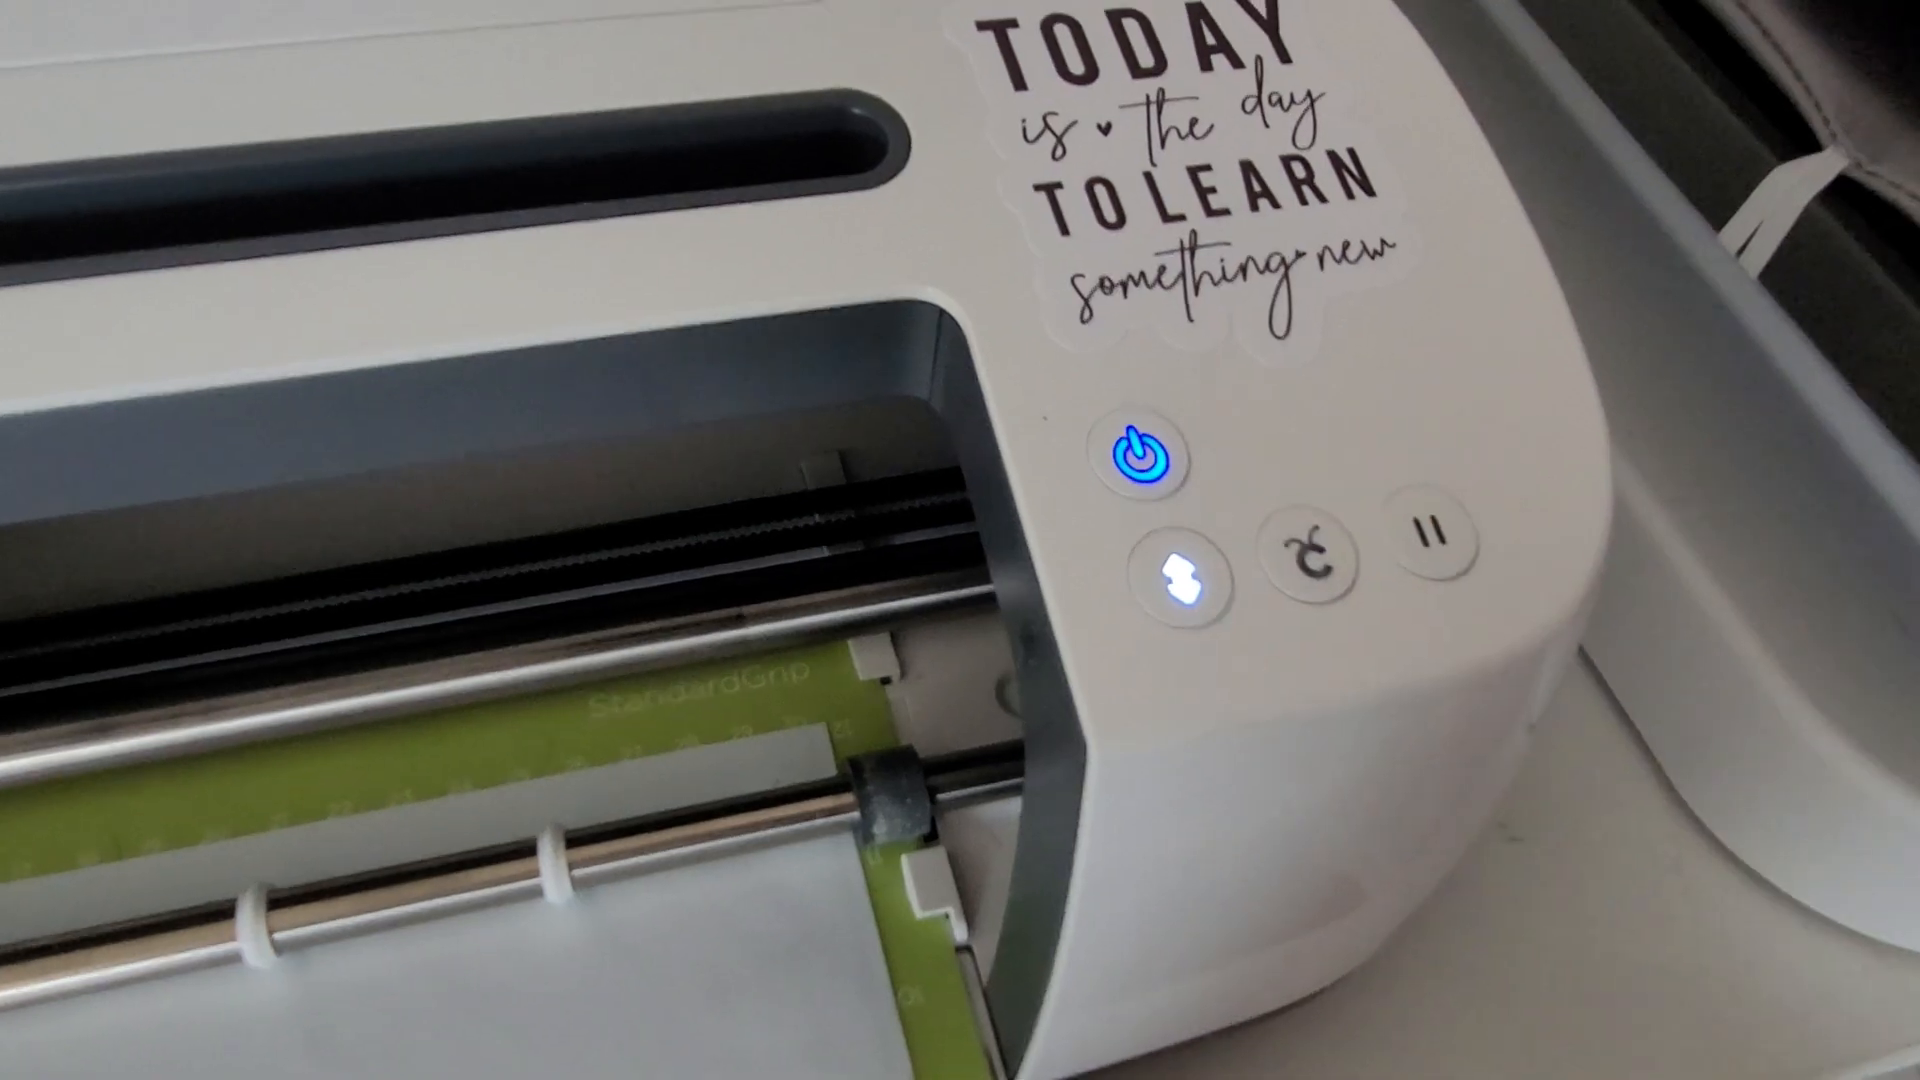
Place your cutting mat with the vinyl loaded under the two tabs on your Cricut machine. Press the load button to load the mat into the Cricut. Then, Press the blinking Cricut button to start cutting.
Wait for the Cut
While the machine cuts, I want to talk to you about product care cards. If you’re going to be selling car decals, or any kind of Cricut project, it’s always a good idea to include instructions for cleaning or taking care of your items. Creative Fabrica has a ton of care card templates that you can use with Cricut print then cut.

Remove the Vinyl
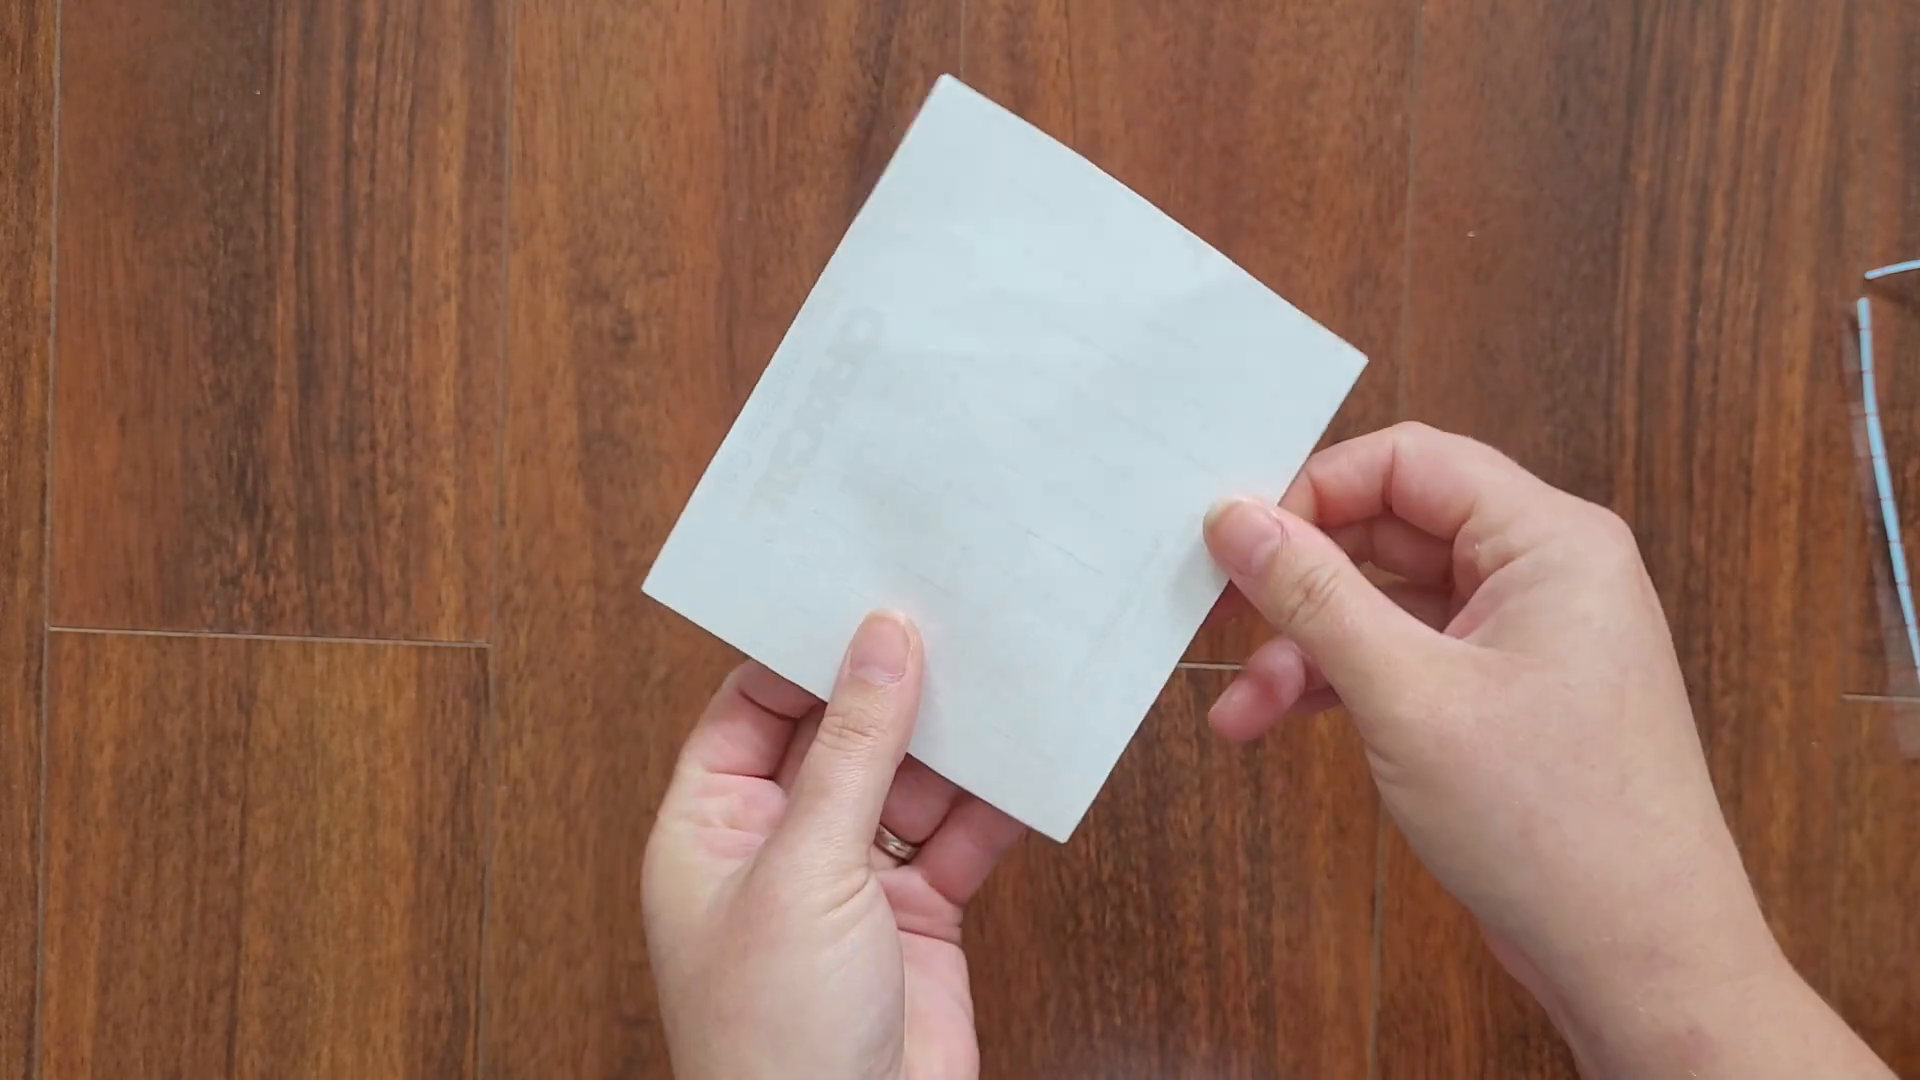
Once the machine is done, carefully remove the vinyl from the cutting mat. Cut out your decal in a square to prepare for weeding.
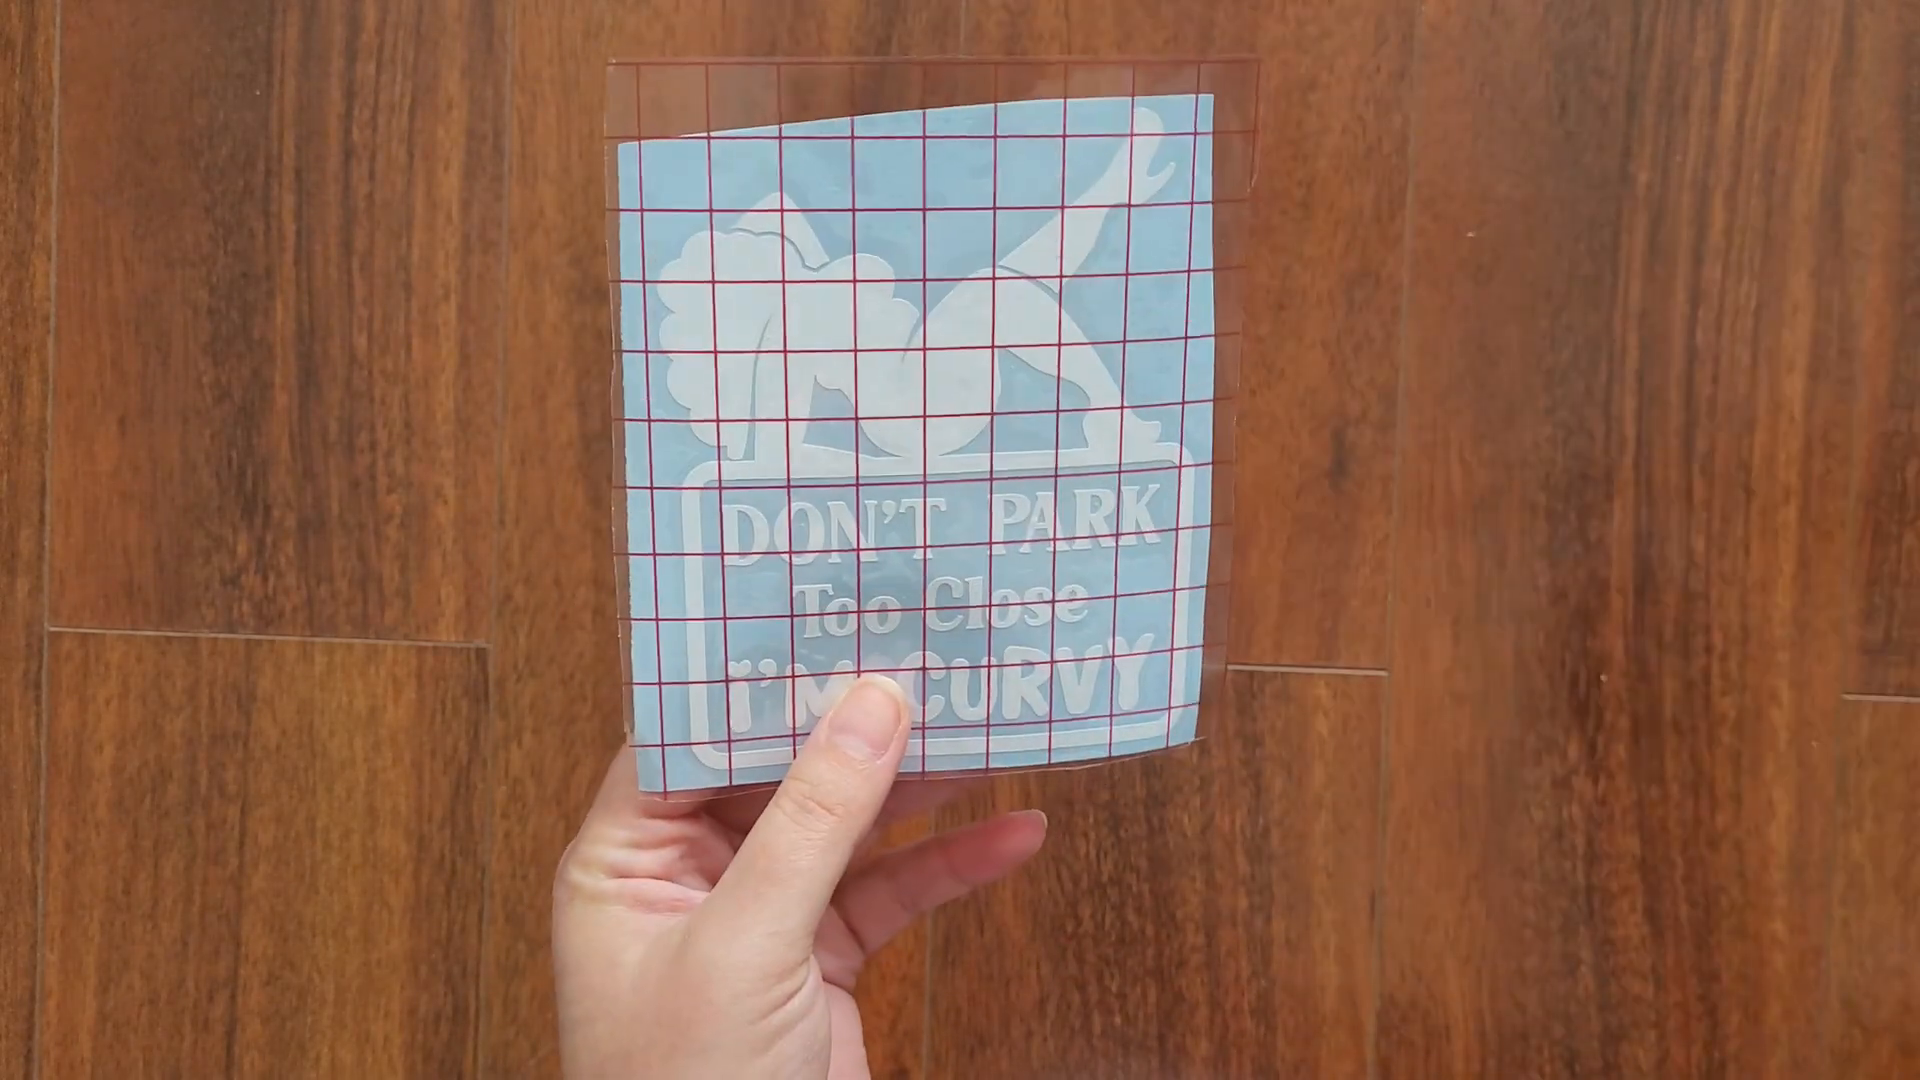
Step 8: Weed Your Decal
Weeding is the process of removing excess vinyl from around your design. Follow these steps for a clean finish.
Start Weeding
Use a weeding tool to remove the negative space around your design. Leave the letters and remove the background.
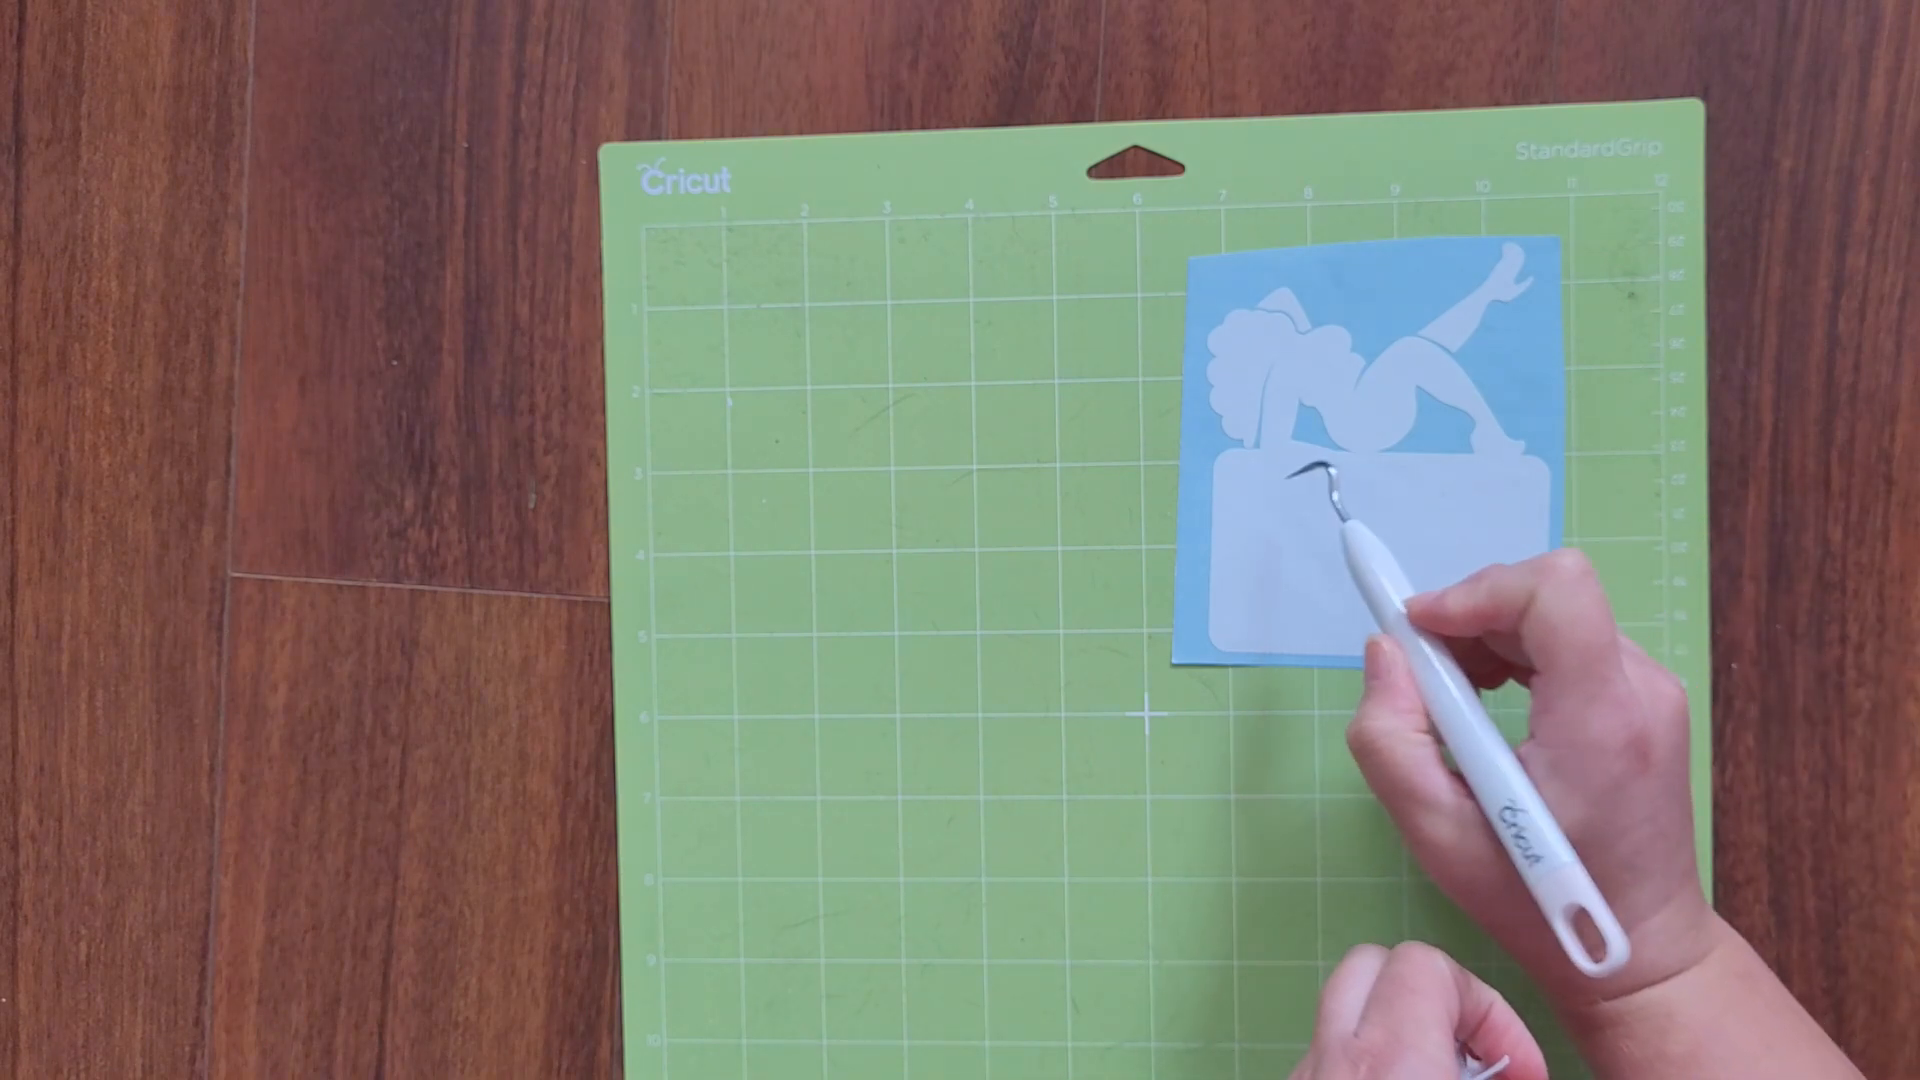
Focus on Details
Be careful not to pick out the letters. Instead, focus on removing the vinyl around them to keep your design intact.
Final Touches
Ensure all unwanted vinyl is removed. Your decal should now be ready for transfer tape application and final use.
Step 9: Apply Transfer Tape and Prepare for Application
Applying transfer tape is a crucial step in preparing your vinyl decal for application. Here’s how to do it effectively.
Apply Transfer Tape
Roll out your transfer tape on the table like this. Then, take your decal and place it face down, starting at the center.
Trim Excess Tape
Trim away any excess transfer tape to avoid stickiness hanging off.
Burnish the Decal
Use a scraper tool to burnish the decal, ensuring it’s nice and flat for a smooth transfer.
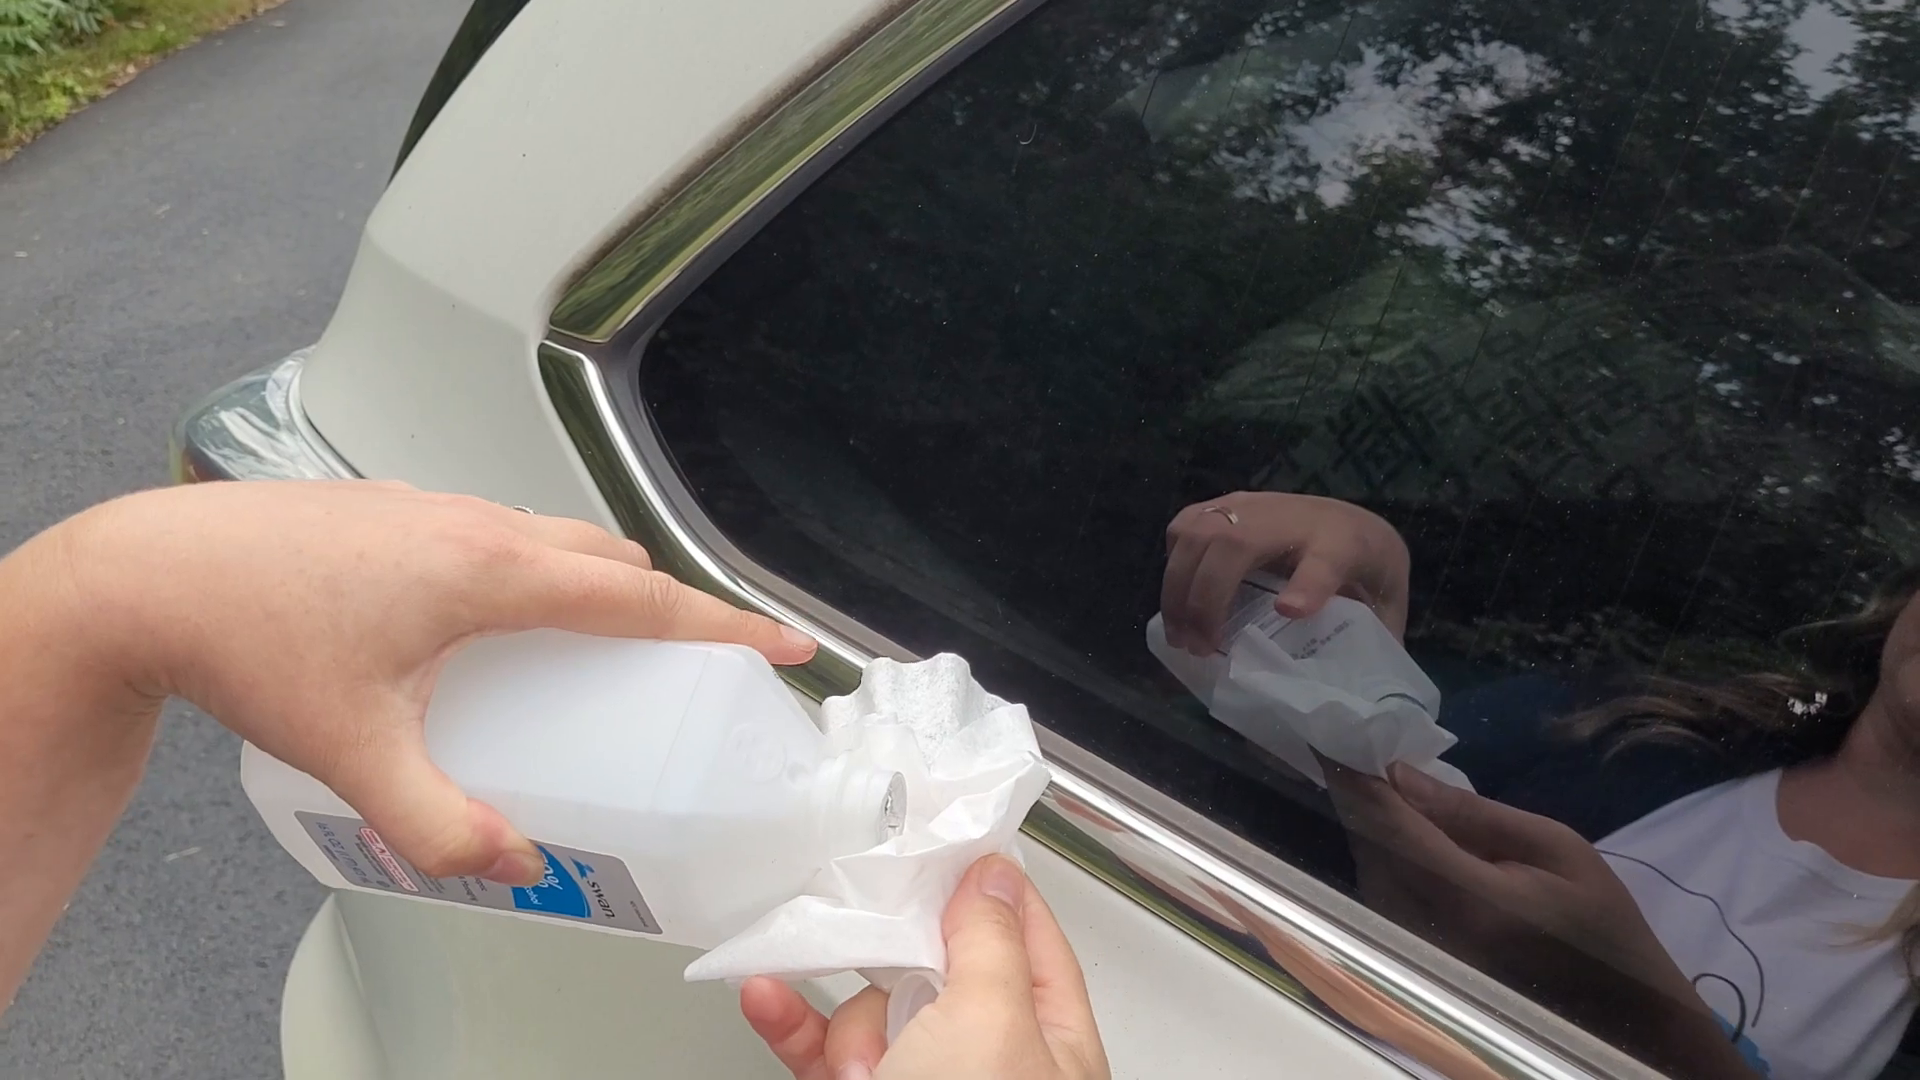
Now, your vinyl decal is attached to the transfer tape and ready for application. If you plan to use it yourself, peel it up and stick it directly onto your car window. Ensure the surface is clean by using rubbing alcohol and a lint-free wipe, like a coffee filter, before application.
Step 10: Package and Ship Your Decals
If you’re selling your decals, proper packaging ensures your decals reach customers in perfect condition. Here’s how to do it right.
Prepare for Shipping
Place your decal into a rigid self-seal mailer to keep it flat and prevent any curling or damage.
Include Care Instructions
Don’t forget to include care card instructions with your decal. This helps customers apply and maintain their decals properly.
Choose the Right Mailer
Rigid self-seal mailers come in various sizes and colors. Choose one that fits your decal perfectly, and consider buying in bulk for better deals.
By following these steps, you can ensure that your decals arrive safely and in pristine condition, ready to delight your customers.
Step 11: Final Tips and Considerations
As you wrap up your Cricut Tutorial, here are some final tips to ensure success.
Engage with Your Audience
Encourage feedback and engagement from your customers. a week after receiving their decal, reach out and follow up with them. This helps build a loyal customer base to help your future sales.

Stay Updated
Regularly update your designs and offerings. Keeping up with trends can attract more customers.

Promote Your Products
Use social media and other platforms to promote your car decals. Consistent marketing is key to growing your business.
We hope you enjoyed this Cricut HTV tutorial. Feel free to leave any questions or comments below and happy crafting!
Cricuter’s Recommended Deals
- Sign up for Creative Fabrica’s FREE trial
- Sign up for Creative Fabrica’s discounted yearly subscription
- Shop the best deals on Cricut machines
- Accept credit card payments with your FREE Square Card Reader
- Check out my Linktree
Connect with Cricuter
Some of the links provided are affiliate links. Cricuter is a participant in the Amazon Services LLC Associates Program, an affiliate advertising program. As an Amazon Associate, we earn from qualifying purchases. This means, at no additional cost to you, we will earn a commission if you click through and make a purchase.
Made with VideoToBlog