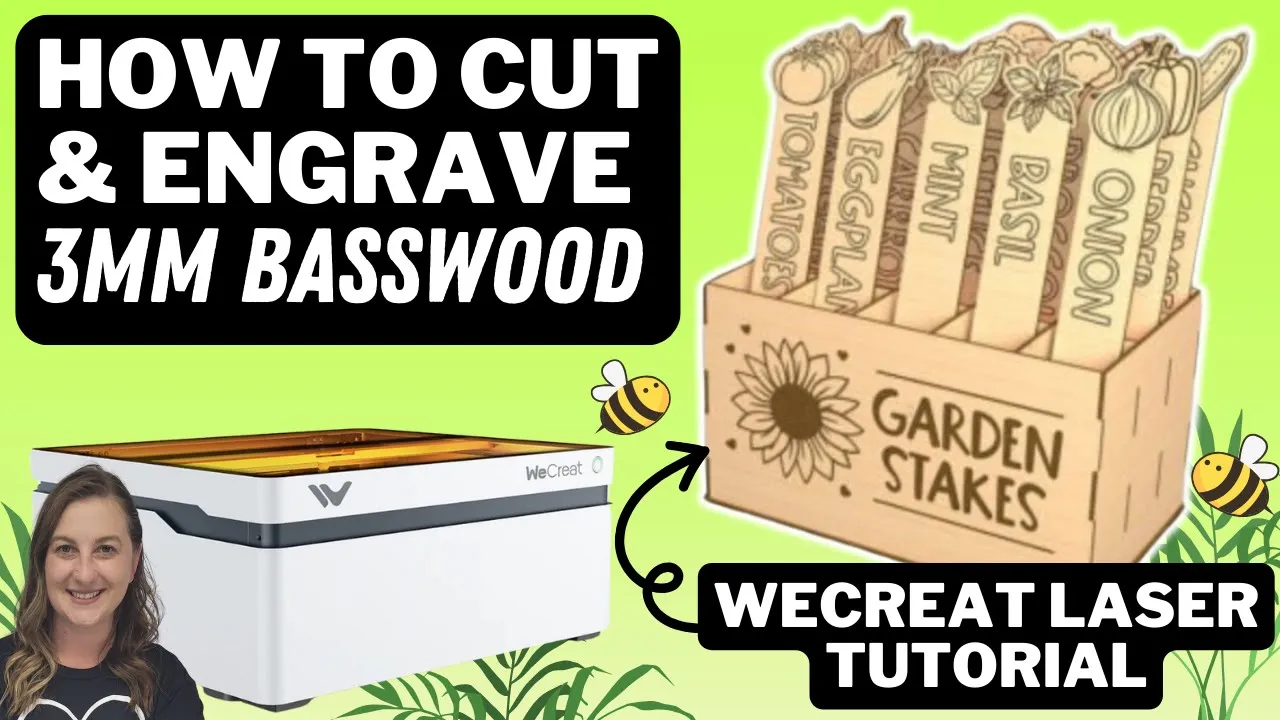
Creating Beautiful Garden Stakes – WeCreat Vision Laser Engraver Tutorial
Spring has arrived, and for many gardening enthusiasts, it’s the perfect time to begin planting. One of the most enjoyable aspects of gardening is organizing your plants, and what better way to do that than with custom garden stakes using your brand new laser engraver? In this guide, we will explore how to use the WeCreat Vision laser engraver to create stunning garden stakes from 3mm basswood. This project is not only practical but also adds a personal touch to your garden.
Table of Contents
- Why Use Garden Stakes?
- Materials Needed
- Designing Your Garden Stakes
- Setting Up the WeCreat MakeIt Software
- Adjusting Settings for Engraving and Cutting
- Engraving and Cutting Process
- Finalizing Your Garden Stakes
- Additional Project Ideas
- Conclusion
Why Use Garden Stakes?
Garden stakes are fantastic little helpers that add both style and practicality to your garden. Here are some great reasons why they’re a must-have:
- They help label plants, making it super easy to identify them
- They’re perfect for organizing your garden layout
- They add a lovely decorative touch to your space
- They are more durable and weather-resistant than plain paper
- Plus, there are customizable designs to suit your style!
Materials Needed
Before diving into the project, gather the following materials:
- WeCreat Vision laser engraver
- 3mm basswood sheets
- Computer with WeCreat MakeIt software
- Design templates (available online)
You can grab some basswood sheets in a fun wood bundle that features a variety of delightful patterns! This gives you the perfect opportunity to get creative with your garden stakes. Enjoy expressing yourself!
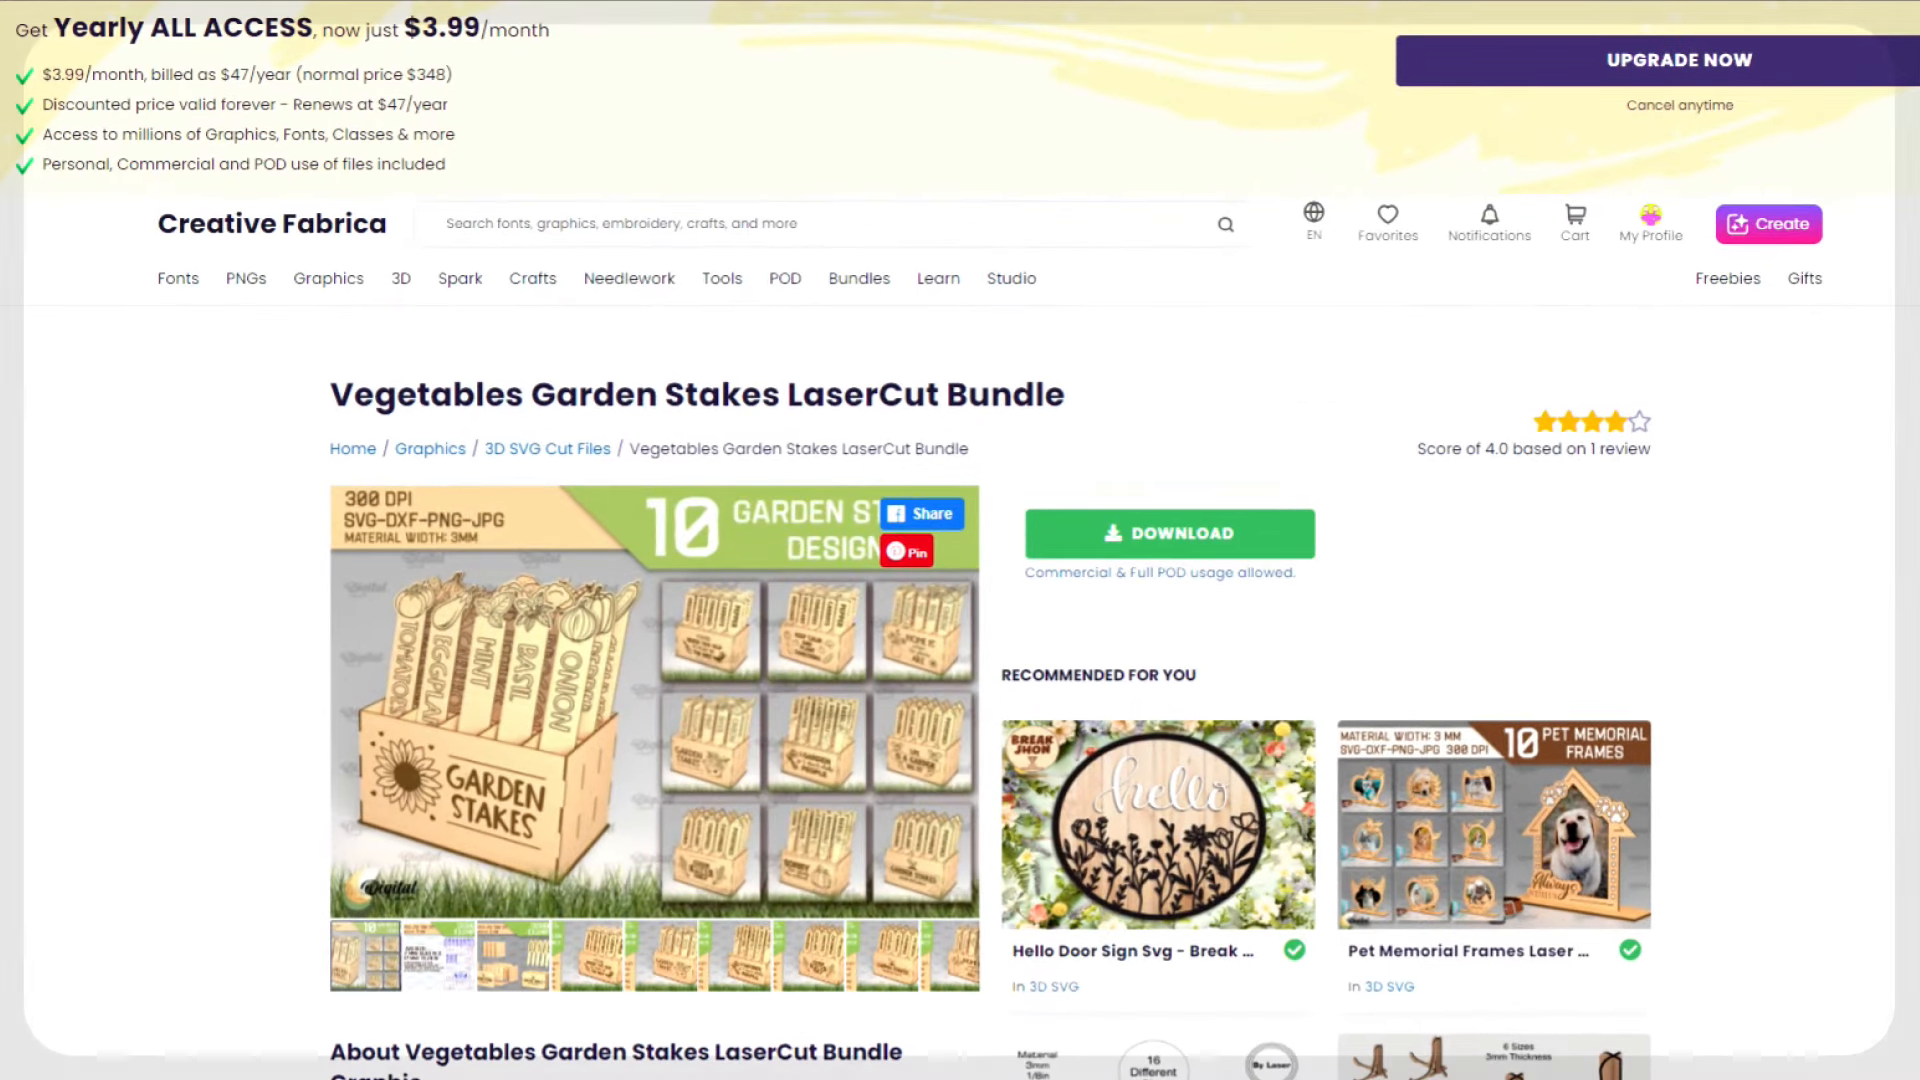
Designing Your Garden Stakes
The first step in creating your garden stakes is selecting a design. For this project, we will utilize a design sourced from Creative Fabrica, specifically tailored for vegetable garden stakes.
Not sure if you want to spend the money on a Creative Fabrica Membership right away? No Problem! Sign up for Creative Fabrica’s FREE trial here and get 10 file downloads for free! and If you like it and want to continue, you can continue your membership for as low as $4.99 a month when you sign up for a year!
Follow these steps to download and prepare your design:
- Visit Creative Fabrica and search for “vegetable garden stake”.
- Find a design you like and click the download button.
- Unzip the downloaded file to access various design formats.
- Choose the SVG file for best compatibility with the WeCreat software.
Setting Up the WeCreat MakeIt Software
Once you have your design ready, it’s time to import it into the WeCreat MakeIt software. Here’s how:
- Open the WeCreat MakeIt software and create a new project.
- Click Upload and select the SVG file you saved earlier.
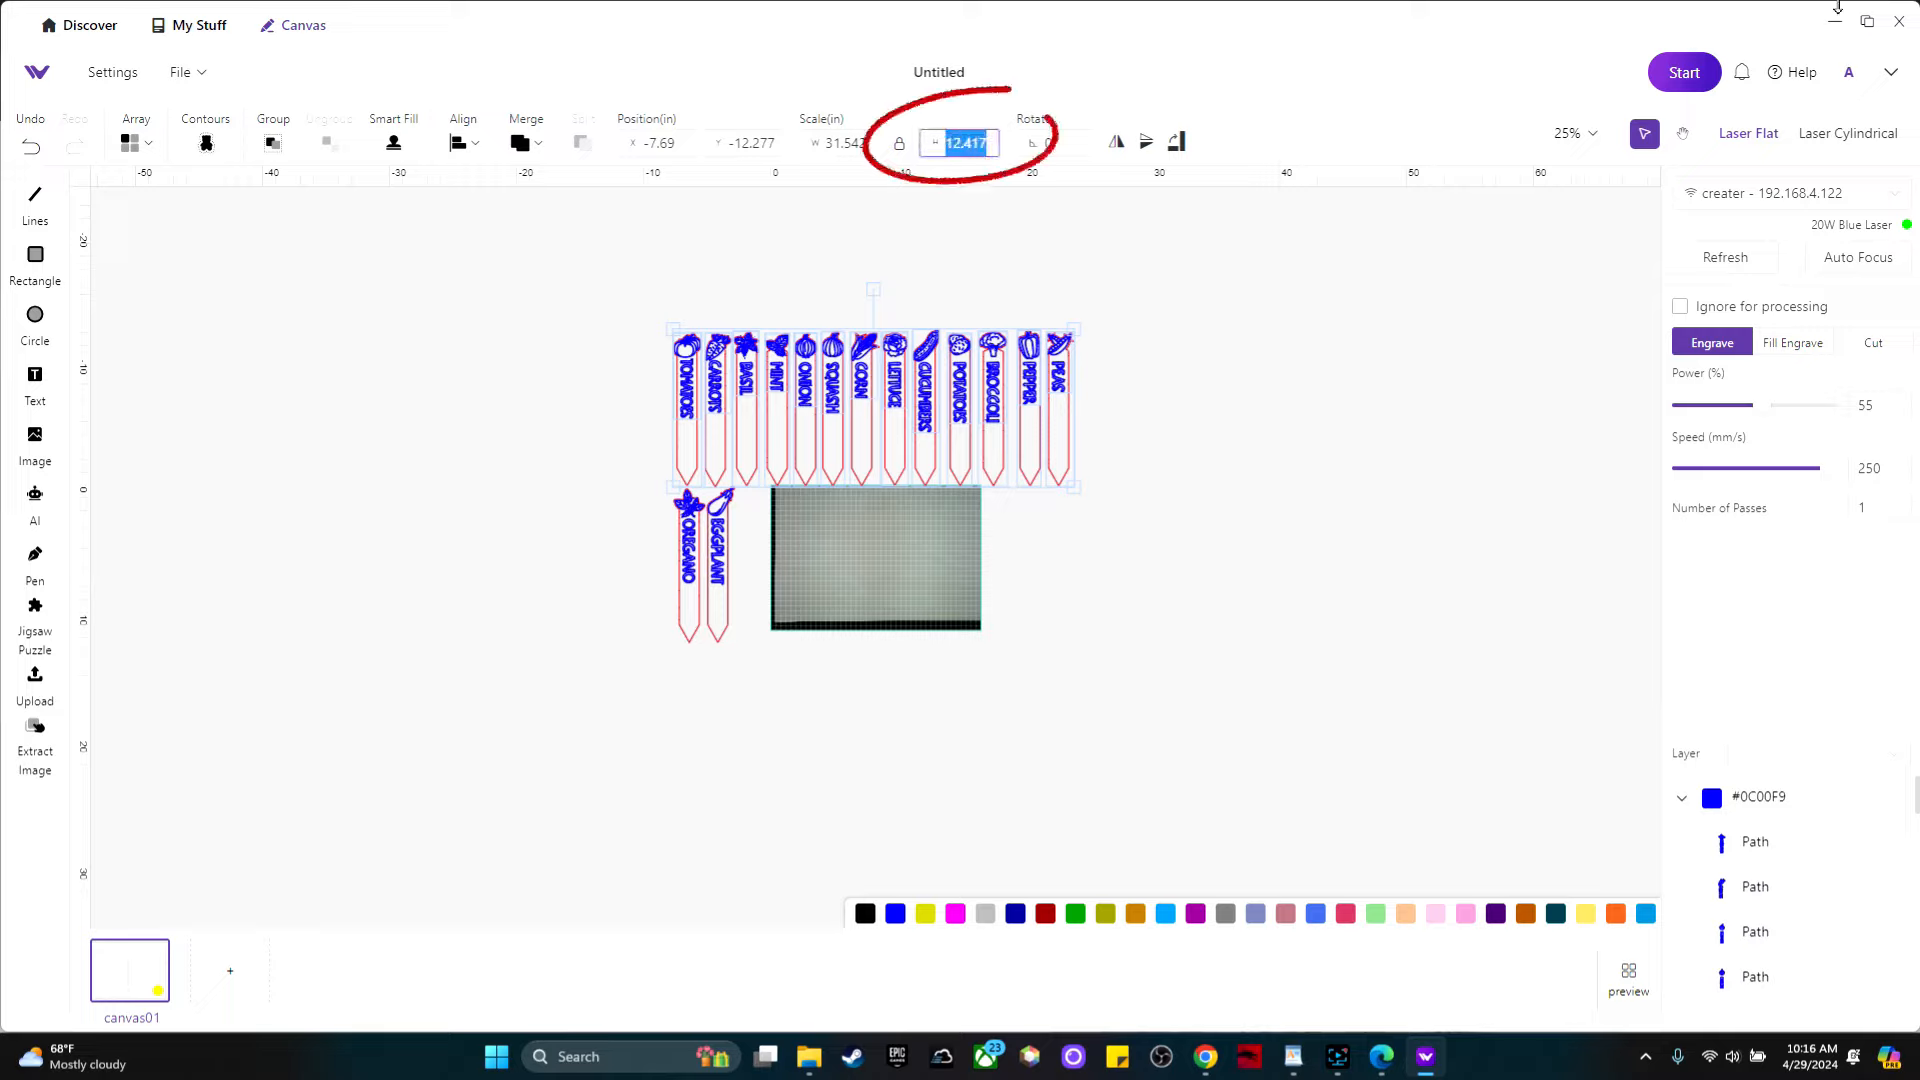
- Zoom out to view the entire design on your workspace.
- Resize the design to your preferred height, typically around 6 inches for garden stakes.
Now, you should see both the engraving and cutting lines clearly defined in different colors. The engraving will be in blue, and the cutting lines in red.
Adjusting Settings for Engraving and Cutting
Before starting the engraving and cutting process, it’s crucial to adjust the settings in the software. This is where the colored layers come in really handy. The blue layer is for things we want to engrave, and the red layer is for things we want to cut.
For your material settings, select 3mm basswood.
Next:
- Select the blue layer (engraving) and click the Engrave Button. I set the Power to 100% and the speed to 100 mm/sec
- Select the red layer (cutting) and click the Cut button. You can leave the settings on default, which is 100% power and 7 mm/sec speed
This ensures that your stakes are cut cleanly and that the engraving is deep and readable.
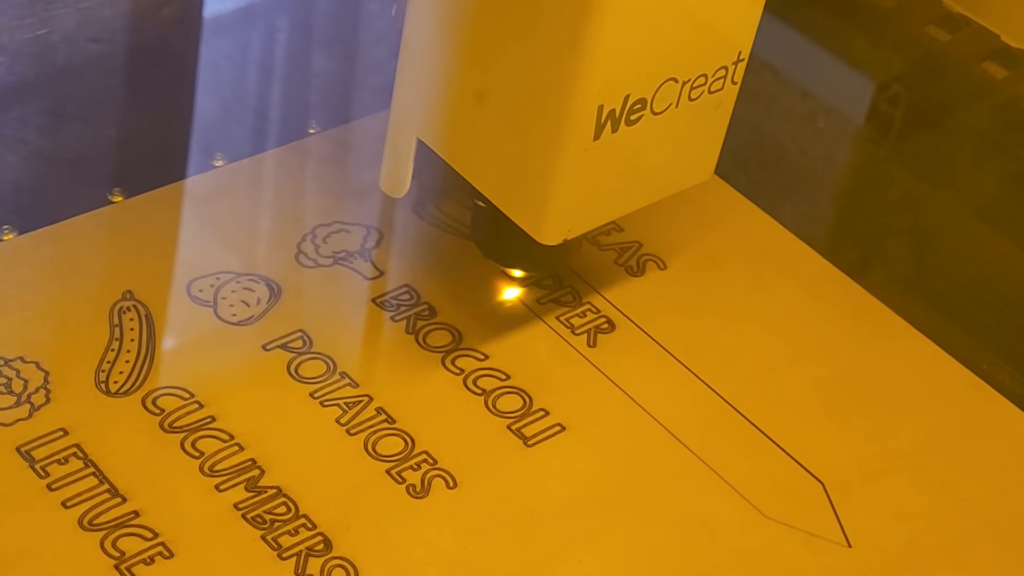
Engraving and Cutting Process
With your settings adjusted, it’s time to begin the engraving and cutting process:
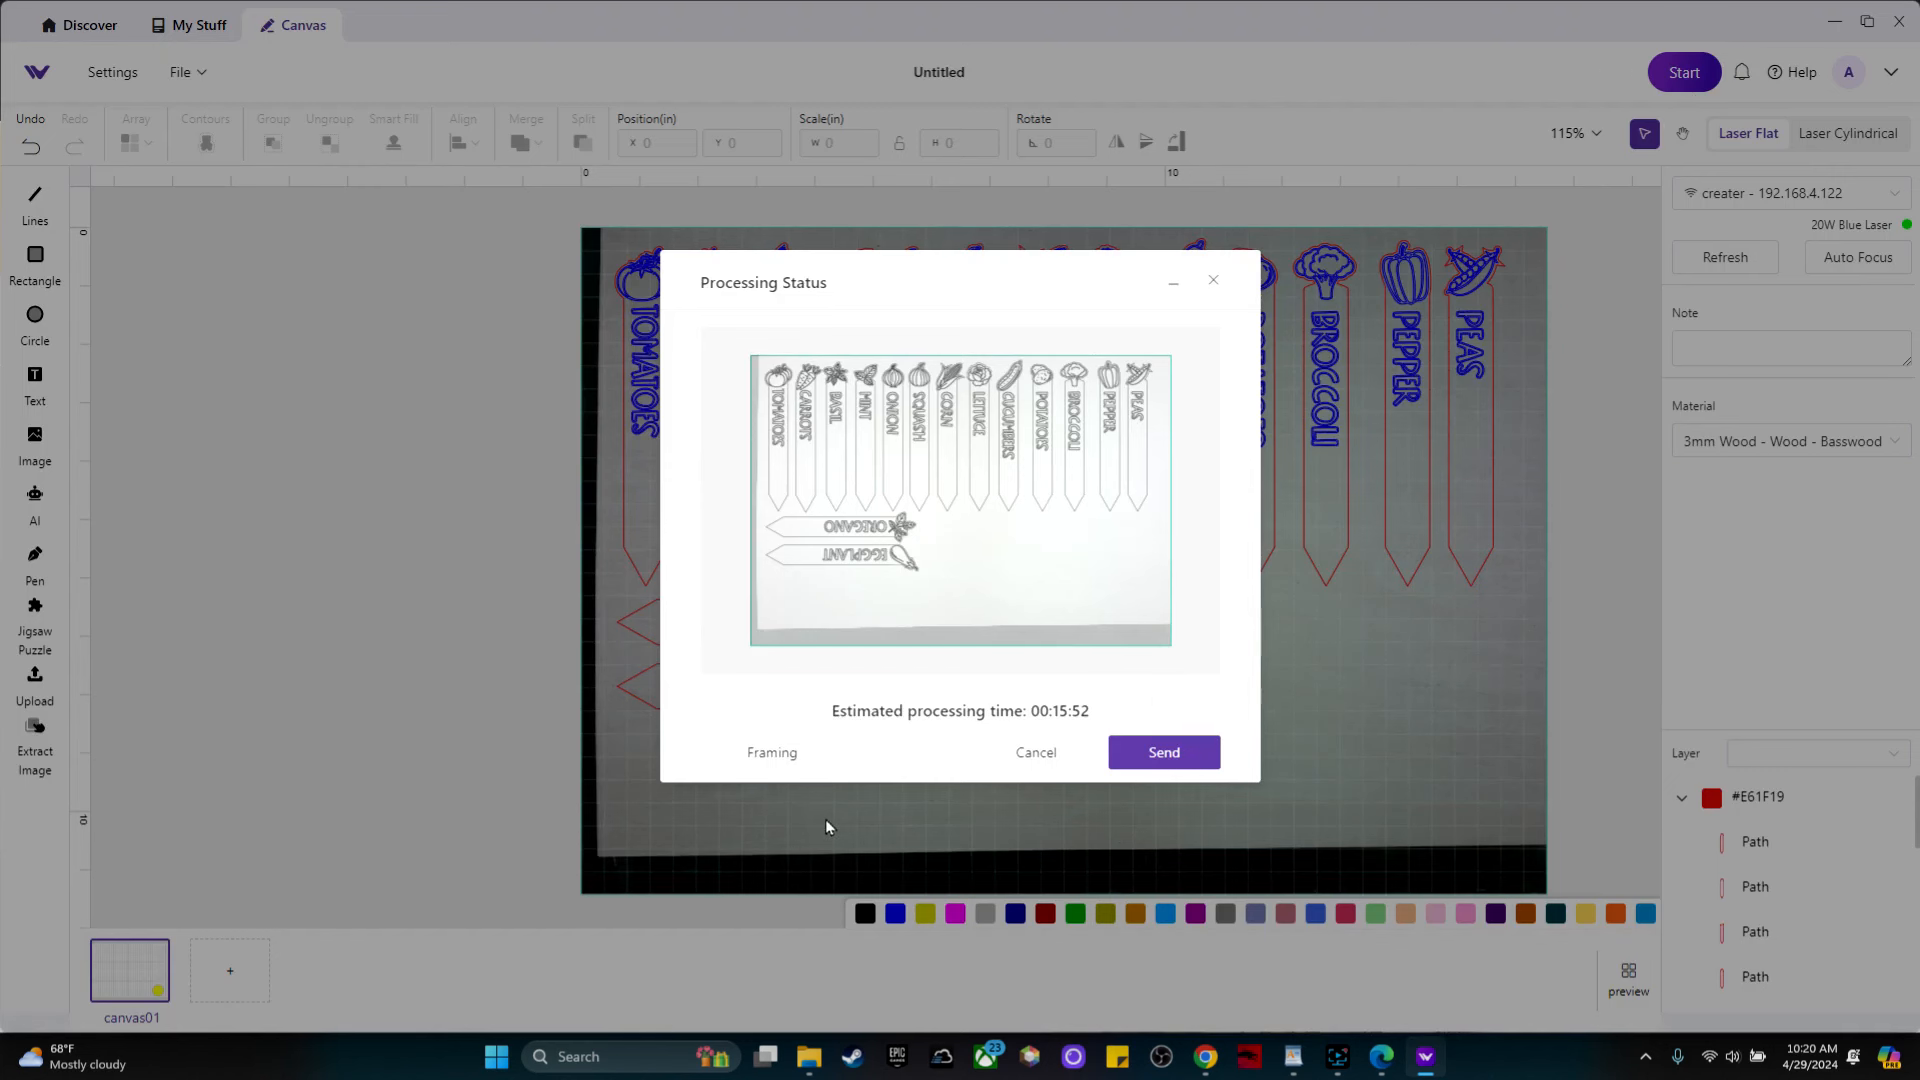
- Click the Auto Focus Button. This will set the engraving height of the machine. The camera will refresh the image on the screen once the auto focusing is complete.
- Double-check the placement of your design on the wood.
- Click “Send” to start the machine.
- Monitor the process, which should take approximately 15-16 minutes.
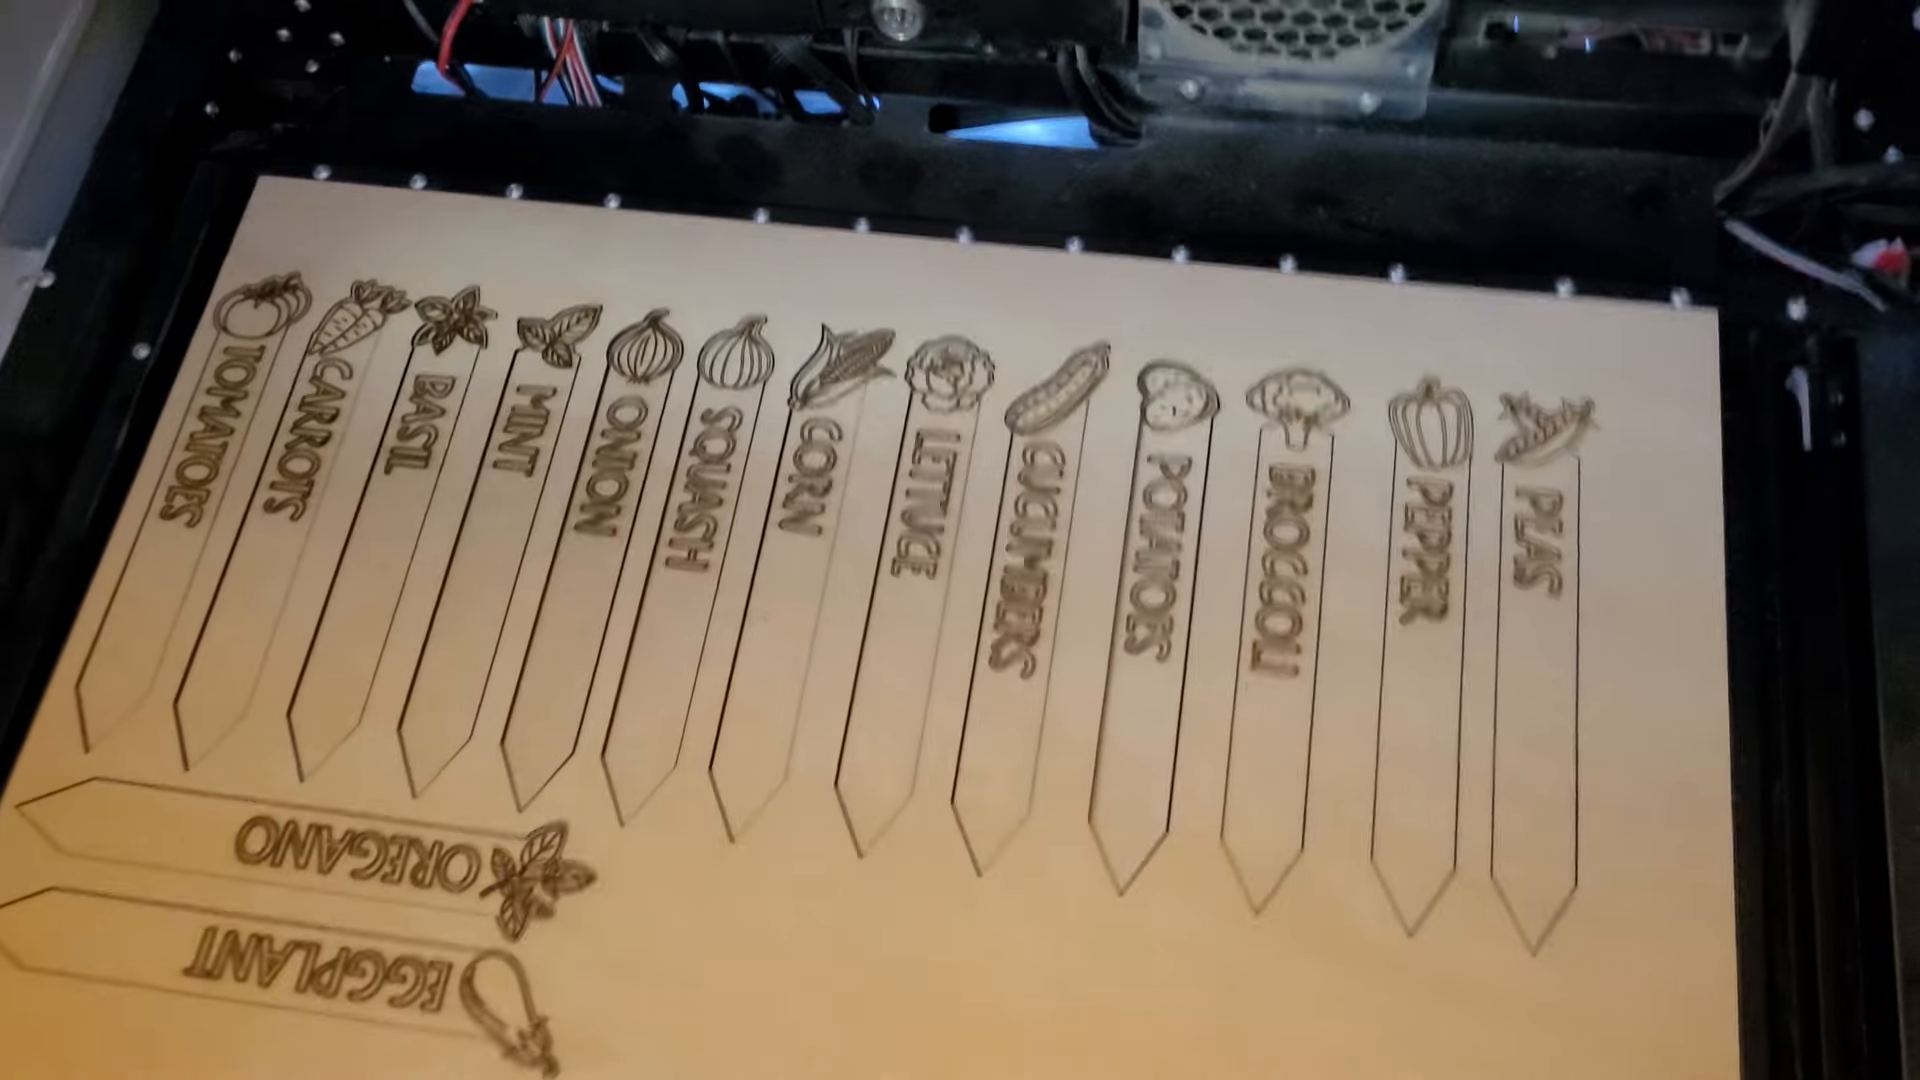
Finalizing Your Garden Stakes
Once the engraving and cutting are complete, carefully remove the stakes from the machine. Our results were very impressive, with clear, dark engravings that are easy to read. The sturdiness of the basswood ensures that the stakes will withstand outdoor conditions throughout the growing season. I would suggest coating them in a clear polyurethane to make them more weatherproof.
It’s time to get those veggies in the ground! Use the adorable stakes you made to label your plants, and you’ll have a beautifully organized garden in no time. Happy planting! 🌱
Additional Project Ideas
Creating garden stakes is just the beginning. Here are some other fun projects you can explore with your WeCreat Vision laser engraver:
- Custom coasters for your home
- Personalized gifts for friends and family
- Decorative signs for your garden
- Engraved picture frames
- Unique holiday decorations
Conclusion
Using the WeCreat Vision laser engraver to create garden stakes is a rewarding project that combines creativity with functionality. By following these steps, you can enhance your gardening experience while adding a personal touch to your outdoor space.
If you enjoyed this project, consider subscribing for more DIY tutorials and project ideas. Happy gardening!
Cricuter’s Recommended Deals
- Sign up for Creative Fabrica’s FREE trial
- Sign up for Creative Fabrica’s discounted yearly subscription
- Shop the best deals on Cricut machines
- Accept credit card payments with your FREE Square Card Reader
- Check out my Linktree
Connect with Cricuter
Some of the links provided are affiliate links. Cricuter is a participant in the Amazon Services LLC Associates Program, an affiliate advertising program. As an Amazon Associate, we earn from qualifying purchases. This means, at no additional cost to you, we will earn a commission if you click through and make a purchase.