10 Essential Sublimation Tips You Need to Know for Flawless Results
If you love Cricut crafts and laser engraving, you’re going to love sublimation! I’ve put together this list of my top 10 sublimation tips to help you on your way to success.
Sublimation is one of my favorite crafting methods because it allows you to create vibrant, professional-looking products quickly and easily, right from home. These sublimation tips will help you get started with confidence and achieve the best results.
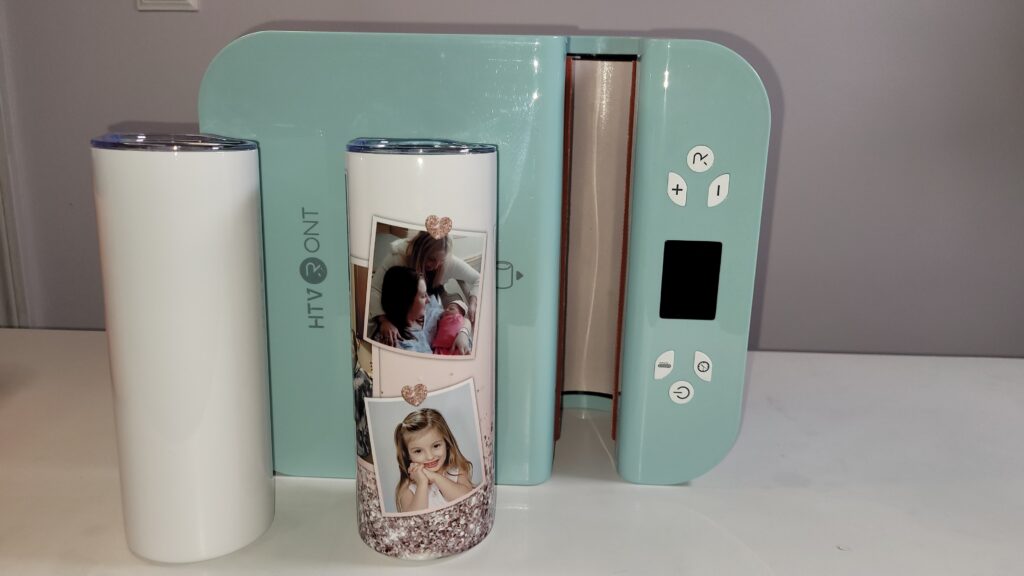
From shirts and ornaments to coasters, tumblers and garden flags, sublimation lets you add beautiful, full-color photos to a massive variety of blanks. And the best part? These amazing creations are perfect for selling, especially during the holidays!
I love sublimation because the designs are permanently infused into the material, so they won’t peel or crack like you sometimes get with heat transfer vinyl. You can print full-color designs onto a single sheet of paper, so you don’t have to deal with the frustration of cutting, aligning, and heat pressing multiple layers of heat transfer vinyl.
But there are a few things I wish I had known before diving into sublimation, and I want to share those with you. So today, we’re counting down the Top 10 Sublimation Tips for Success to help you get perfect results every time. Let’s dive in!
Sublimation Tip #10: Get Started Without Breaking the Bank
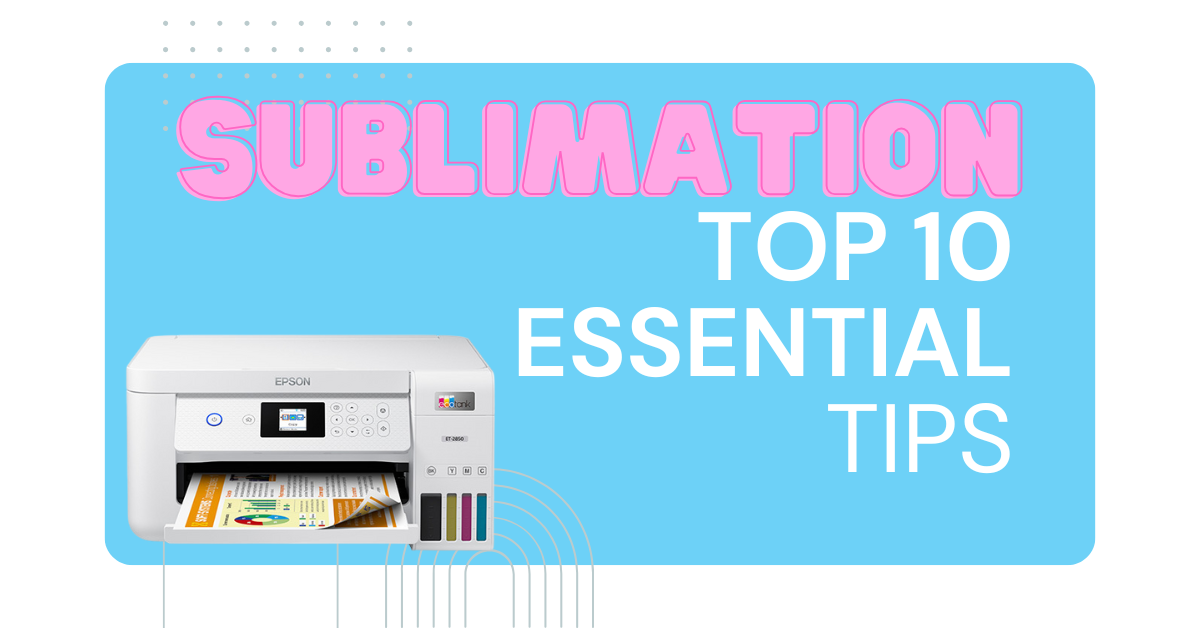
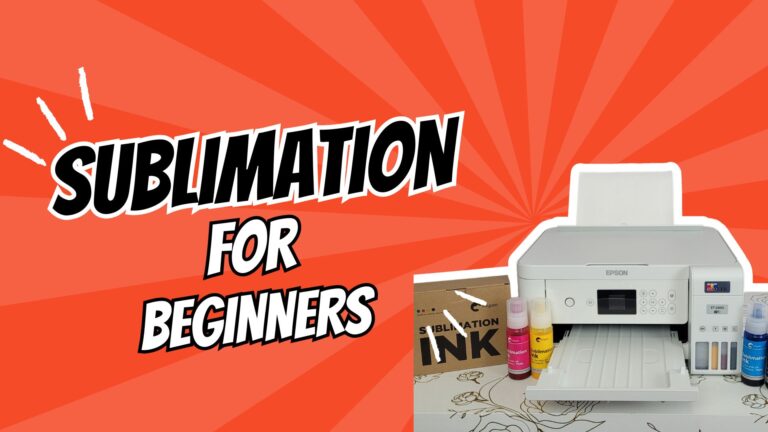
You don’t need to spend thousands of dollars on a fancy sublimation printer. I bought an Epson EcoTank on sale at Costco for $199 and converted it with sublimation ink. And you know what? It prints perfectly! I have a step-by-step video on my channel showing you how to do it, so check it out if you’re ready to dive in.
Sublimation Tip #9: Choose Sublimation-Friendly Surfaces
Sublimation works best on white or light-colored surfaces with a high polyester count or a polymer coating. Look for blanks that are at least 65% polyester for bold, vibrant colors. And if you want to sublimate on dark fabrics or non-polyester surfaces, I’ve got a hack for that, and we’ll get to that in just a bit.
Sublimation Tip #8: Pre-Press Your Blanks
This simple step will save you a lot of ruined projects. Always pre-press your blank for about 10 seconds before applying your design. This step removes moisture and wrinkles, giving you a smooth surface and preventing blotchy or uneven transfers.
Let Fabrics Cool Down
For fabrics, it’s important to let them cool down before placing your sublimation paper. If the material is still hot and you place the paper on it, then decide to move it, the ink may start transferring prematurely. I’ve made this mistake before, and I always say, I make the mistakes so you don’t have to!
Sublimation Tip #7: Keep It Clean
Lint, dirt, and pet hair can ruin your project in seconds. Always use a fresh lint roller to clean your blanks before pressing. This is one of the most important sublimation tips for ensuring a clean transfer. Even if they look spotless, a quick once-over ensures nothing sneaks in to mess up your transfer.
Sublimation Tip #6: Tape It Tight
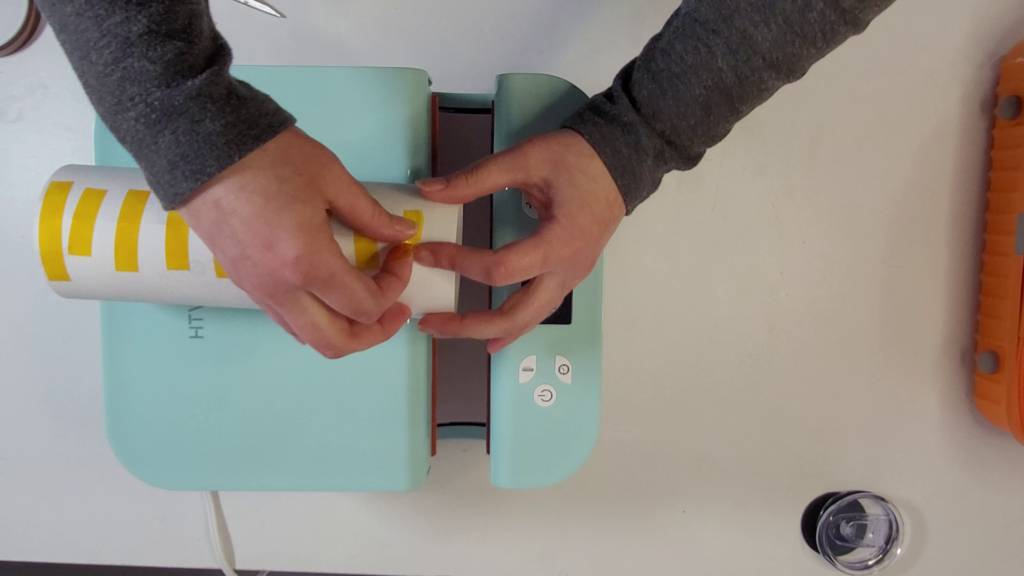
To avoid ghosting or blurry designs, secure your print with heat-resistant tape. Not all tape is heat-resistant, and if you use the wrong kind, it will melt in your heat press. Use enough tape to keep everything snug and secure—especially on curved surfaces like tumblers or mugs.
Sublimation Tip #5: Skip the Teflon Sheets
Teflon sheets are fantastic for HTV projects, but when it comes to sublimation, they can cause problems. Teflon traps moisture, which leads to blurry designs and uneven transfers. Instead, reach for uncoated, white butcher paper. It allows moisture to escape and protects your heat press and project from ink blowout, giving you clean and professional results.
Using Butcher Paper Correctly
Place a sheet of butcher paper under your blank to protect your press and another sheet on top to prevent ink from transferring onto the press plate. For multi-layered items, like shirts, place a sheet inside the garment as well to catch any ink that bleeds through.
- 【Food-safe Paper】These butcher papers are made from premium-grade papers, don’t contain waxing or coating, ensuring strength, durability, and tear resistance. It allows to come into direct contact with food, keep your wrapped meat safe from moisture, grease, and contaminants, offering superior protection.
You can make your life easier by buying pre-cut butcher paper squares on Amazon. And remember—never reuse butcher paper! Its job is to absorb ink spills, and if there’s leftover ink on an old sheet, it can transfer to your next project, ruining it. Always use fresh butcher paper for crisp and vibrant results every time.
Sublimation Tip #4: Test Before Pressing
Avoid costly mistakes by doing a test run with plain copy paper. Check the size, placement, and alignment of your design before committing to your sublimation paper.
Copy paper is a lot cheaper than sublimation paper, and there’s no need to waste it trying to figure out the right size. I always do this when making seamless tumbler wraps. If you want to learn how to make those, check out this video on my channel!
Sublimation Tip #3: Mirror Your Design
One of the most important sublimation tips is to always mirror your image, just like when working with heat transfer vinyl. Sublimation transfers the ink in reverse, so always remember to mirror your design before printing. It’s a small step, but forgetting it can ruin your project, especially if there’s text involved.
Sublimation Tip #2: Expect Muted Colors
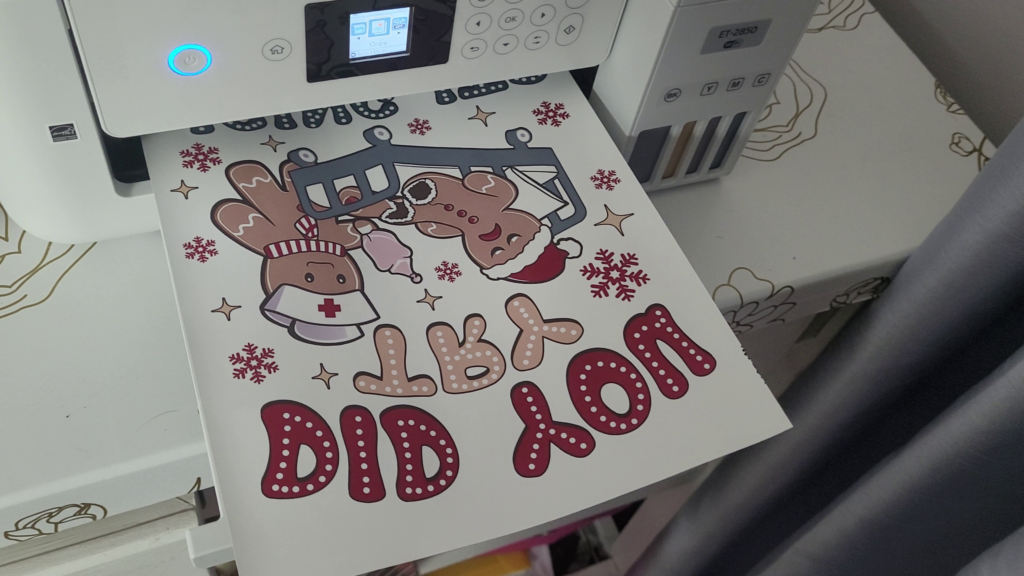
Here’s something that trips up a lot of beginners: your prints will look dull and faded on the paper, but don’t panic! The magic happens after you heat press it. Once you press your design, the colors will become bright and vibrant. This is completely normal with sublimation.
Sublimation Tip #1: Maintain Your Printer
The #1 tip? Print something weekly to keep the ink flowing and prevent clogs. I didn’t do this with my first Epson printer, and I ended up having to throw the whole thing away.
I know it sounds wasteful to print pages that you’re not going to use, but it’s less wasteful than having to throw out your whole printer because it dries up.
And trust me, I tried every trick in the book to prevent me from having to throw it away because I spent a few hundred dollars on it. Once you convert your Epson printer over using sublimation ink, it voids your warranty.
If you have a Sawgrass printer, it even has a nice auto-maintenance feature—but only if you keep it plugged in.
And there you have it—the Top 10 Sublimation Tips for Success! Which tip was the most helpful for you? Let me know in the comments below. If you have any other tips you’d like to share, feel free to drop those in the comments as well! If this post helped you, I would love it if you could help me by sharing it and subscribing to my channel. And stay tuned—in one of my next posts, I’ll be sharing my sublimation hack for how to sublimate on 100% dark cotton fabrics. Thanks for reading, and happy crafting!
Cricuter’s Recommended Deals
- Sign up for Creative Fabrica’s FREE trial
- Sign up for Creative Fabrica’s discounted yearly subscription
- Shop the best deals on Cricut machines
- Accept credit card payments with your FREE Square Card Reader
- Check out my Linktree
Connect with Cricuter
Some of the links provided are affiliate links. Cricuter is a participant in the Amazon Services LLC Associates Program, an affiliate advertising program. As an Amazon Associate, I earn a commission on products purchased through these links at no additional cost to you. This means that by using these links, you are helping support the Cricuter platform, allowing us to create more content and resources for our community. If you’re looking to start a business with Cricut or expand your crafting skills, these tools and materials can be a great step in that direction. Your purchases help us keep providing tips and tutorials that empower users to bring their creative visions to life.
